

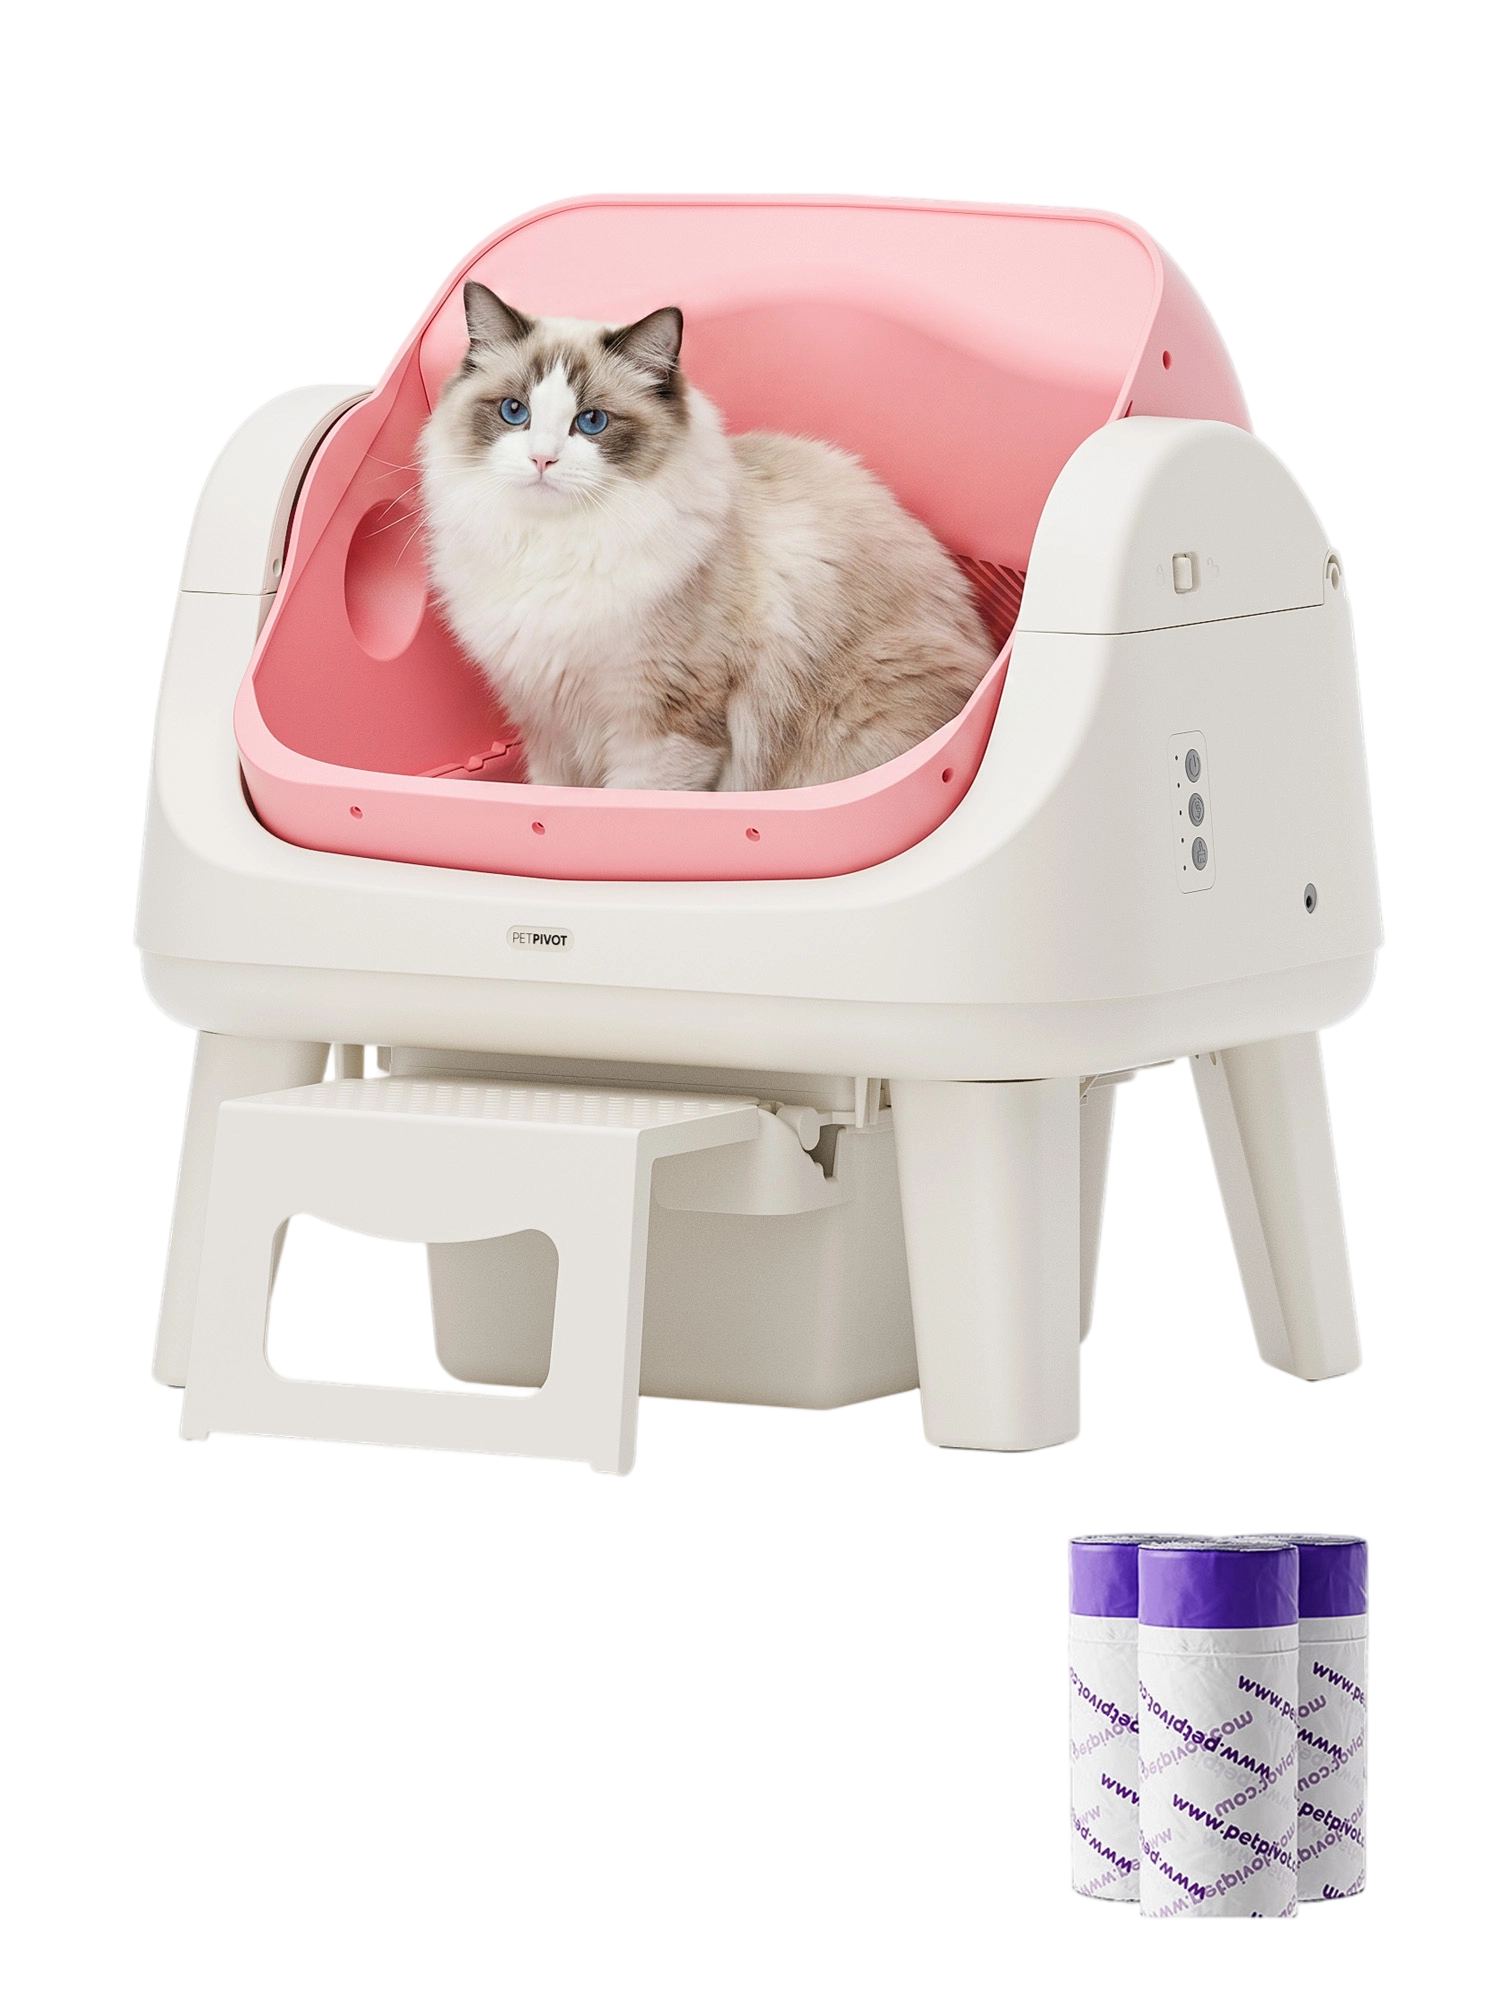
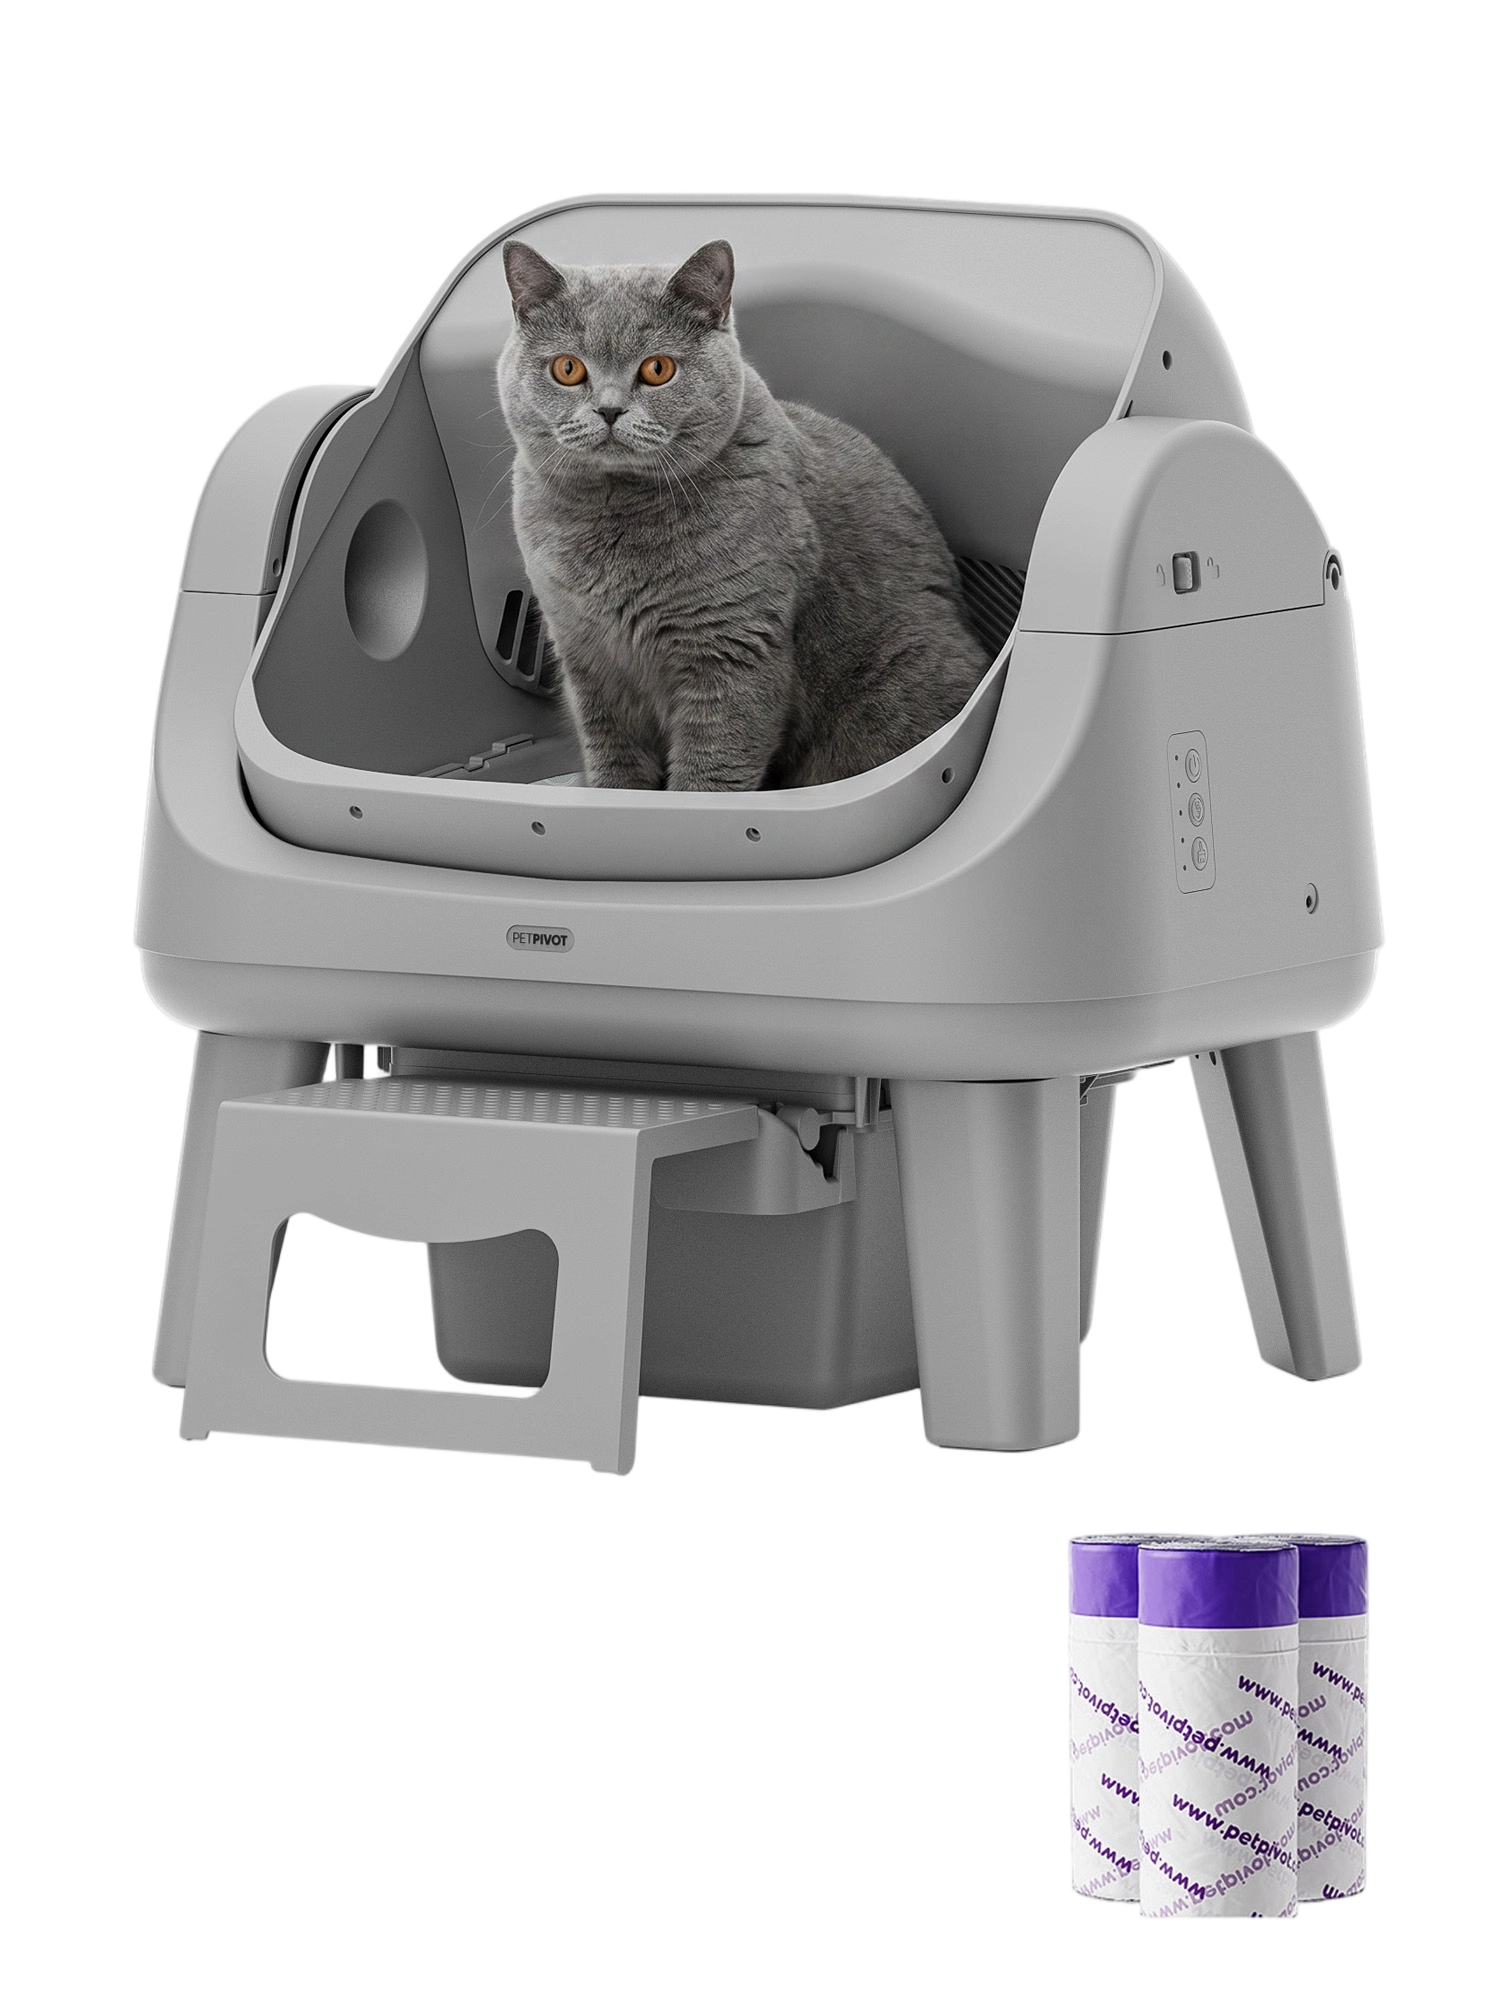

AutoScooper 12 Lite Cat Litter Box



Complete Your AutoScooper Setup & Save Up to 88%
returns
limited warranty
shipping
payment
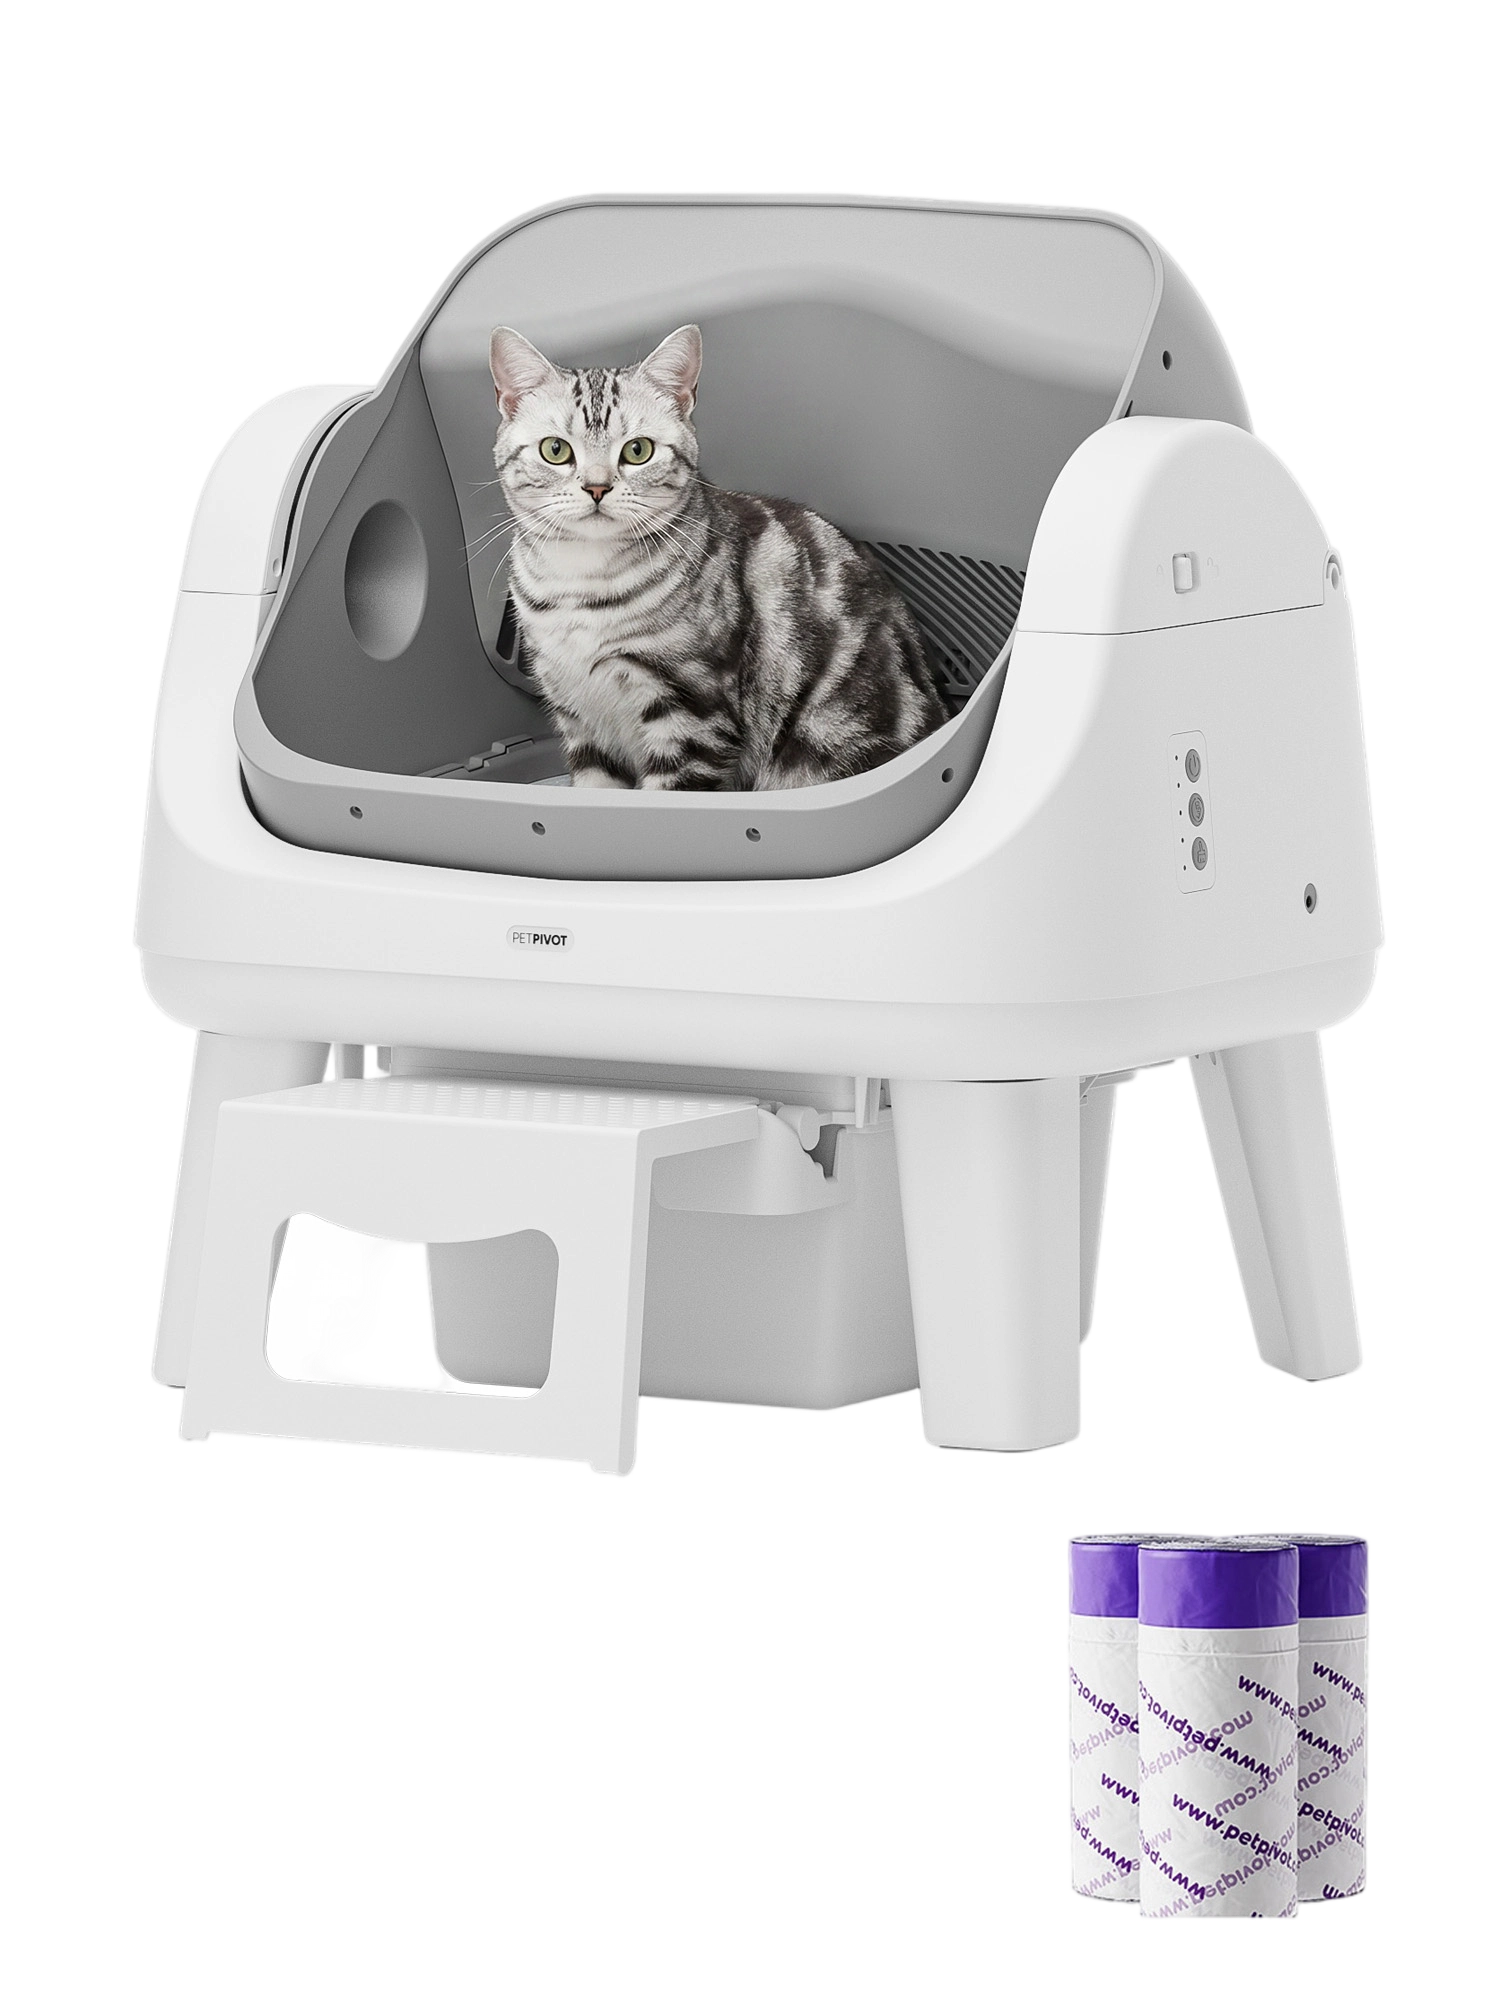
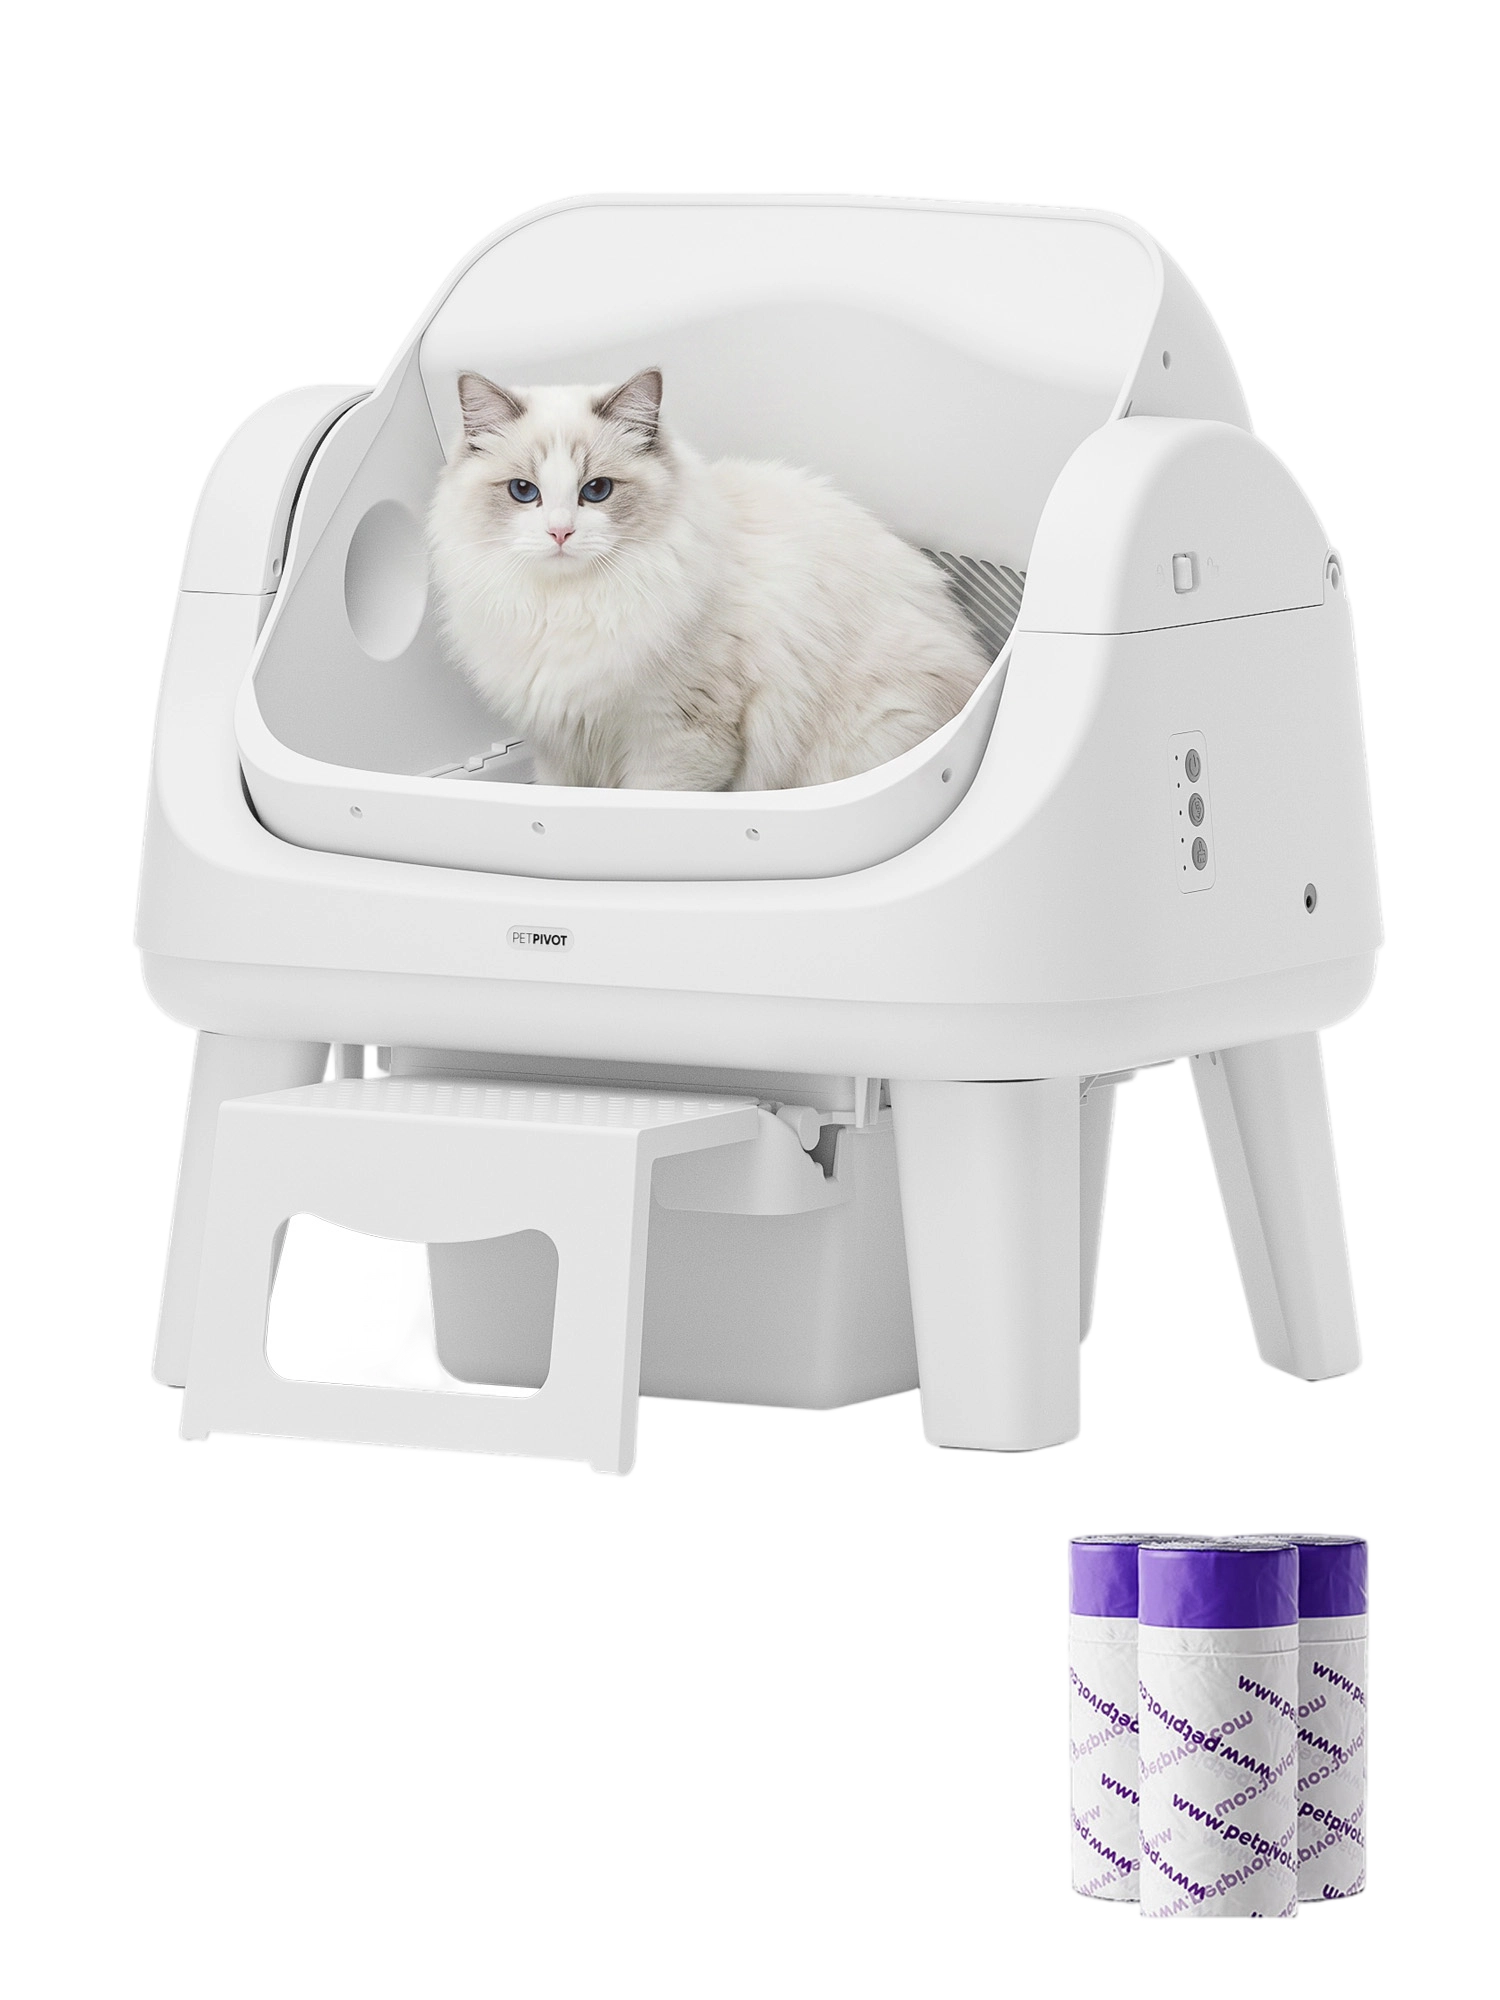
Package List
Product Dimensions
Product Dimensions
AutoScooper 12 Lite Cat Litter Box
The smarter AutoScooper®
The smarter AutoScooper®

Clean Litter Automatically
Cleans after every use, so litter stays fresh—without the daily routine.

Multi-cat friendly
Designed for up to 3 cats. Check the drawer more frequently in multi-cat homes.

Odor control
Seals waste in a closed drawer, helping keep your space clean and fresh.

Minimal litter tracking
Helps reduce mess at the source, keeping your home more refined.

Cats adapt easily
Give your cat time to adjust and follow the introduction steps in the model guide.


A better way to care for cats.

Advanced Safety System
Six infrared pairs watch the entrance. Four Hall sensors track the drum. A 30° limiter and anti-pinch protection stop the cycle if your cat steps close.

Clean Litter Automatically
Automatically removes waste after every use, keeping litter fresh and reducing the need for daily scooping.

Sealed Odor System
Seals waste in the bottom drawer after each cycle, helping keep odors contained and your home consistently fresh.

Multi Cat Ready
Built for homes with multiple cats, delivering consistent performance while keeping cleaning simple and predictable.

Pure Effortless Control
Just plug in and go—nothing to set up, nothing to manage, nothing in the way.

Natural Open Comfort
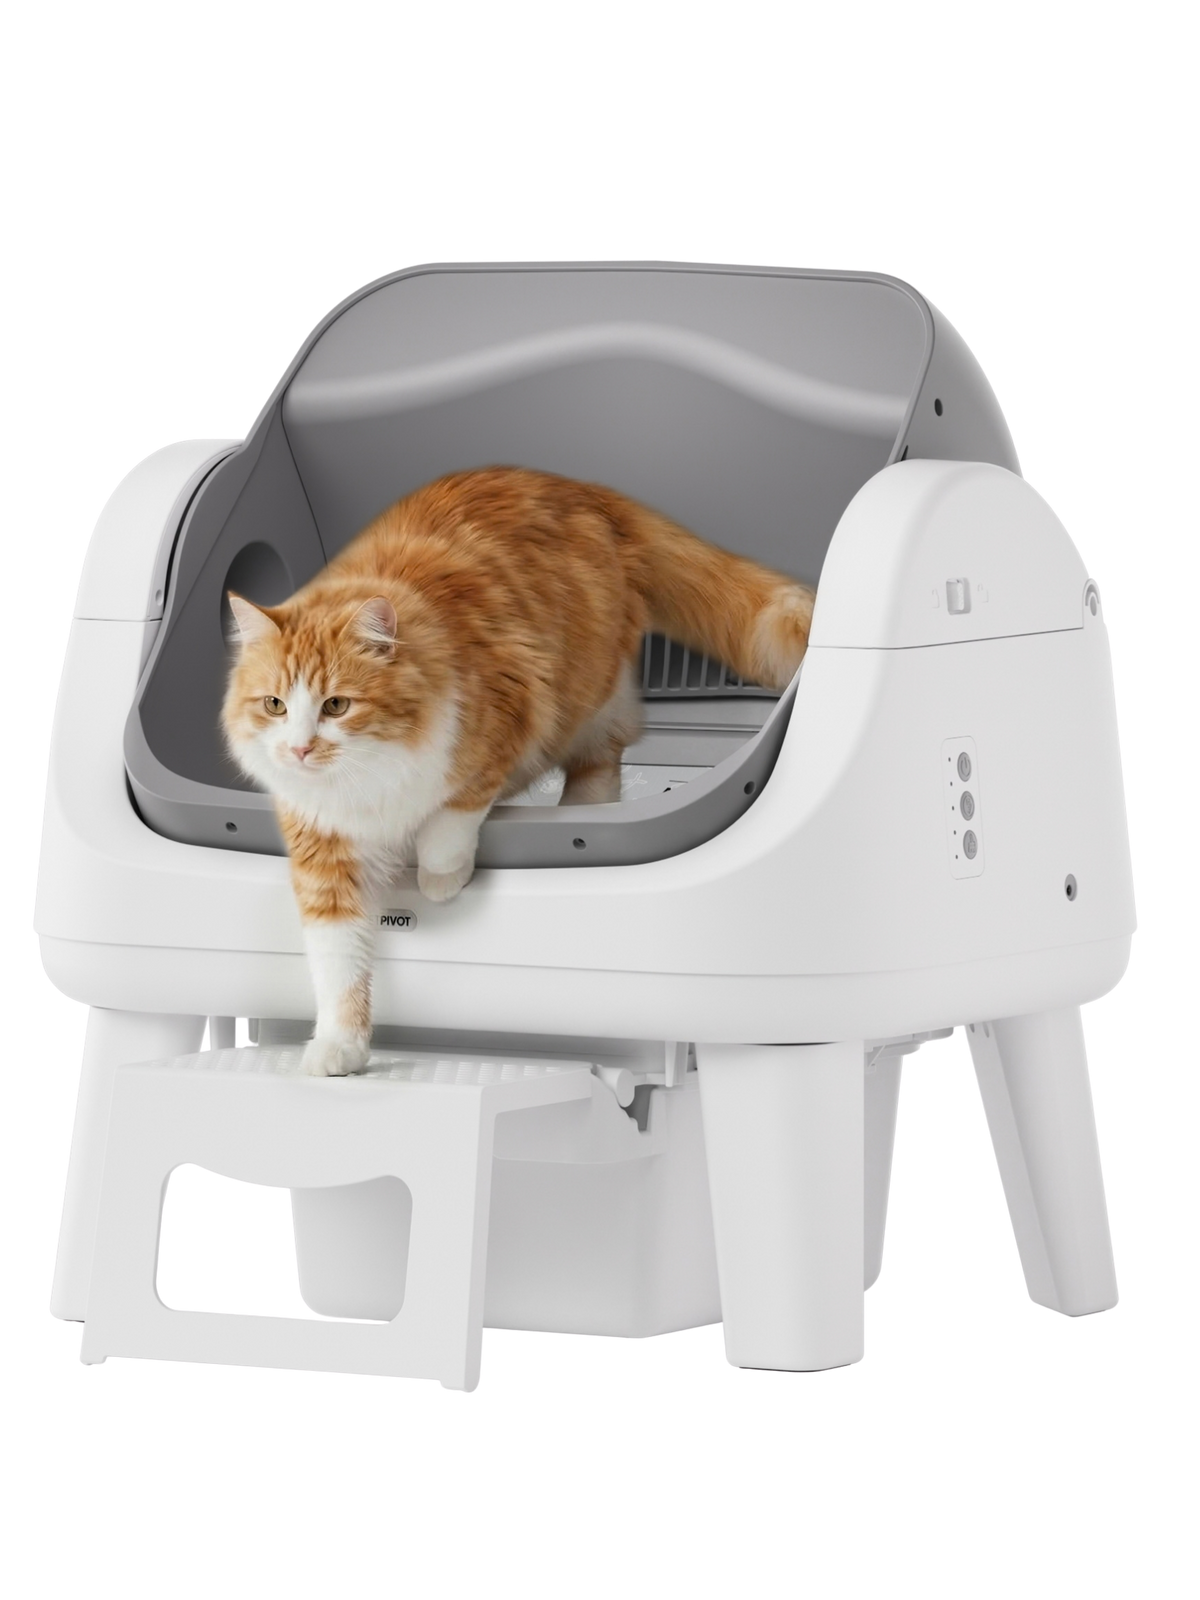
Open, spacious entry. Check the model’s age and weight requirements and your cat’s fit before use.

Quiet Refined Operation
Runs smoothly in the background—so your home stays calm, without interruptions or noise.


Check the fit for your cat and home


Warranty and Support FAQ
Your AS12 Lite includes a 1-year limited warranty from the date of purchase for covered defects and malfunctions under normal use. Coverage includes qualifying manufacturing defects and electrical, motor, sensor, or structural problems that affect normal operation.
After PetPivot reviews and approves a claim, we provide a replacement unit or the necessary replacement parts and cover replacement shipping. Keep your order confirmation as proof of purchase. This warranty is separate from the 30-day return window; exclusions apply. See our Warranty Policy for coverage details.
Email support@petpivot.com with your order number, model, a description of what happens, and clear photos or a short video of the issue. Include any indicator-light pattern and the troubleshooting steps you have already tried so our team can understand the problem.
We will help you troubleshoot, assess warranty eligibility, and explain the next steps. An approved warranty claim may be resolved with a replacement unit or parts, with replacement shipping covered. Do not carry out unauthorized repairs or send the unit back before receiving instructions. For purchases through another retailer, include that purchase information when contacting support.
The limited warranty does not cover misuse, improper installation or operation, failure to follow the instructions, normal wear such as scratches or discoloration, damage caused by incompatible litter, unauthorized repairs or modifications, or external damage such as water damage or power surges. Consumables and accessories are not covered by the machine warranty; damage caused by pets is also excluded under the user guide.
If your order arrives damaged, defective, or incorrect, contact support@petpivot.com promptly with your order number and photos of the item and packaging. Arrival damage should be reviewed as a delivery issue rather than assumed to be an ordinary warranty exclusion. See the Warranty Policy and Shipping Policy for details.
For an AS12 Lite purchased directly from petpivot.com, request a return within 30 days of delivery by emailing support@petpivot.com. Include your order number, reason for return, and photos or videos of the product and intact packaging. Please wait for approval and return instructions before shipping anything back.
Clean the unit and pack it in its original carton with all accessories, cords, parts, and manuals. Return condition and packaging requirements apply, and a refund is subject to inspection. You pay return shipping for non-quality returns; PetPivot covers return shipping for confirmed product-quality issues. After receipt and inspection, approved refunds are issued to the original payment method within 3–5 business days.
Cat litter and separately purchased accessories have different return restrictions. Purchases from other retailers follow that retailer’s return policy. Read the Refund Policy before submitting your request.
Setup and Installation FAQ
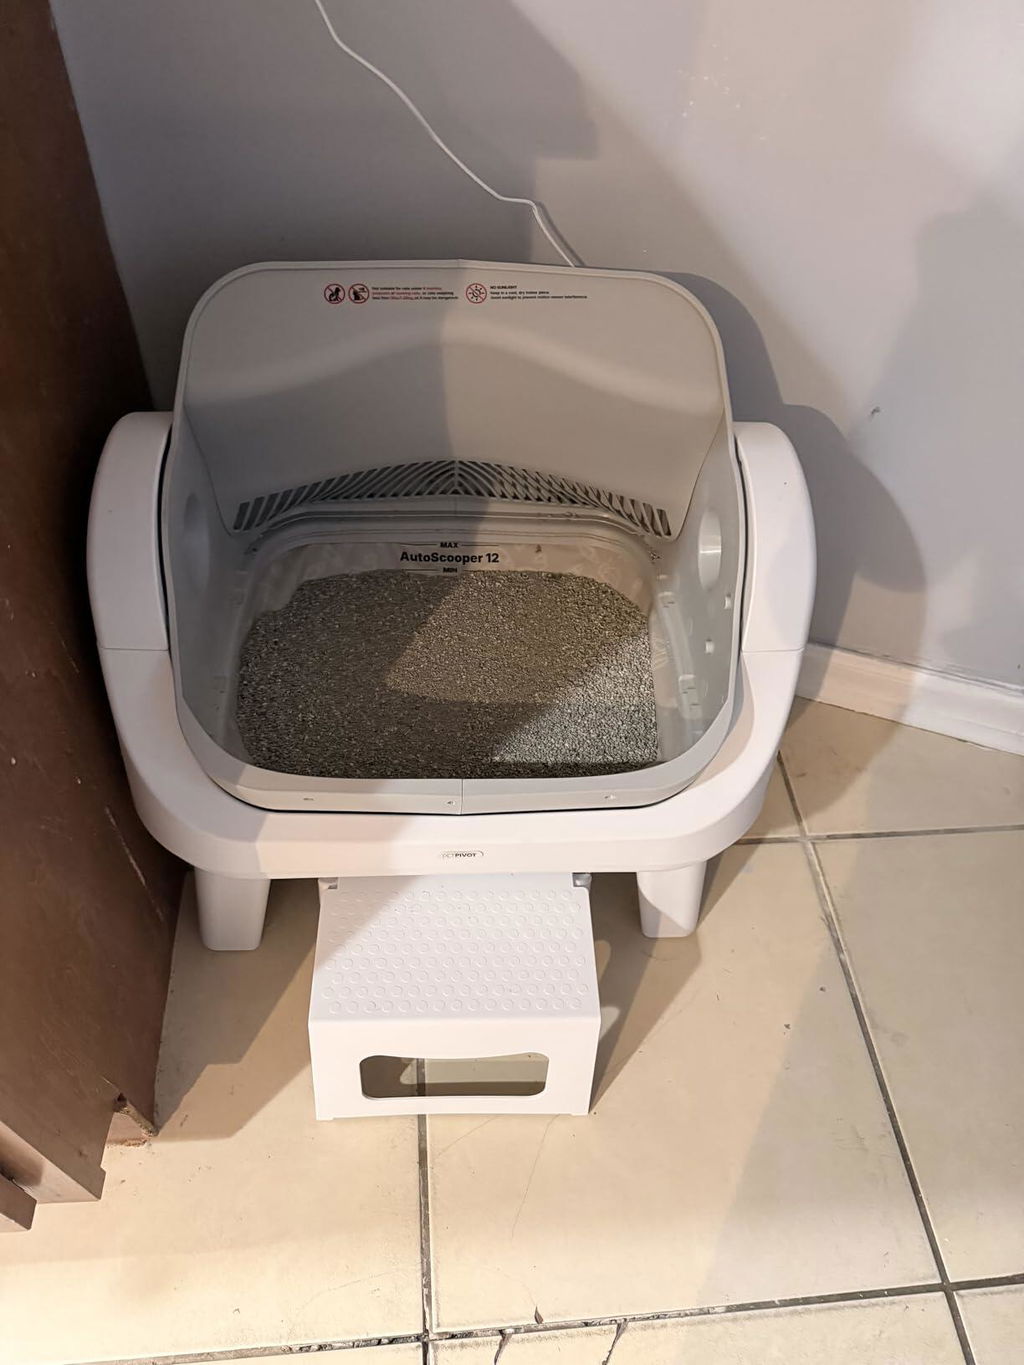
Unpack the unit and check the included parts. Fit all four support legs securely, then stand the unit upright on a flat, stable indoor surface. Fit a liner in the waste container, secure it under the retainer ring, and press the liner down so it does not block the infrared sensor. Slide the container into place until it is secure.
Connect the supplied adapter, turn the unit on, and allow the litter chamber to finish its initial alignment, which takes about 2 minutes. Add compatible small-granule clumping litter between the MIN and MAX marks without overfilling, then press Litter Added. Keep your cat away during setup and alignment. Follow the illustrated Quick Setup Guide for the full sequence.
Choose a roomy indoor location on a flat, firm, stable surface. Avoid soft or uneven flooring, direct sunlight, open flames, and places where the unit or power connection could get wet. Leave the entrance and waste-container access clear so your cat can enter comfortably and you can remove the bin for cleaning.
Placing it near your cat’s existing litter box can help with the transition. When moving the machine, support it from the bottom edge of the base; do not drag it or lift it by the joint covers. After repositioning it, make sure all four legs are stable before use.
Use the supplied 12V DC, 2A adapter. With dry hands, connect it to the unit’s power port and an appropriate household outlet, then turn on the machine. Keep the plug and connection clean and dry, and position the cable so your cat cannot easily chew or pull it.
Allow about 2 minutes for the litter chamber to complete its initial alignment before adding litter or operating other controls. Do not substitute an adapter with a different rating. Unplug the machine before cleaning or servicing, and contact support if the adapter or cable is damaged.
The front entry step is optional and can make entry easier depending on your cat’s needs. During setup, fit the supplied step in its designated position as shown in the Quick Setup Guide, then ensure the waste container is fully secured.
Check that the step sits securely and the entrance is unobstructed before letting your cat approach. Do not force parts into place if they do not fit as illustrated; contact support with a photo for help. The step does not change the age or weight requirements for automatic mode.
Usage and Features FAQ
After your cat leaves, the AS12 Lite waits before starting its cleaning sequence so the litter can clump. The drum then separates waste from reusable litter and transfers it to the waste container. It does not run while your cat is inside, and safety sensors pause the cycle if your cat approaches or returns.
Automatic cleaning reduces daily scooping, but you still need to check the litter level, empty the waste container, and clean the unit regularly. Keep the sensor areas clear and use compatible clumping litter. No Wi-Fi connection, mobile app, or subscription is required.
Press and hold Clean for 5 seconds until you hear a beep. Check that the Manual Mode indicator is on. In this mode, you decide when to start cleaning rather than relying on an automatic cycle.
Before starting a manual cycle, make sure your cat has left and is away from the unit, then short-press Clean. Manual mode is useful during acclimation and is the mode directed by the guide for smaller or younger cats and pregnant or nursing cats. Follow the model guide for the controls and indicator meanings; never start a cycle with a cat inside.
Automatic mode is intended for cats over 3 lb and older than 6 months. For cats that do not meet both requirements, or cats that are pregnant or nursing, use manual mode as directed in the model guide rather than automatic cleaning.
Confirm that Manual Mode is enabled and start cleaning only when the cat is away from the unit. Let your cat become comfortable entering and leaving at its own pace. Keep another litter box available during the transition, and follow the Quick Setup Guide for the safety instructions.
AS12 Lite is designed for a household with up to 3 cats sharing one unit, one cat at a time. Each cat should be comfortable entering and leaving, and the automatic-mode age and weight requirements apply to every cat that uses it.
More cats mean the waste container can fill sooner. Check it frequently and empty it before it is full, even if fewer than 5 days have passed. If one cat blocks another’s access, or the waste container fills too quickly, provide a second litter box. Keep an existing box available while your cats adjust.
Maintenance and Cleaning FAQ
Empty the waste container every 5 days and no later than 7 days. This is a maximum schedule, not a guarantee that the bin will last that long: check sooner in multi-cat homes or whenever waste builds up. Remove the used liner, tie it closed, and fit a fresh liner securely under the retainer ring without covering the sensor.
Wash the waste container about every 15 days, or sooner when needed, and let it dry completely before putting it back. The guide also recommends a full litter change and chamber clean about once a month. Unplug the machine before cleaning and follow the maintenance instructions.
Use small-granule clumping mineral or bentonite litter. PoPoLitter is made for AutoScooper. Avoid crystal litter, non-clumping litter, and long-strip tofu litter, which are not suitable for the cleaning mechanism.
Keep the litter between the MIN and MAX marks and do not fill above MAX. After adding litter, press Litter Added as instructed in the guide. If you add a little familiar litter to help your cat adjust, use it only if it is also a compatible type; do not mix in incompatible litter.
Turn off and unplug the machine, keep your cat away, and empty the remaining litter. Following the guide, release the cover latch, lift out the litter chamber, and remove the litter bed. The removed chamber and litter bed can be rinsed with water and cleaned with a soft brush.
Do not rinse or immerse the powered base, adapter, or electrical connections. Place the chamber with its opening facing up in a well-ventilated area and let all washed parts dry completely. Reassemble them securely before reconnecting power and refilling with compatible litter. See the illustrated cleaning instructions before disassembly.
Unplug the unit first. Wipe the exterior with a soft, damp cloth and keep the infrared sensor surfaces free of litter dust and residue. Use gentle wiping rather than spraying liquid into the unit, and keep water away from the base, power port, adapter, and electrical parts.
Do not use gasoline, harsh chemicals, or abrasive tools. Only rinse the removable parts identified as washable in the guide, and allow them to dry fully before reassembly. If an alert remains after the bin and sensor areas are clear, contact support@petpivot.com with the indicator pattern and a photo or video.
Customer Reviews
We’ve been using it for a little while now and it has made litter cleanup much less annoying.
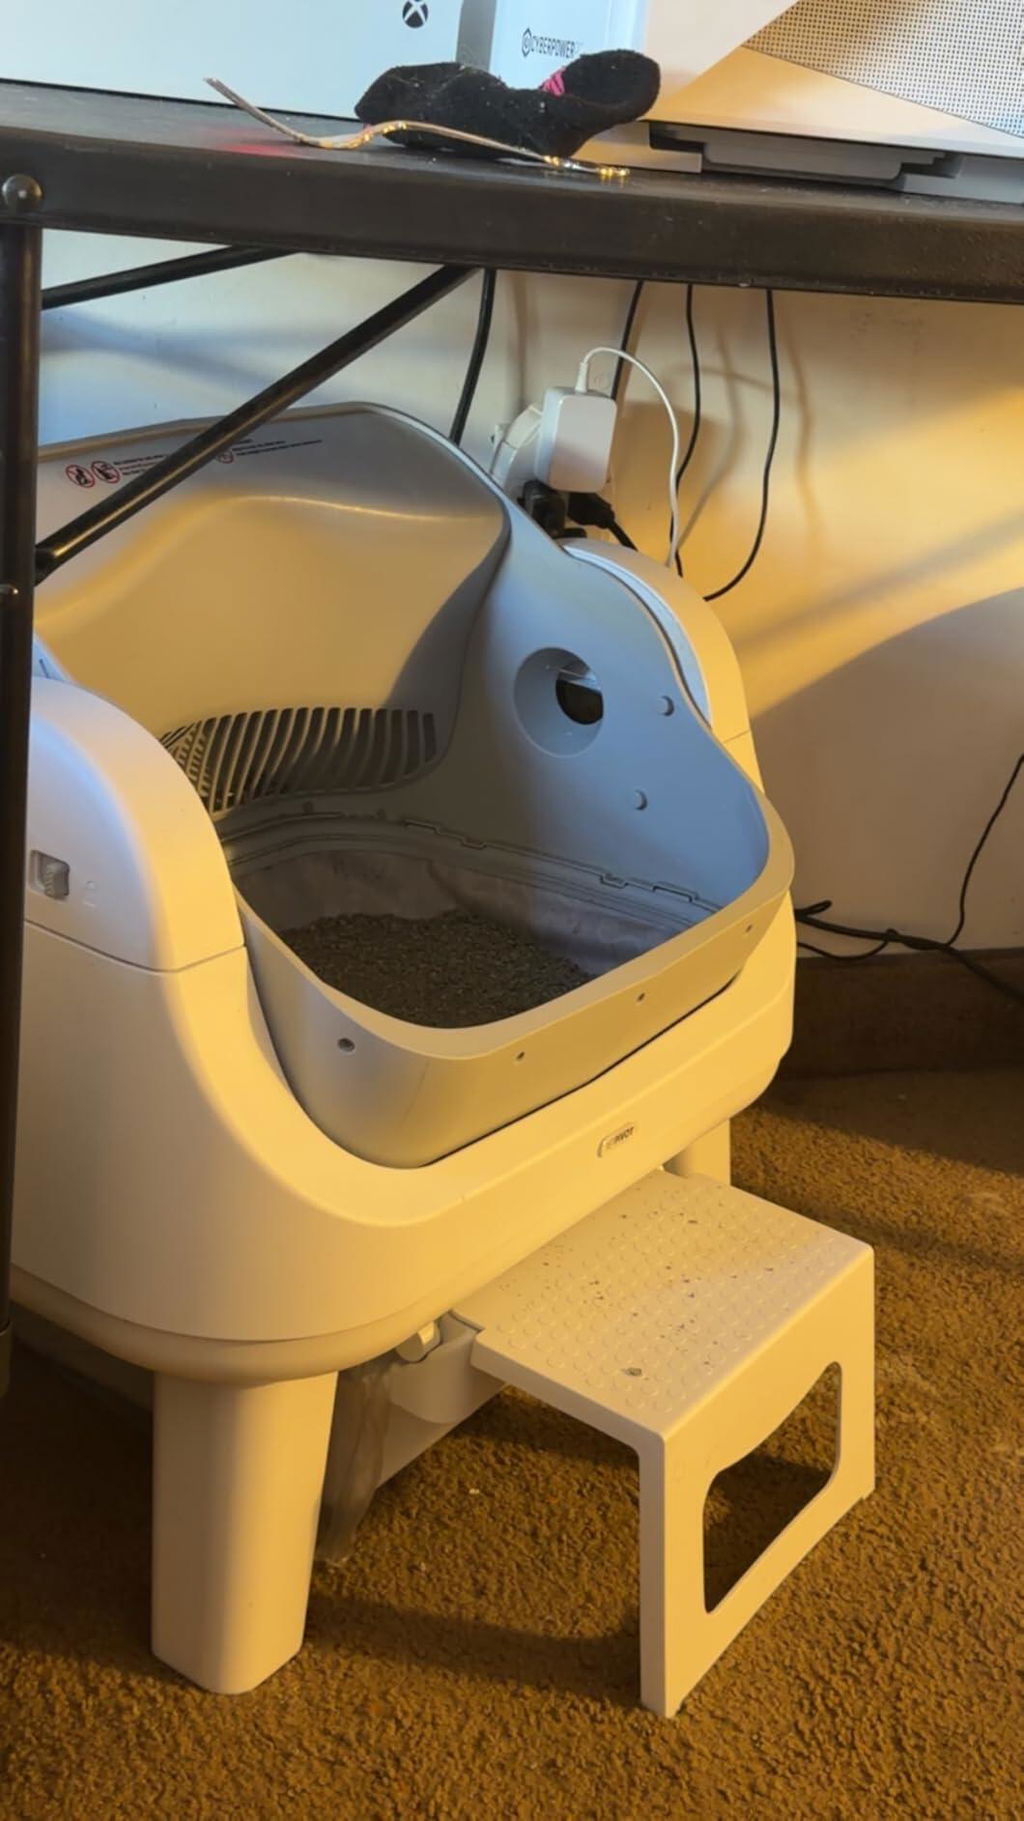
The controls are straightforward and not complicated. My cat adjusted faster than I expected.
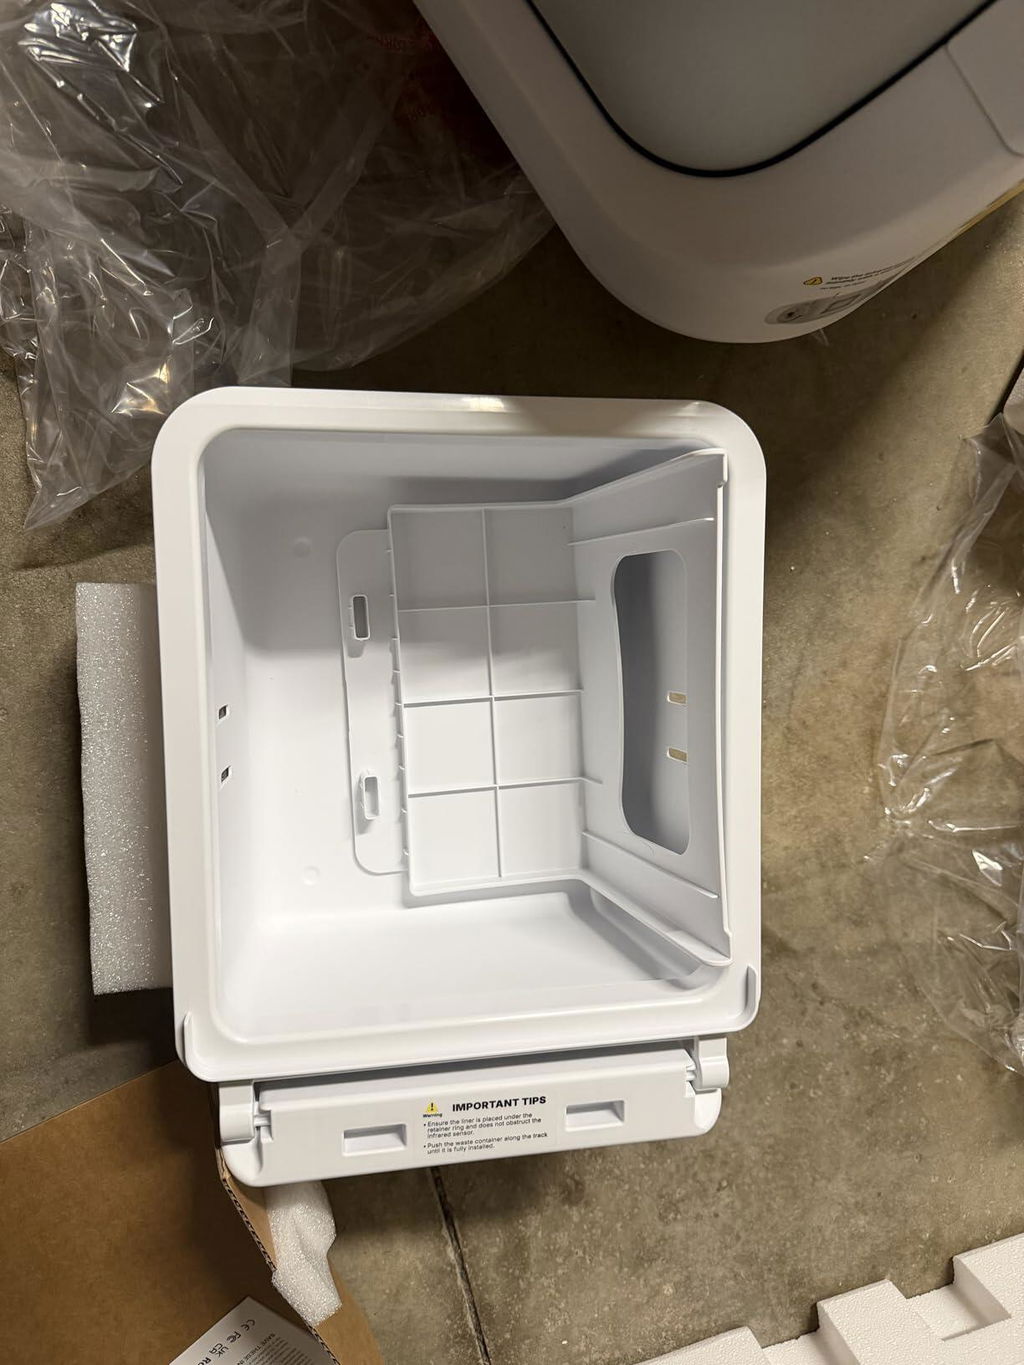
On busy days, this makes a real difference. I still check the drawer, but I’m not constantly scooping.
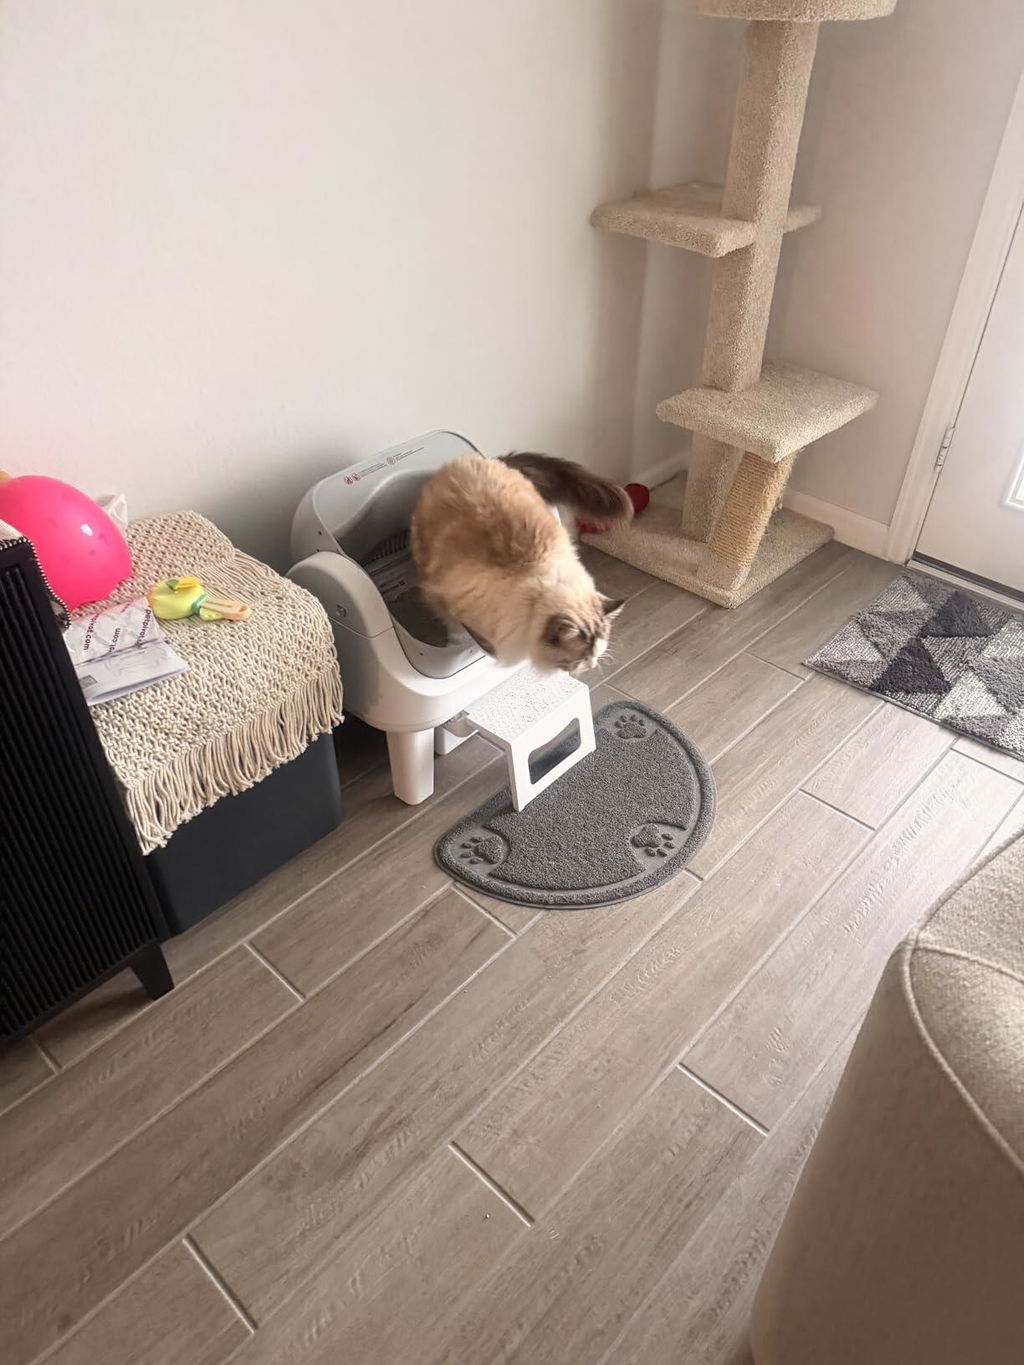
My cat was unsure at first, but after a few days she started using it. Now it’s been working well.
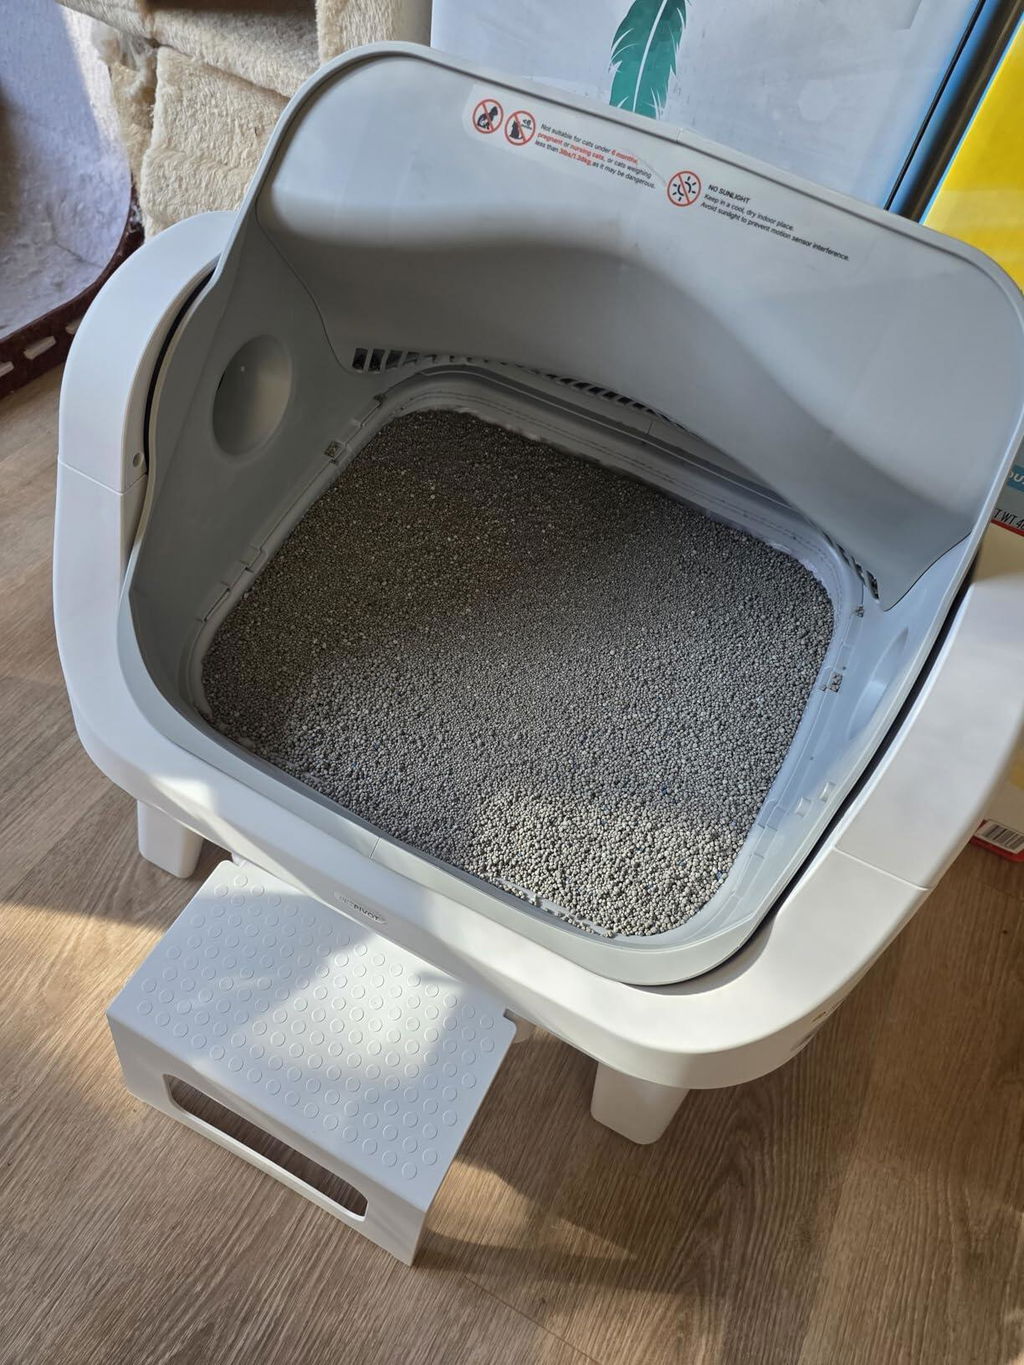
It's a great product—my cat and I really love it
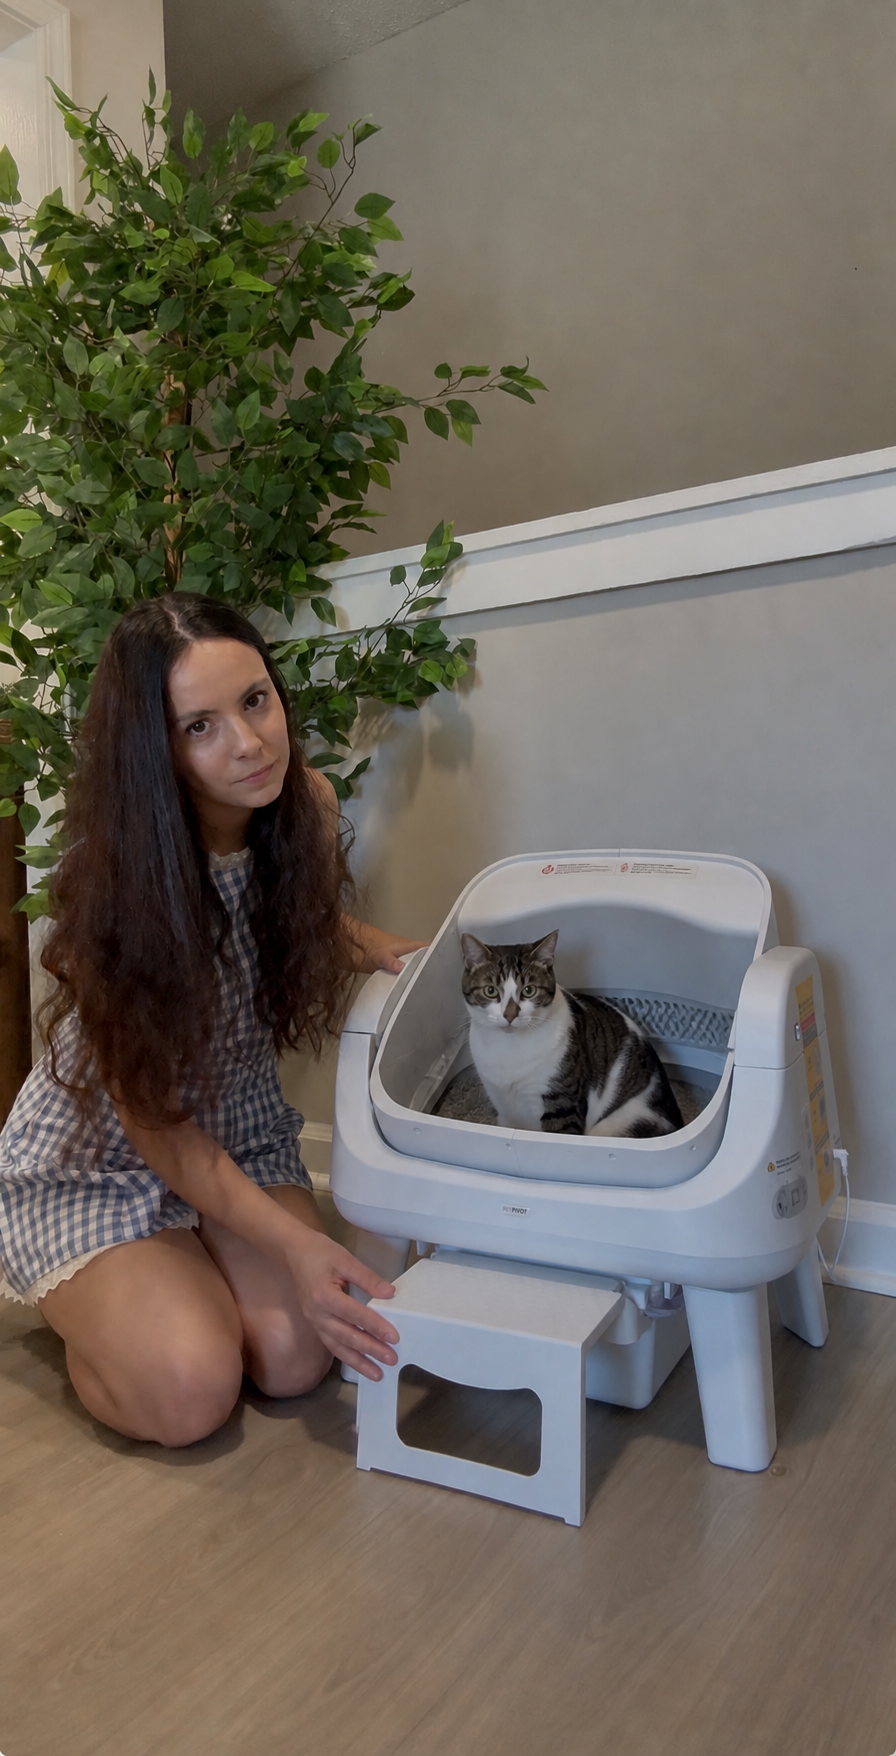
It looks cleaner than our old litter box and makes the room feel less messy. My cat uses it without issues.
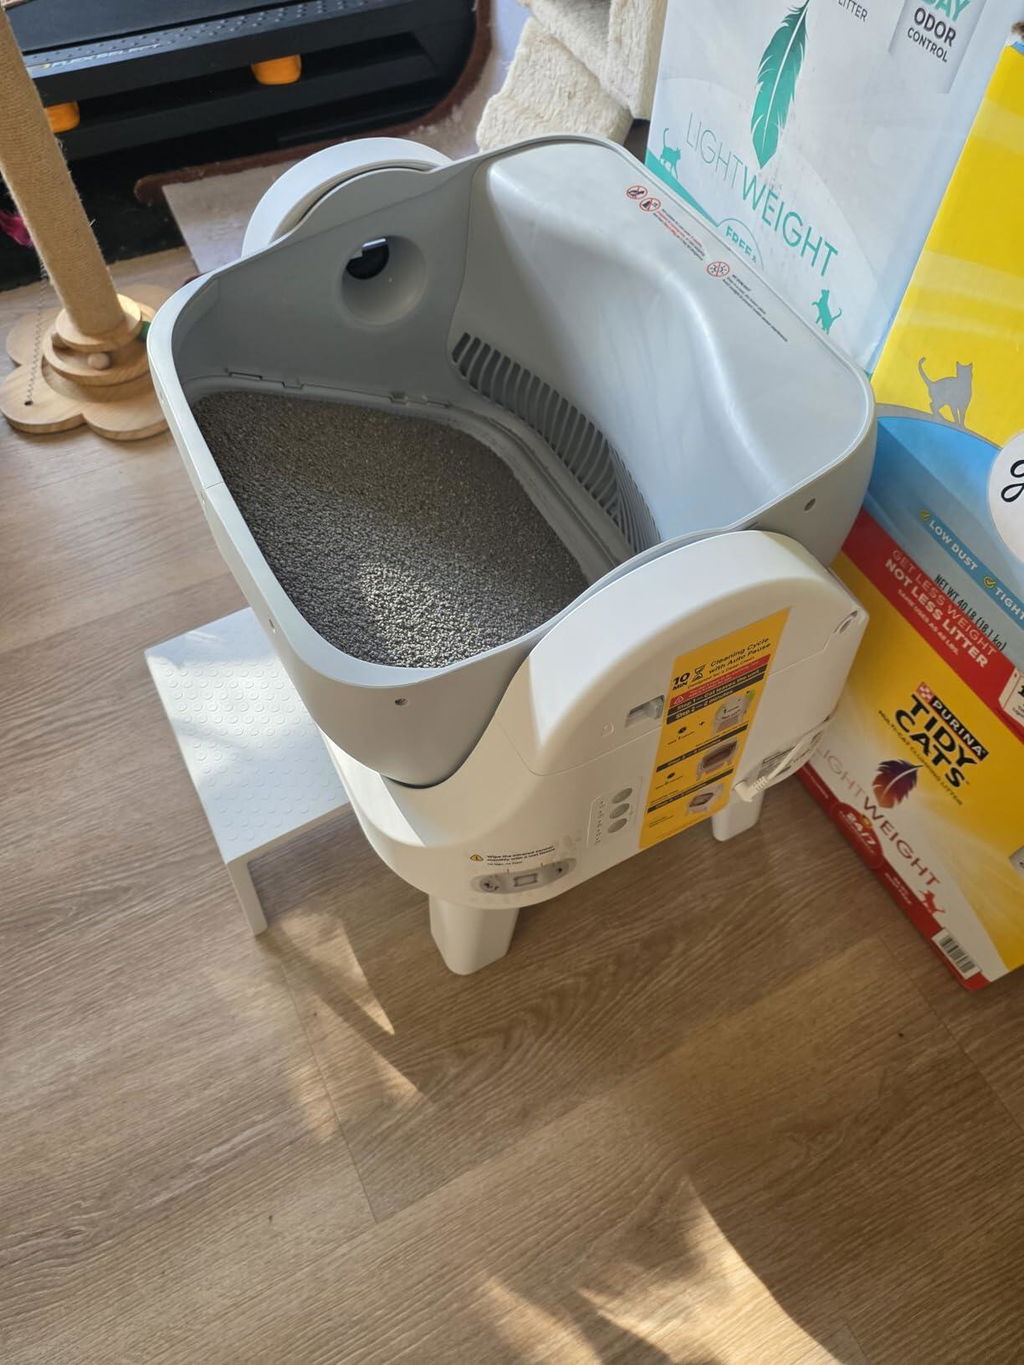
I have three cats, two normal sized, and 1 chunky boy. I was afraid he wasn't gonna be able to use it, but he's managed to back himself in and use it just fine! So very happy that all three of my cats have adapted to it pretty quickly! I wish I didn't have to use clumping litter for this, because it does make a mess. I'm just gonna have to figure out what type of litter mat to put around it, but other than that it's quiet, efficient, and is easy to clean. I couldn't be happier!
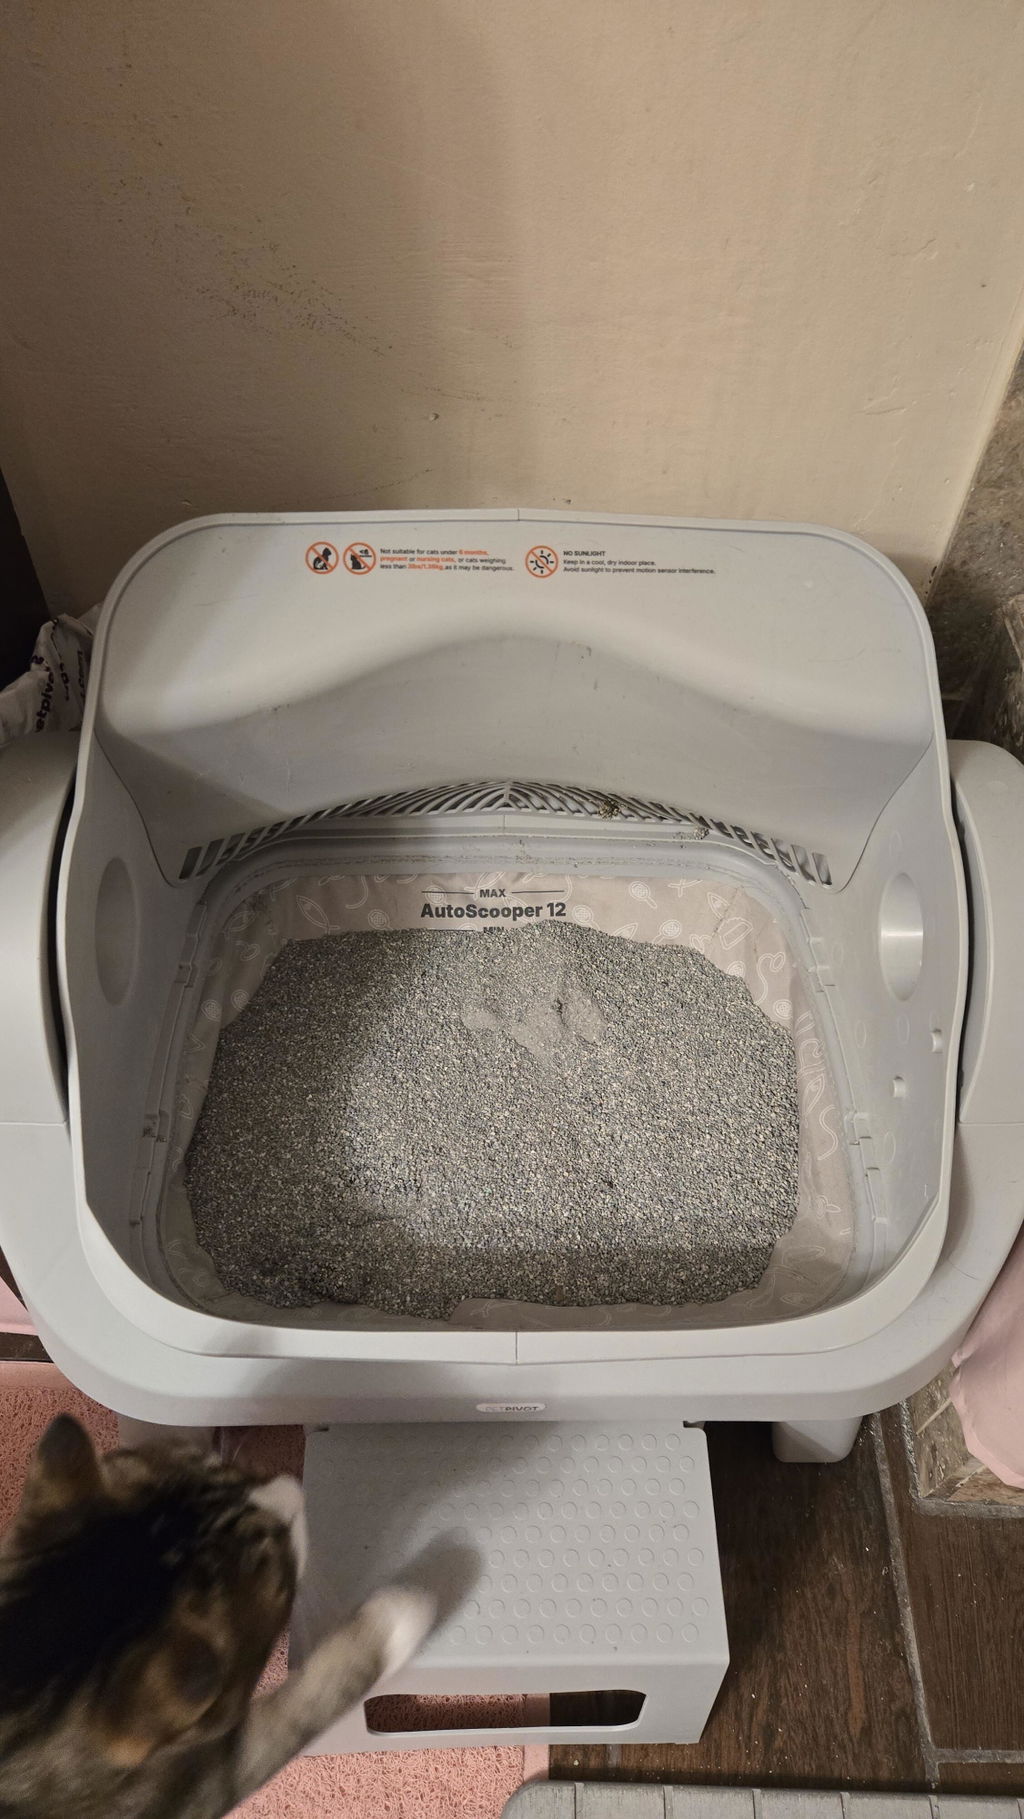
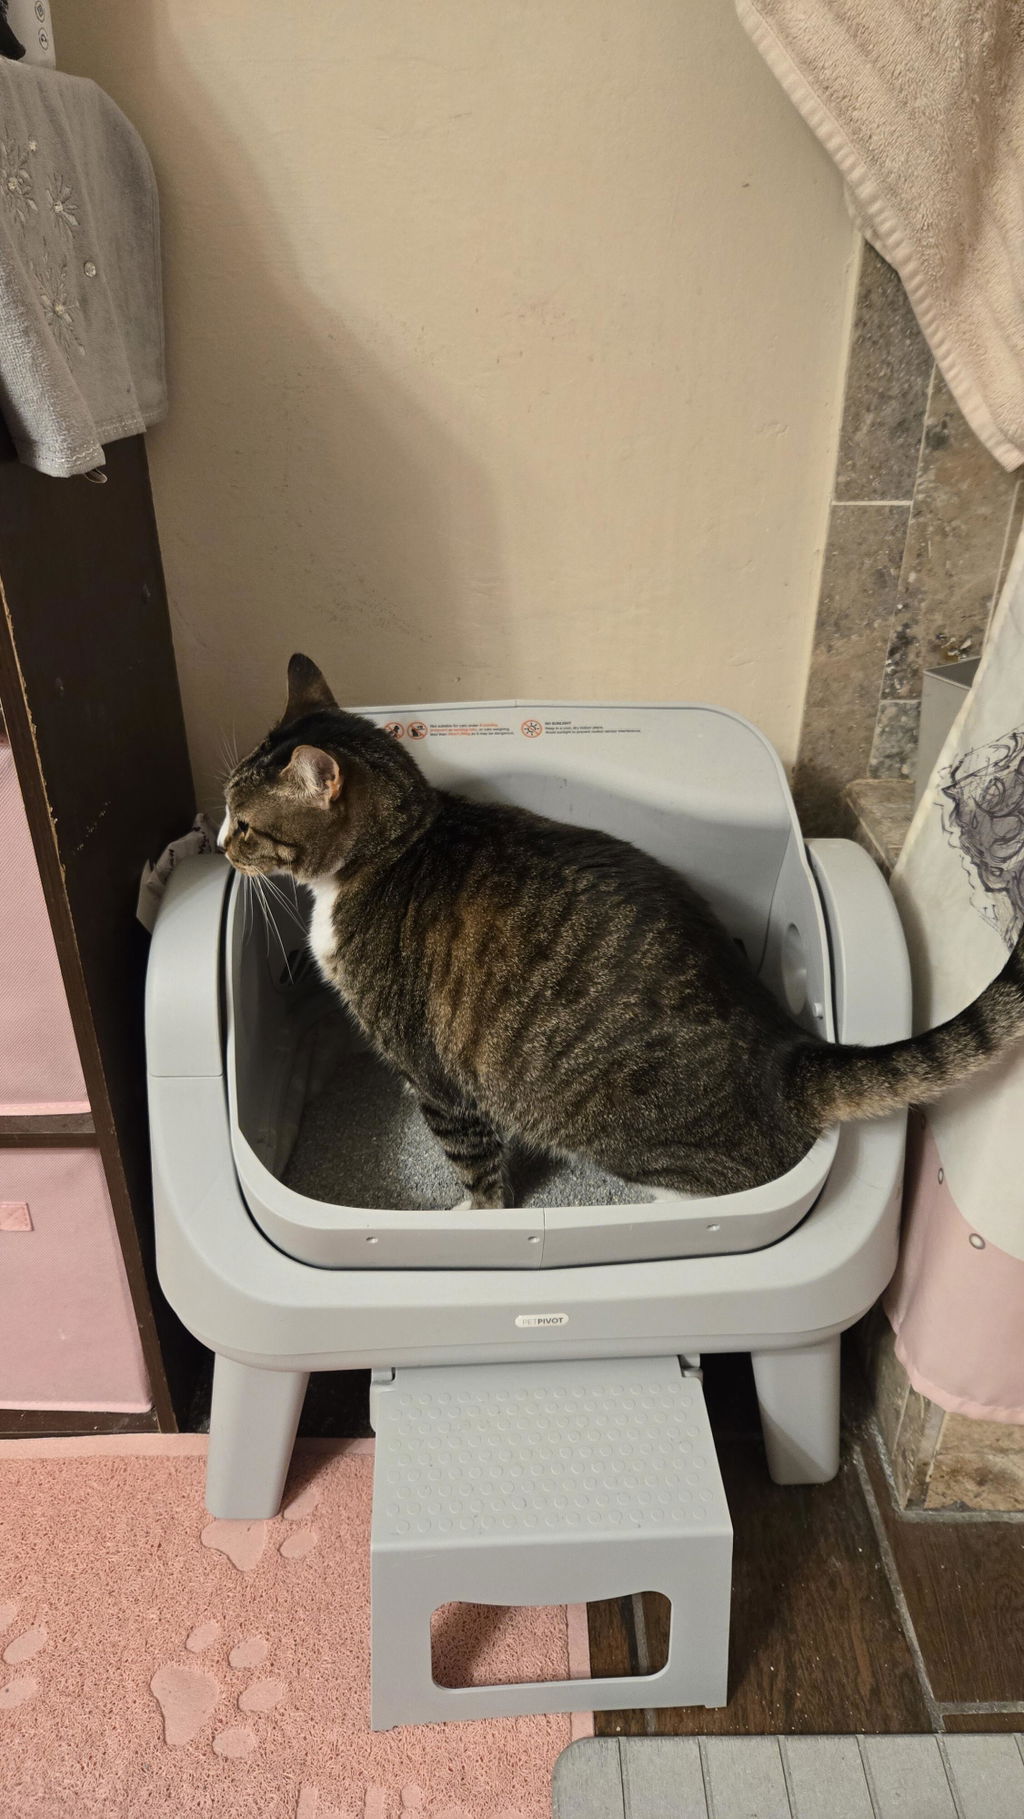
I’ve been using the Autoscooper I’ve been using the AutoScooper 12 Lite Cat Litter Box for a while now, and I really like it. It makes cleaning so much easier and saves a lot of time. My cat got used to it quite quickly, and my home feels much cleaner and fresher compared to a regular litter box. Cat Litter Box for a while now, and I really like it. It makes cleaning so much easier and saves a lot of time. My cat got used to it quite quickly, and my home feels much cleaner and fresher compared to a regular litter box☺️❤️
I wasn’t sure if an automatic litter box would be worth it, but this one has been really helpful.
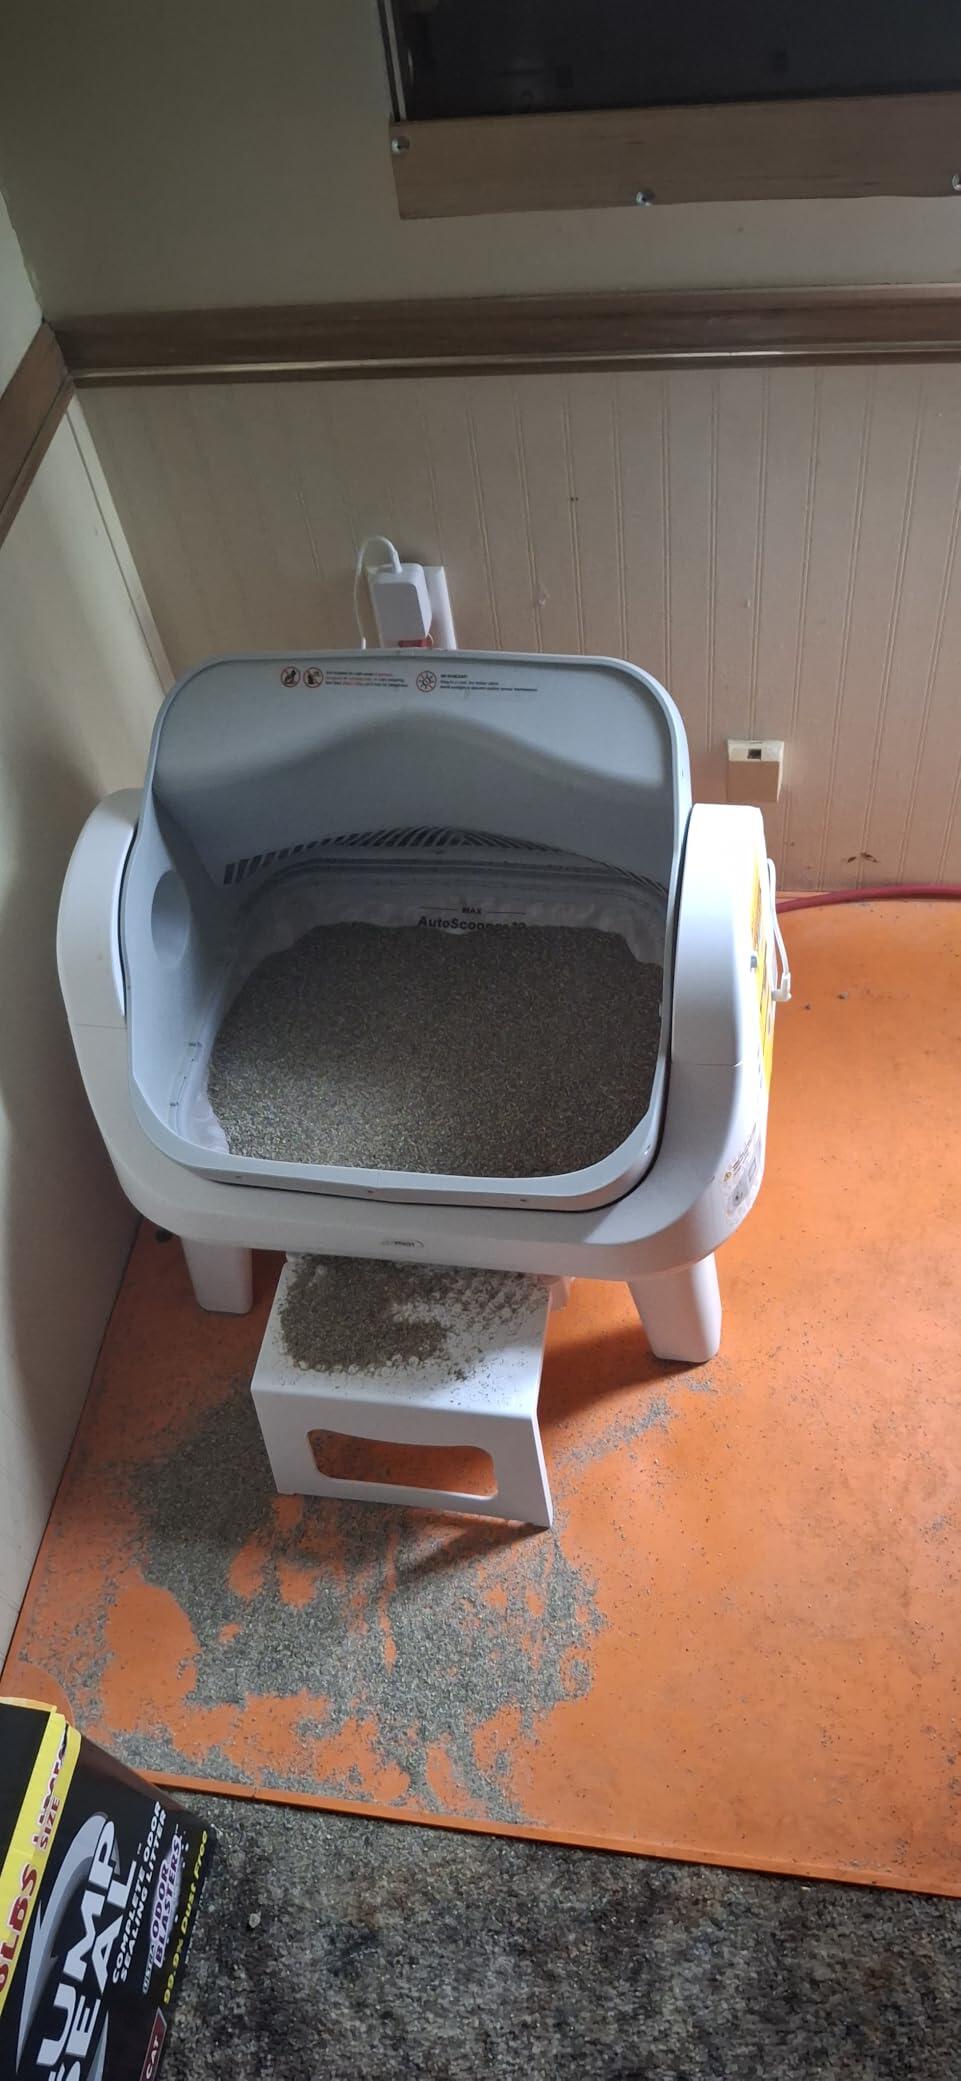
The waste drawer is simple to pull out and clean. Much better than dealing with clumps every day.
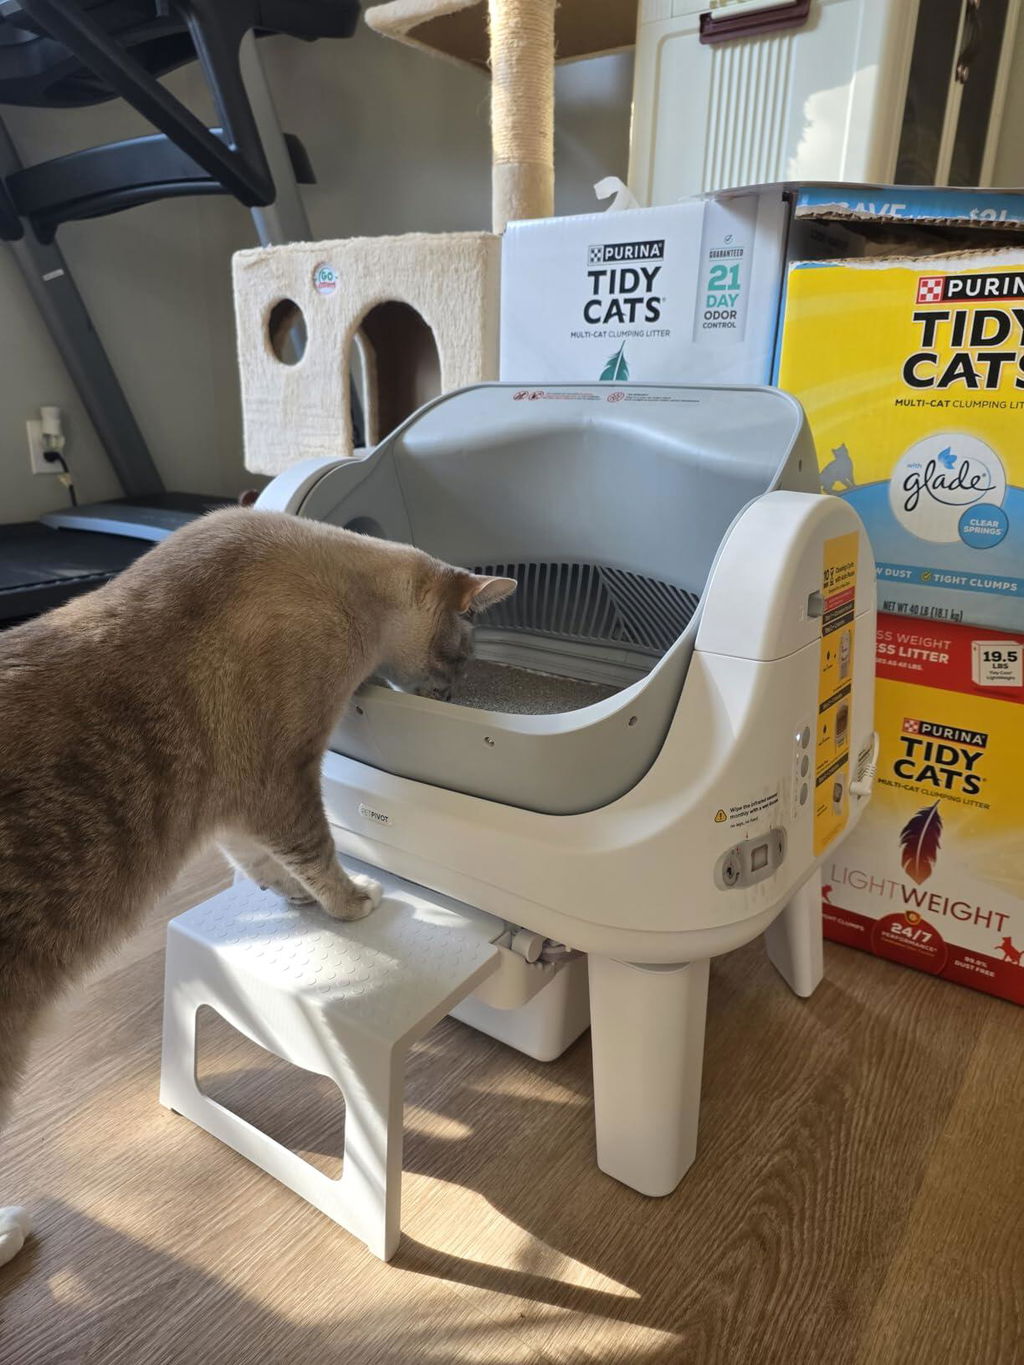
It’s a bit larger than I thought, but it works well and keeps things cleaner than our old box.
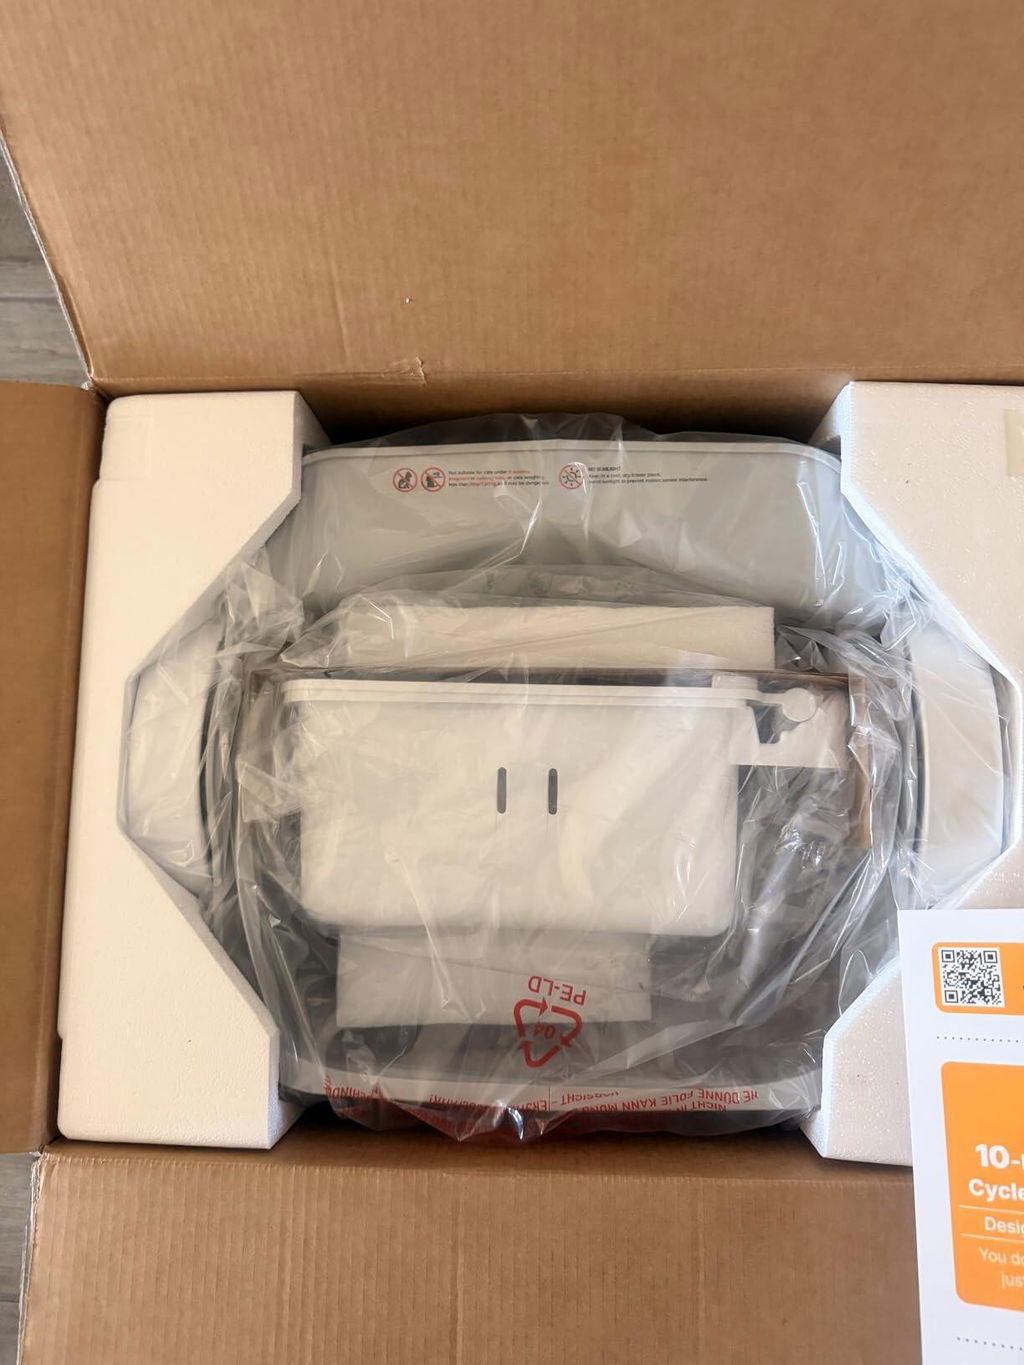
I live in a small apartment, so keeping the litter box clean matters. This helped a lot with the daily mess.
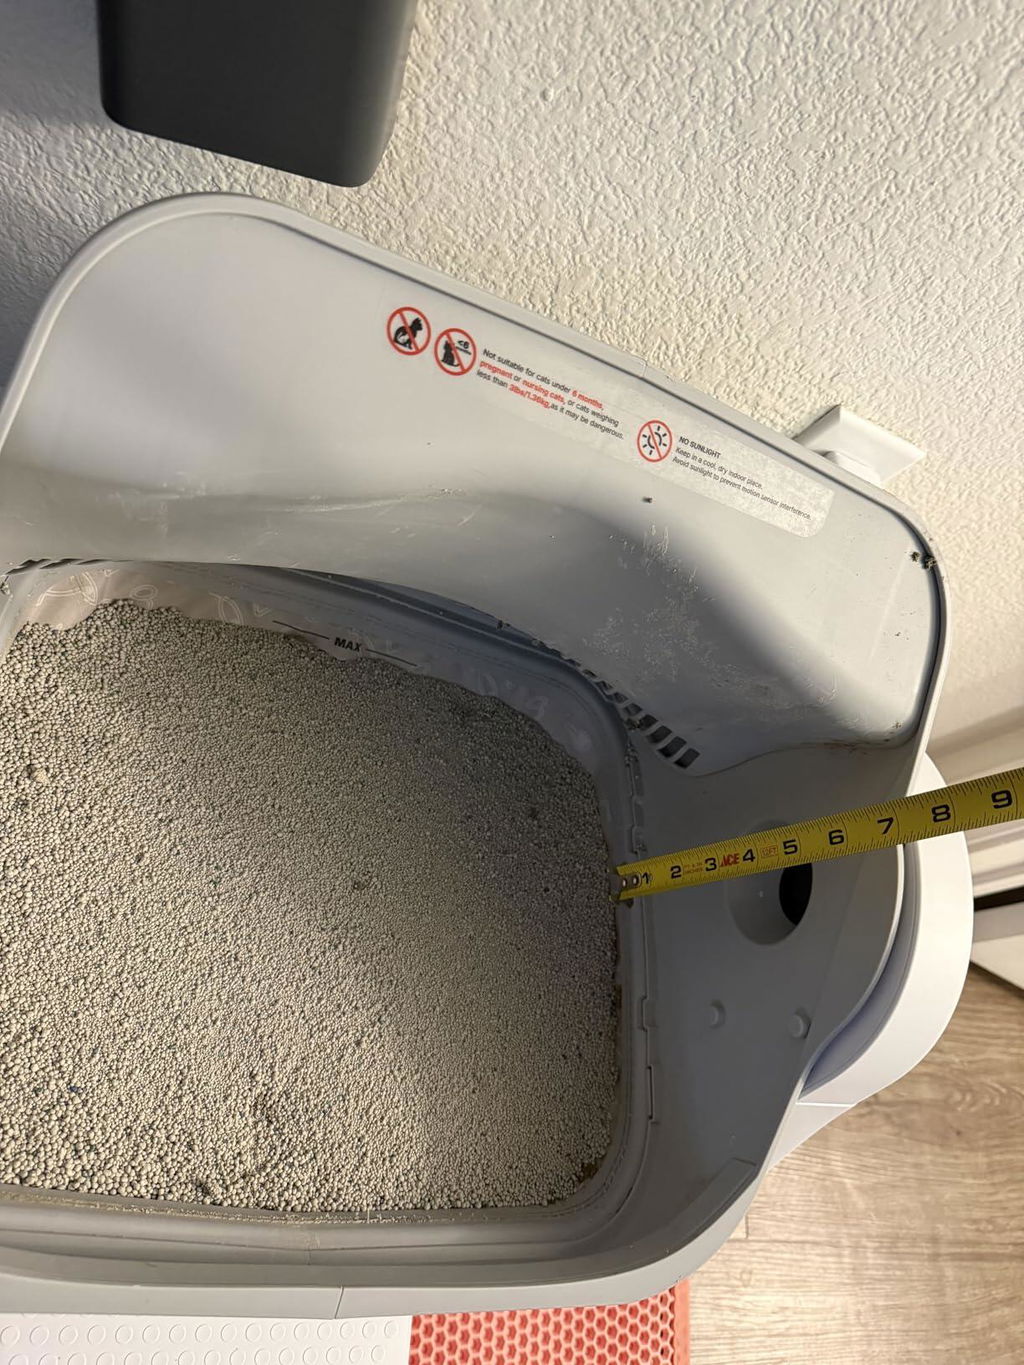
This doesn’t mean zero maintenance, but it definitely cuts down the work. I’m glad I bought it.
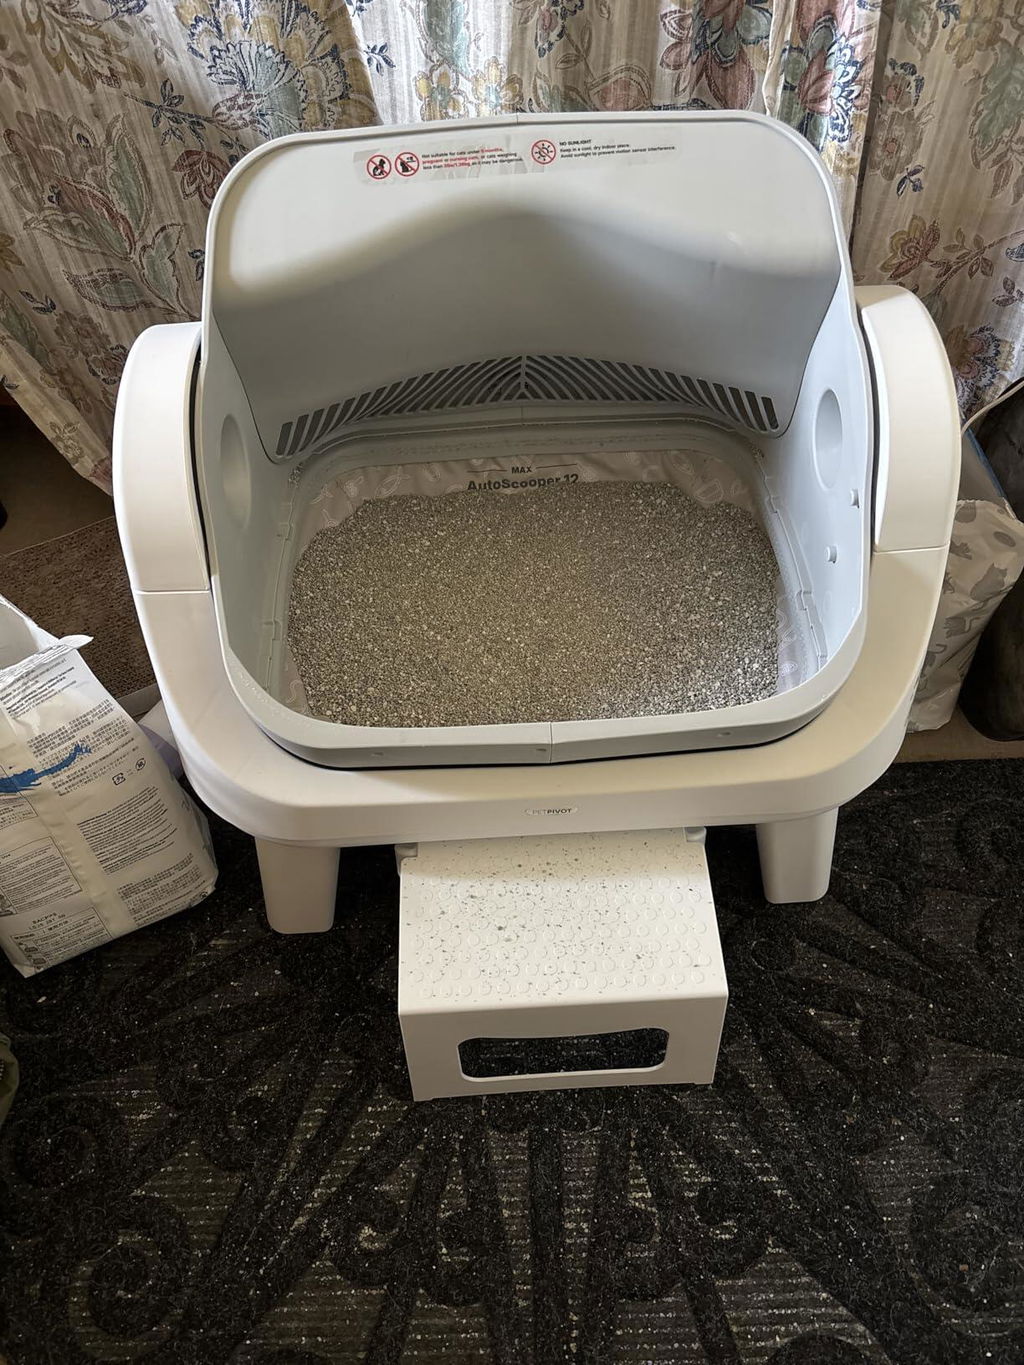
My cat never liked enclosed litter boxes, so the open design was perfect for her. She uses it normally now.
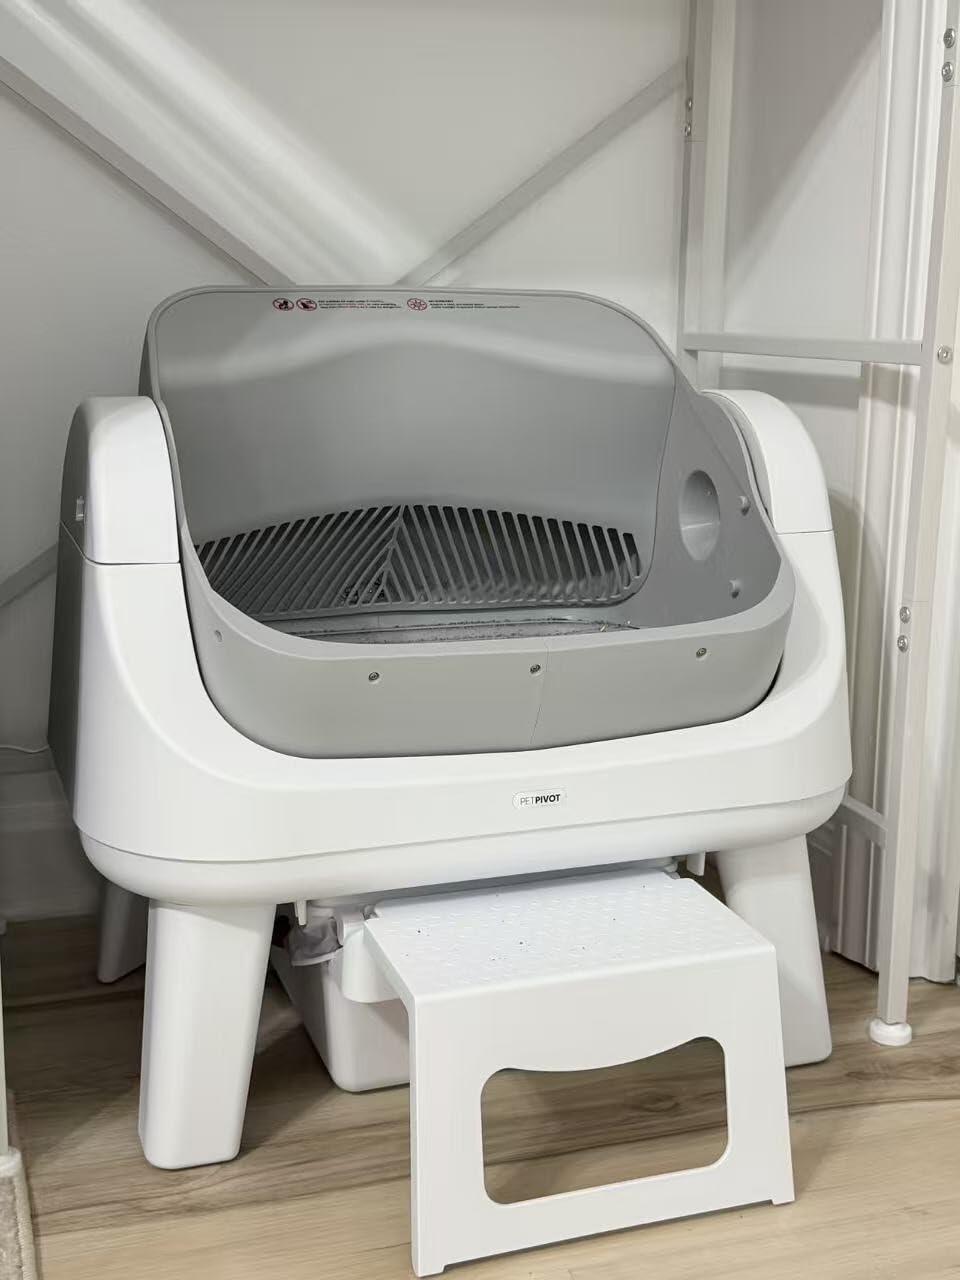
I used to scoop every morning before work. This has made that routine so much easier.
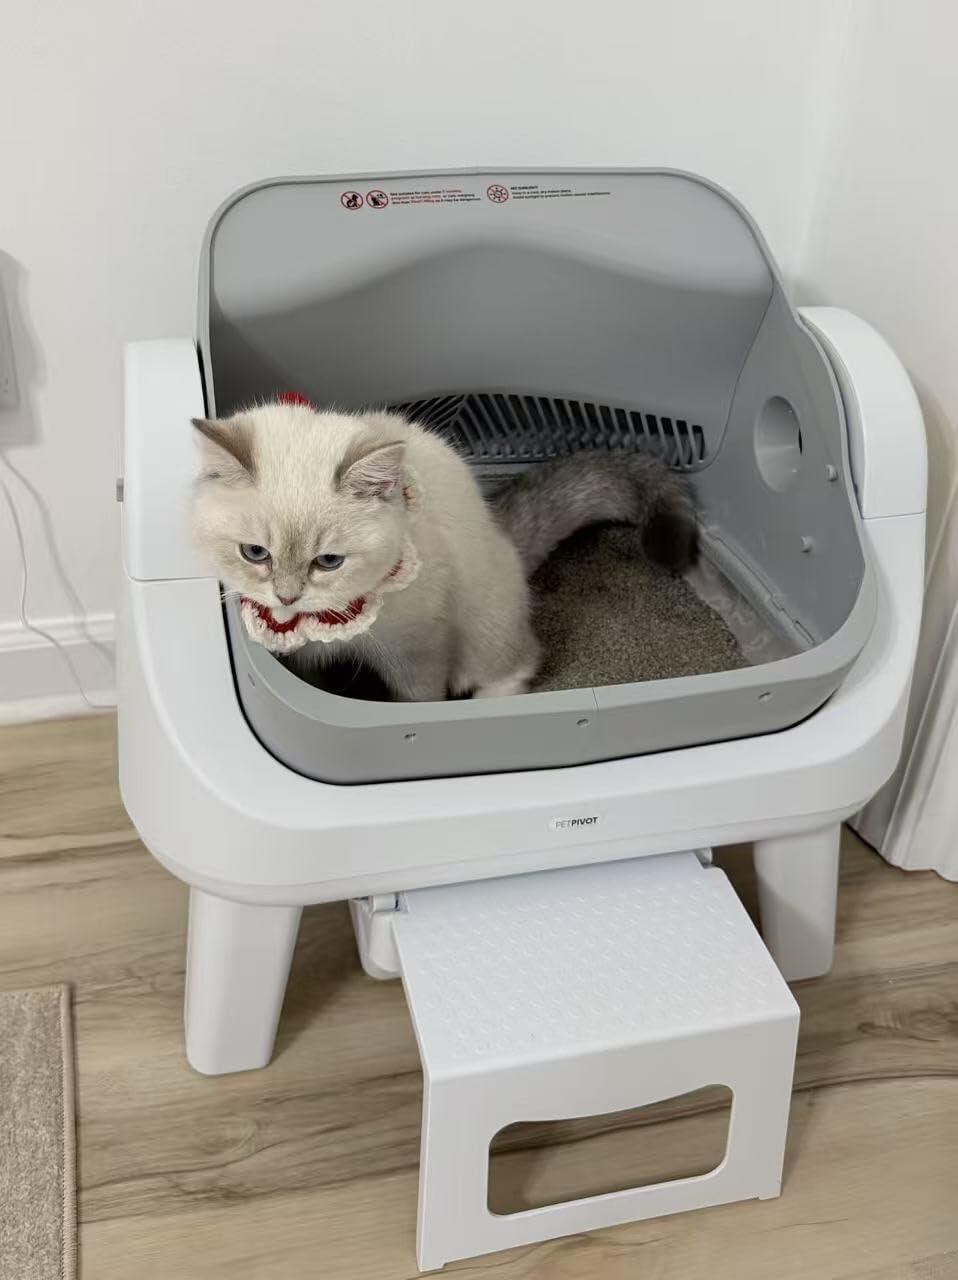
Good product overall. It saves time, but you still need to clean and check it like any litter box.
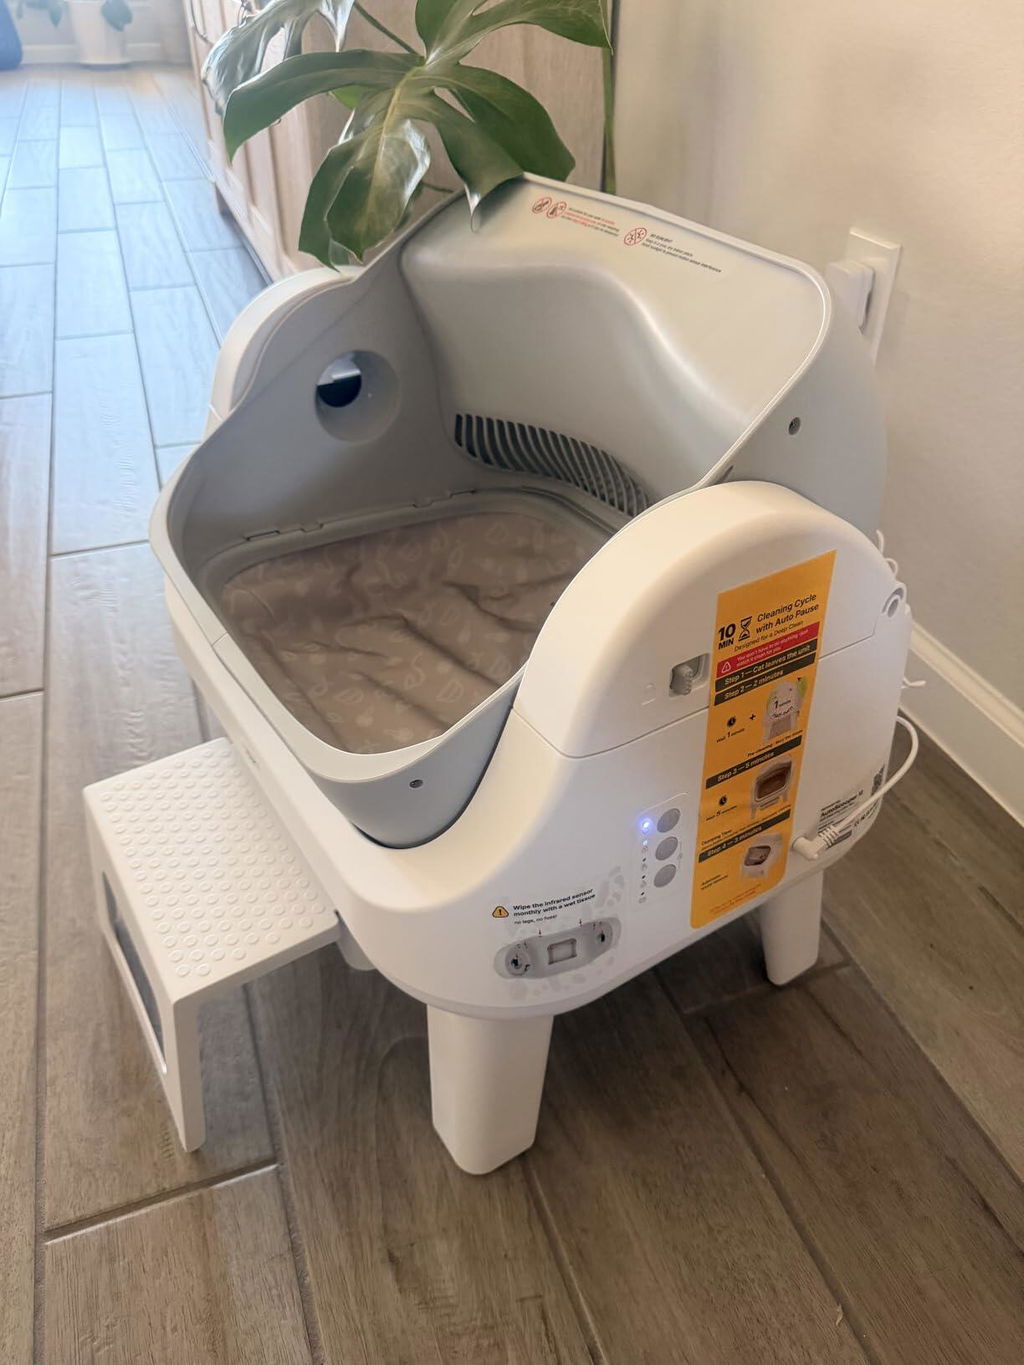
We keep it in the laundry room and the area looks much cleaner now. Emptying the drawer is quick too.
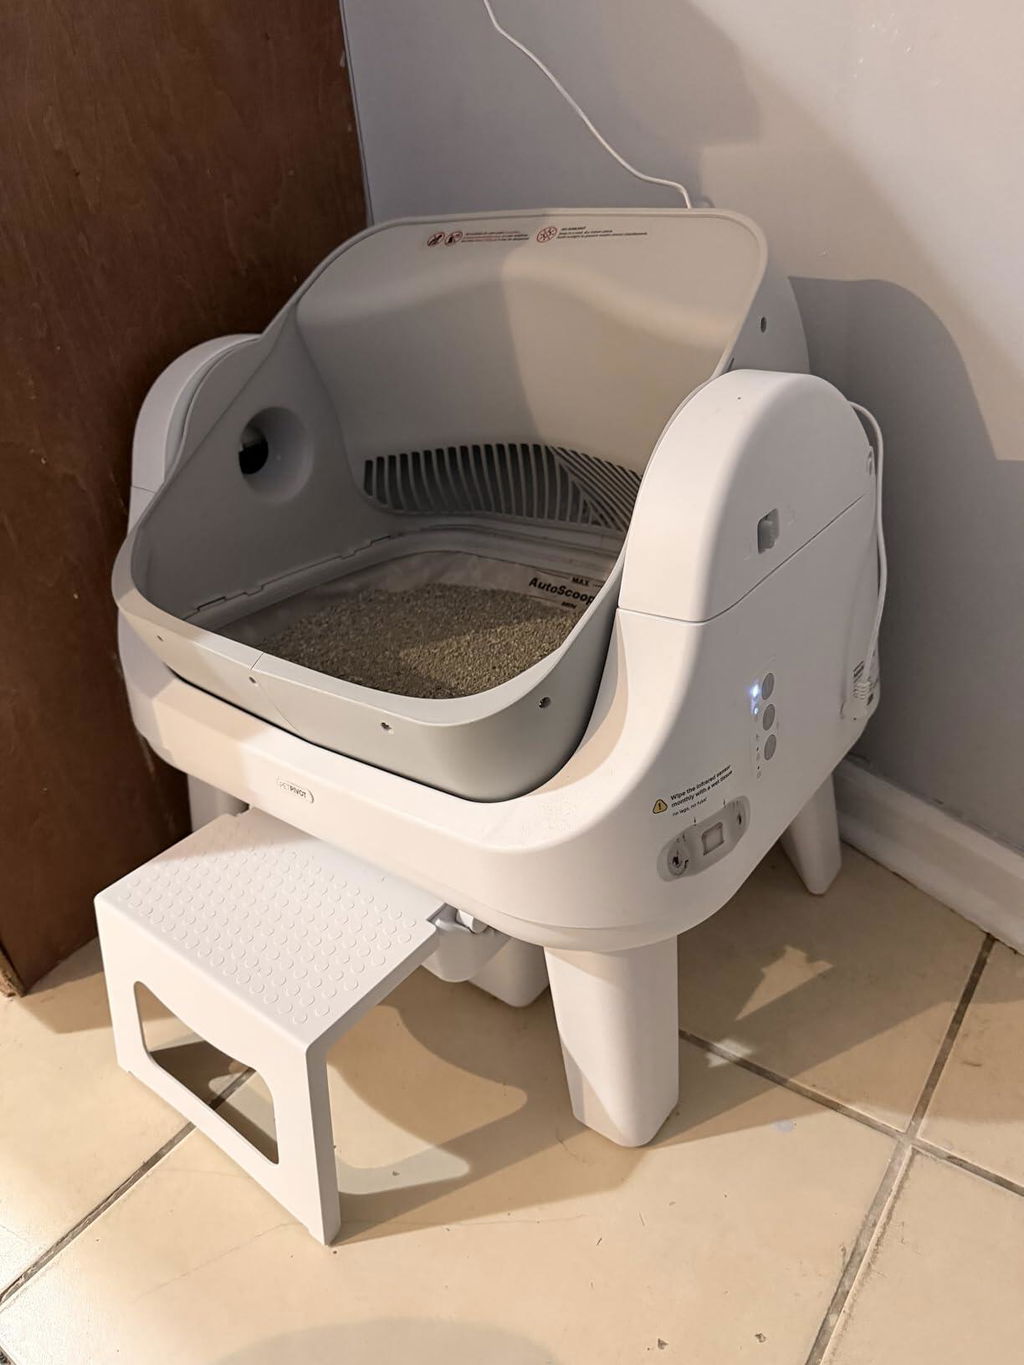
This automatic litter box has seriously made my life so much easier. I ordered it on the 11th and it arrived only 2 days later, early in the morning, way sooner than expected since it originally said it wouldn’t be here until the 15th.Setup was ridiculously easy. It took me less than 5 minutes and it’s literally just 5 simple steps. Super straightforward, no stress, no complicated instructions.And the best part? My big orange boy fits perfectly in it and he actually LOVES it, which honestly surprised me because he can be picky. 😭🧡Overall, this has been such a game changer and I 100% recommend it if you want something that saves time and makes cleaning up so much easier! 🐾✨


My cat usually hates new things, but she started using this within a few days. Very happy with it so far.
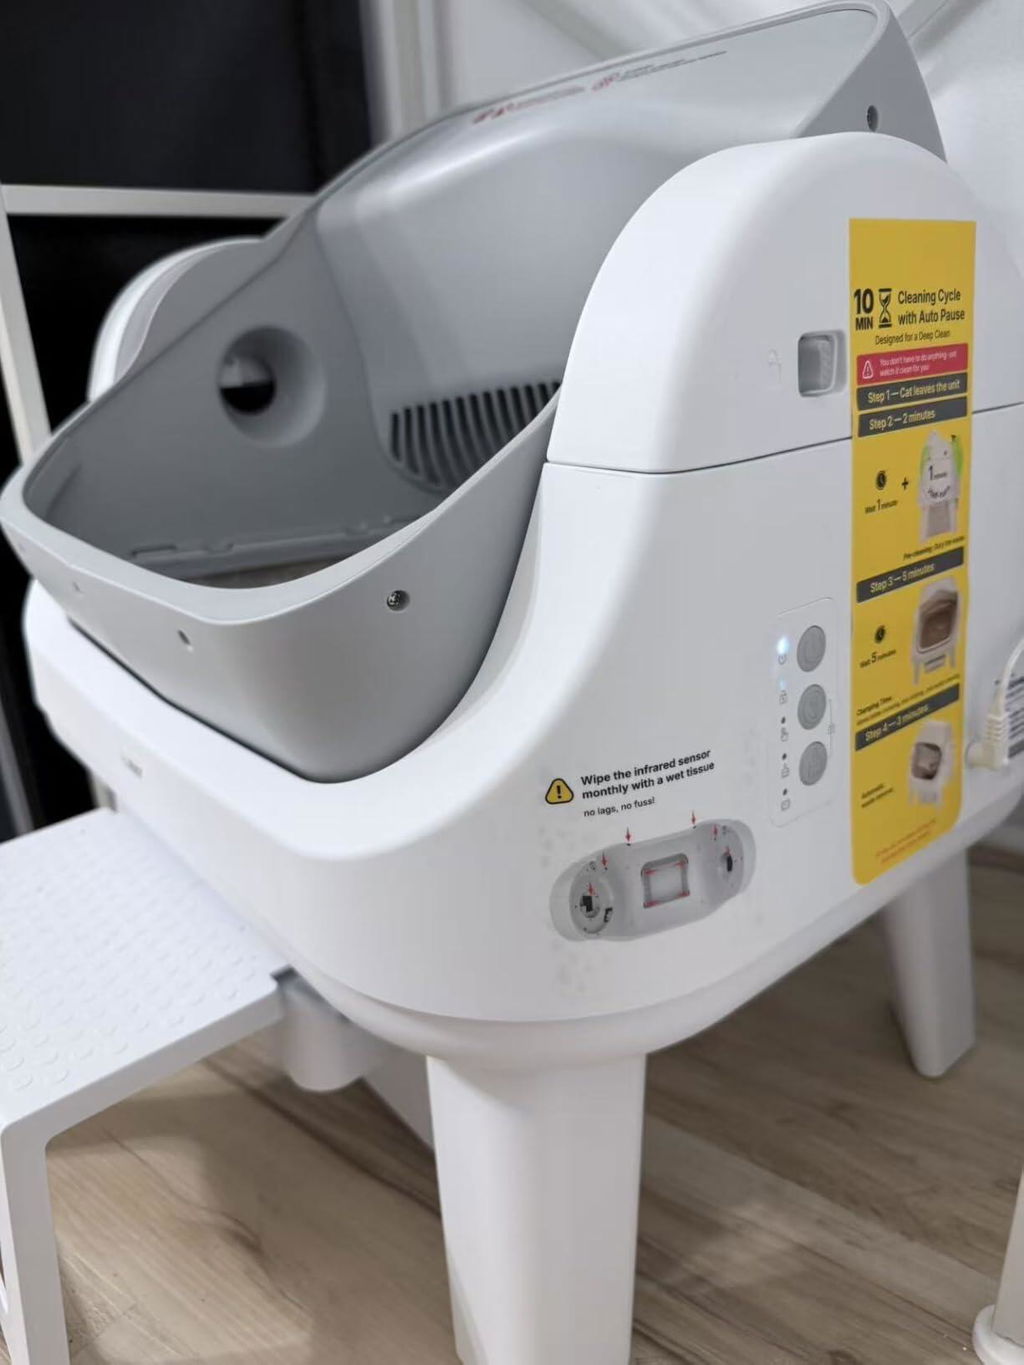
It works well now, but my cat needed a few days and some old litter inside before using it.
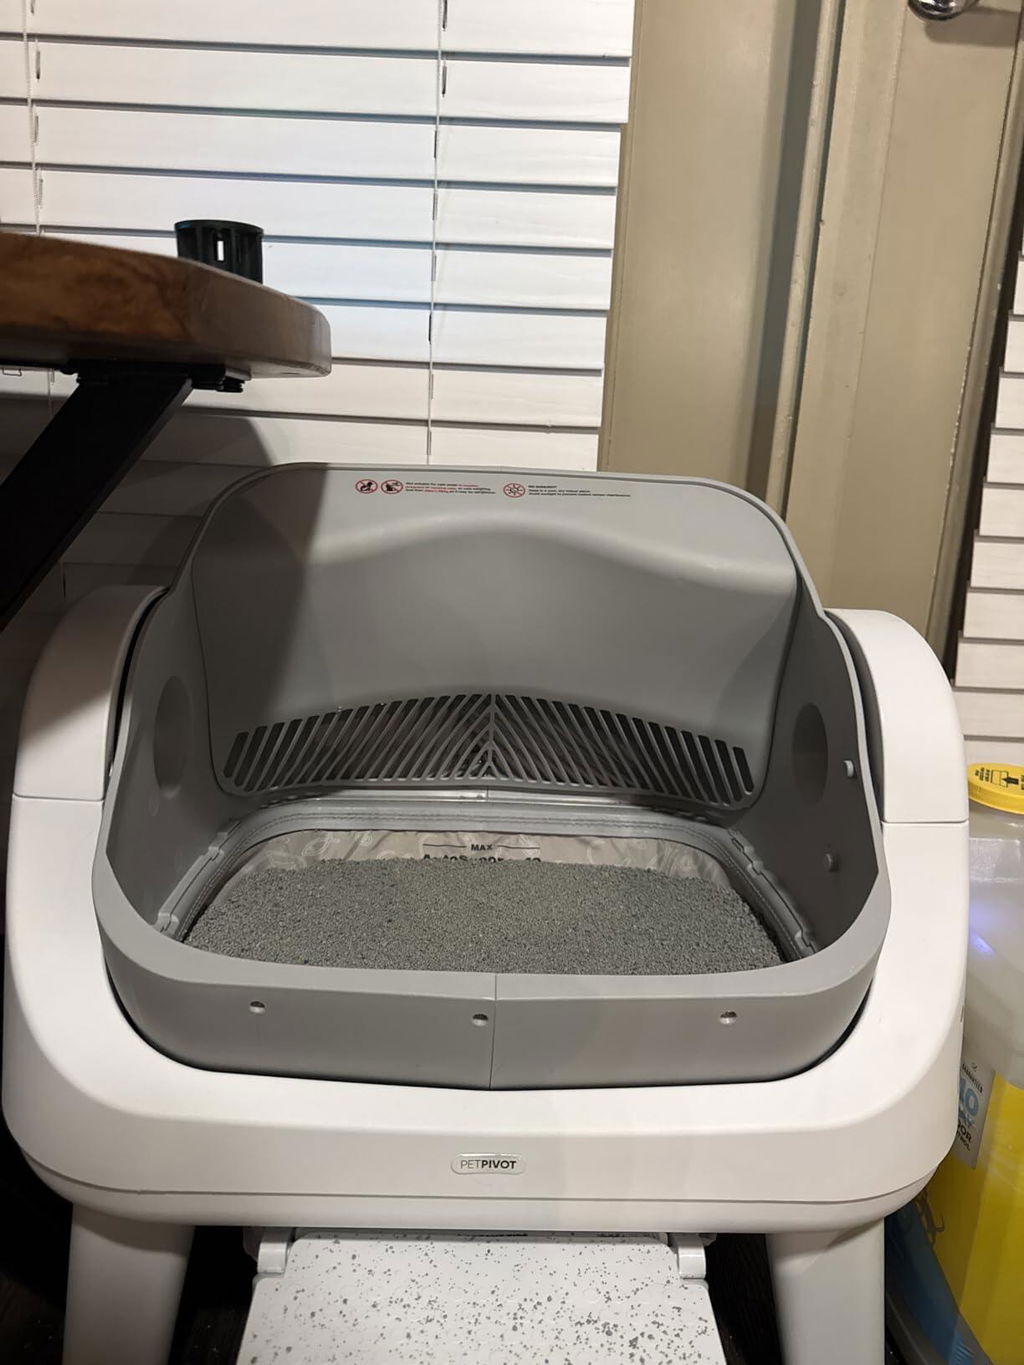
I needed another self cleaning cat litter box for another part of my house and this one does the job again. THis one appears to be a slightly updated model from the one I had in the past from this brand. It has been rock solid for my cats and they love it. I really like the new dark grey color as it is more sleek and appears cleaner. The design of this litter box machine is more compact and feels like it fits better for my cats to go into. I like that it comes with an easy step stool for the cats to climb on to get into and out. Hopefully that will help reduce any chance of litter splashing around when they exit. For the price, this is a great self-cleaning litter box for anyone who has cats. I empty it about once a week on trash day and it makes it so much easier on your life for cleaning up after your cats. I would definitely recommend this to anyone who is on the search for a solid automatic cat litter box


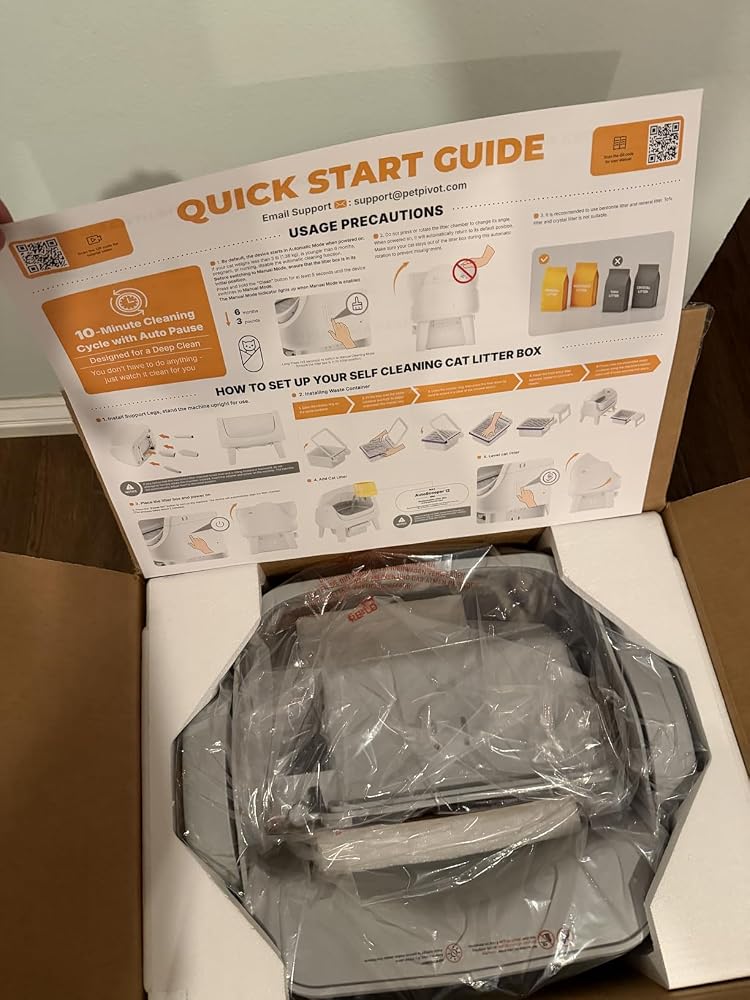
I like that it doesn’t need an app. The buttons are simple and the cleaning cycle is easy to understand.
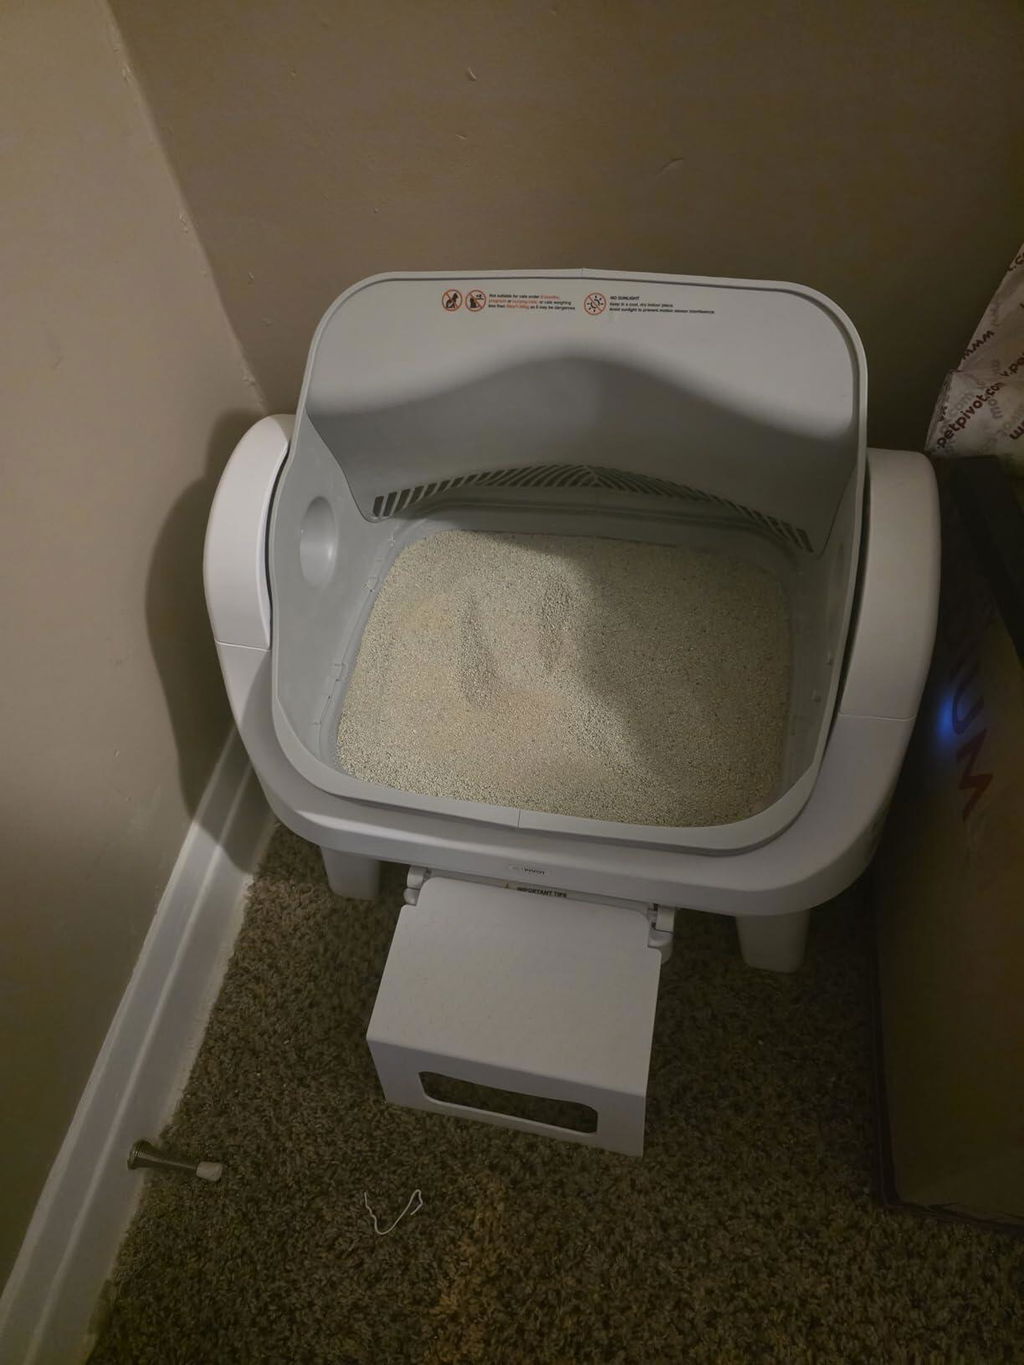
I still check it regularly, but I don’t have to scoop every single day anymore. That alone makes it worth it.