

PetPivot AutoScooper Troubleshooting: Stuck, Not Cycling or Showing an Alert

About the Author
Quick answer: Stop the cycle, keep the cat away from the unit and identify the exact AutoScooper model before changing anything. Then check power, startup alignment, placement, waste-container seating, liner position, litter level, compatible litter and visible sensor areas in that order. Do not force the chamber, bypass a safety response or open the electrical base. If the unit does not return to normal after the current manual's approved checks, record the indicator state and contact PetPivot support. This guide provides a safe diagnostic order. It is not a replacement for the manual packaged with your model. AutoScooper 11 and AutoScooper 12 Lite do not necessarily use the same controls, indicators, litter rules or reset steps. Do not use an automatic litter box while its chamber is misaligned, a component is damaged, a cord is wet or damaged, the unit makes a new grinding sound, or a safety response is uncertain. Symptom First safe check Do not do Next step No power or lights Outlet, adapter connection and dry plug Open the electrical base Try a known working outlet, then contact support Does not cycle after setup Allow startup alignment to finish Press several buttons during alignment Wait for the normal standby state Red or unusual alert Waste bin, liner and visible sensor areas Assume one universal error code Use the current model manual Cycle pauses Confirm the cat and nearby movement are clear Disable or cover a safety sensor Let the documented safety condition clear Chamber appears stuck Power off and inspect for visible obstruction Push, pull or rotate it by force Photograph the position and contact support Waste is not removed Litter type, fill level and clump quality Add more litter above the MAX line Correct one variable and test one manual cycle Step 1: Confirm the model and preserve the evidence Before unplugging or moving anything, note the product model, the light color and whether it is steady or flashing. Record what the unit was doing immediately before the problem. A 15- to 30-second video can show sound, chamber position and indicator behavior more accurately than a written description. Capture: model name and serial information; order number and purchase channel; indicator color and flashing pattern; whether the problem began at startup, after a cat visit, after adding litter or after cleaning; litter type and approximate level; waste-container position; a short video from a safe distance; any recent spill, move, power interruption or part replacement. Do not repeatedly restart the unit before recording the original state. Intermittent problems are easier to diagnose when support can see the first condition. Step 2: Make the area safe Keep the cat in another room during inspection. If the chamber is in an unusual position, the unit is making an unfamiliar sound or a component appears trapped, stop operation. Unplug before cleaning or servicing as directed by the current PetPivot guide. Never: put a hand into a moving chamber; defeat, tape over or cover a sensor; force the chamber to rotate; operate with the waste container removed unless the manual explicitly instructs it; wash the electrical base, adapter or control area; use a damaged power cord; disassemble the motor or internal electronics. These actions can make the original fault harder to diagnose and may create a new hazard. Step 3: Check startup alignment For AutoScooper 12, the current PetPivot AutoScooper user guide states that the chamber aligns after power-on for about two minutes and instructs the user not to press buttons until the unit reaches Auto Mode. If the problem started during setup: Keep the cat away from the unit. Confirm that the unit is upright on a flat, stable indoor surface. Confirm that the waste container and required parts are installed according to the guide. Restore power only if there is no visible damage or wet electrical area. Allow the documented alignment period to finish without additional button presses. Observe whether the unit reaches its normal standby state. Do not apply this sequence to another model unless its current manual gives the same instruction. Start with reversible checks and the current guide; never force a stuck chamber by hand. Step 4: Verify power and placement A loose adapter, switched outlet, power strip or unstable floor can look like a product fault. Check the simplest external conditions first. Push the adapter connection in only as the manual shows. Test the wall outlet with another small appliance. Avoid extension arrangements that create a loose connection or trip path. Place the unit on a hard, flat and stable indoor surface. Keep the power cord out of the cat's route. Keep the plug and hands dry. If the cord, plug or adapter is hot, wet, chewed, cracked or discolored, stop using it and contact support. Do not repair a mains adapter with tape. Step 5: Inspect the waste container and liner For AutoScooper 12, the current guide instructs the owner to fit the liner under the retainer ring, press it down to clear the infrared sensor and slide the waste container into the bottom track until it locks. A container or liner problem can create an alert or prevent normal operation. With power disconnected where the guide requires: empty an overfilled waste container; check that the liner is not folded across a visible sensor area; confirm the retainer ring is closed; remove loose litter from the container track; reinstall the container evenly until it reaches the documented seated position; do not overstuff the liner or leave material protruding into moving areas. If a red light remains after the approved inspection, do not assume the bin was the only cause. The current AutoScooper 12 guide says a flashing or steady red light can indicate either a full waste bin or a triggered safety sensor. Step 6: Check litter type and fill level Too much litter can add load or enter areas it should not. Too little litter can produce weak clumps or poor separation. An incompatible material can pass through a screen, crumble, smear or interfere with movement. For AutoScooper 12, current published guidance specifies: small-piece clumping mineral or bentonite litter; litter between the MIN and MAX lines; no long-strip tofu litter; no crystal litter; use of the Litter Added control after adding litter, as described in the guide. Those instructions are specific to AutoScooper 12. For AutoScooper 11, use the manual supplied with that model or obtain the current instructions from support. Do not copy a litter rule from one model to the other. If the problem began after changing litter, return to a confirmed compatible type only after removing the unsuitable material according to the cleaning instructions. Do not mix random litters in an attempt to make the mechanism move. Step 7: Inspect visible sensor and movement areas Litter dust, a liner edge or a loose clump can affect a visible sensing or movement area. Use only the access and cleaning method permitted by the current guide. Safe inspection means: power is disconnected when cleaning or servicing; the cat is away from the unit; only visible, owner-accessible areas are inspected; loose dry litter is removed with a soft brush or dry cloth; no sensor is scraped, sprayed, covered or pushed; washed removable parts are completely dry before reassembly. If an obstruction is inside a sealed or electrical area, stop. That is a support issue, not a cue to disassemble the base. Symptom guide The AutoScooper has power but will not start a cleaning cycle Confirm that startup alignment has finished, the unit is in the intended mode and no cat or moving object remains near the sensing area. Check the waste container, liner, litter level and visible sensor areas. Then attempt only the manual cycle described for the model. If the control does not respond, record the indicator and contact support. Repeatedly pressing buttons can make it unclear which mode is active. The cycle starts and then pauses A pause may be a normal response to detected presence or movement. Remove people, pets and moving objects from the immediate area and allow the documented condition to clear. Do not cover the sensor to make the cycle continue. If the cycle pauses in an empty area, inspect for a liner edge, loose litter or visible obstruction. A recurring unexplained pause should be documented on video. The chamber appears stuck or misaligned Do not rotate it by hand or pull against the motor. Power off according to the guide, keep the cat away and check only for a plainly visible loose object in an owner-accessible area. Photograph the chamber position and contact support before further operation. The light is red On the current AutoScooper 12 web guide, a flashing or steady red light means the waste bin is full or a safety sensor has been triggered. Inspect the container, liner and visible sensing areas. Because the guide does not publish a complete flashing-code table, do not assign a more specific diagnosis from color alone. The cycle completes but waste remains This is often a separation problem rather than a motor problem. Check: compatible clumping litter; litter between the fill lines; enough time for a firm clump to form; sticky residue on approved washable parts; broken clumps or unusually soft stool; the waste opening for visible loose material. Do not shorten the documented clumping delay or add excessive litter. Persistent soft stool, diarrhea or a new elimination change belongs with a veterinarian, not a machine adjustment. The unit became noisy Stop and compare the sound with normal operation. Look for an unstable floor, a loose external part, litter in a visible track or an overfilled waste area. Grinding, repeated impact or a new electrical smell requires support before further use. A controlled test after basic checks Only run a test when the unit is correctly assembled, dry, unobstructed and the cat is safely away. Use the model's documented manual-clean control once. Watch from outside the moving area. Record whether: the command is accepted; the chamber begins in the expected direction; a pause occurs at the same position; an indicator changes; the waste opening clears; the chamber returns to its normal home position. One controlled test is more useful than many rapid restarts. When to contact PetPivot support Contact support when the chamber cannot return to normal alignment, an alert remains after the approved checks, a sensor response is uncertain, the unit has new grinding or impact sounds, the adapter is damaged, liquid reached the electrical base or the problem recurs. Use the PetPivot FAQ and contact `support@petpivot.com`. Include the model, order number, indicator state, short video, litter type and the checks already completed. Do not ship or return a used litter box before receiving the current return instructions. AutoScooper 11 AutoScooper 12 Lite Official PetPivot product images. Confirm the current product page and model guide before publication. Include model-specific evidence and stop using a unit that appears physically damaged or unsafe. Prevent repeat interruptions Keep litter within the documented fill range. Use only a confirmed compatible litter. Empty the waste container before it overfills. Keep the liner below visible sensing areas. Clean approved parts on schedule and dry them completely. Keep the unit level and the service area clear. Recheck assembly after every deep clean. Save the current manual and support contact. For model-specific operation, return to the PetPivot AutoScooper user guide. For replacement consumables and approved parts, review PetPivot accessories. Frequently Asked Questions Why will my AutoScooper not cycle after I emptied the drawer? The drawer may be empty while the unit still detects a seating, liner, litter-level or presence condition. Check only owner-accessible items in a safe order. Keep the cat away and confirm the unit has completed startup alignment. Reseat the empty drawer and fit the liner exactly as the current model guide shows. Check that litter is compatible, level and within the documented fill range. Remove people, pets and moving objects from the sensing area, then try only the approved manual cycle. Why is the red light still on when the waste drawer is not full? On the current AutoScooper 12 web guide, a red light can also indicate a triggered safety sensor. A poorly seated drawer, liner crossing a sensing area or nearby movement may therefore matter even when capacity is available. What should I do if litter is stuck to the chamber or screen? Power off as the guide instructs and remove only loose material that is plainly visible and owner-accessible. Do not rotate the chamber by hand. Do not insert tools into protected openings. Do not apply liquid to the electrical base or protected sensor areas. Photograph repeated sticking and contact support if normal dry cleaning does not resolve it. Should I keep pressing reset or force a stuck chamber? No. Repeated commands can hide the sequence that caused the fault, and forcing the chamber can damage the mechanism. Stop after the documented checks and preserve the indicator pattern for support. What information should I send PetPivot support? Send enough evidence for the issue to be reproduced without repeating unsafe tests. Exact model, order number and serial information if available. Indicator color and whether it is steady, flashing or accompanied by sound. Litter type, fill level and recent setup or cleaning changes. A short video showing the position of the chamber, drawer and indicator. The safe checks already completed and what happened after each one. Internal Link Map Anchor text Target URL Placement browse PetPivot automatic litter boxes https://petpivot.com/collections/auto-scooper Contextual product discovery or final CTA AutoScooper 11 product details https://petpivot.com/products/litter-box Model-specific product reference AutoScooper 12 Lite product details https://petpivot.com/products/autoscooper-12-lite-cat-litter-box Model-specific product reference PetPivot AutoScooper user guide https://petpivot.com/pages/user-guide Setup, operation, cleaning and safety instructions PetPivot FAQ https://petpivot.com/pages/faq Support and ownership questions Sources and Evidence Notes PetPivot AutoScooper User Guide - Current AutoScooper 12 setup, litter, transition, maintenance, indicators and operating limits. PetPivot AutoScooper 11 product page - Official product page and original product image. PetPivot AutoScooper 12 Lite product page - Official product page and original product image.
Quick answer: Stop the cycle, keep the cat away from the unit and identify the exact AutoScooper model before changing anything. Then check power, startup alignment, placement, waste-container seating, liner position, litter level, compatible litter and visible sensor areas in that order. Do not force the chamber, bypass a safety response or open the electrical base. If the unit does not return to normal after the current manual's approved checks, record the indicator state and contact PetPivot support.
This guide provides a safe diagnostic order. It is not a replacement for the manual packaged with your model. AutoScooper 11 and AutoScooper 12 Lite do not necessarily use the same controls, indicators, litter rules or reset steps.
Do not use an automatic litter box while its chamber is misaligned, a component is damaged, a cord is wet or damaged, the unit makes a new grinding sound, or a safety response is uncertain.
|
Symptom |
First safe check |
Do not do |
Next step |
|
No power or lights |
Outlet, adapter connection and dry plug |
Open the electrical base |
Try a known working outlet, then contact support |
|
Does not cycle after setup |
Allow startup alignment to finish |
Press several buttons during alignment |
Wait for the normal standby state |
|
Red or unusual alert |
Waste bin, liner and visible sensor areas |
Assume one universal error code |
Use the current model manual |
|
Cycle pauses |
Confirm the cat and nearby movement are clear |
Disable or cover a safety sensor |
Let the documented safety condition clear |
|
Chamber appears stuck |
Power off and inspect for visible obstruction |
Push, pull or rotate it by force |
Photograph the position and contact support |
|
Waste is not removed |
Litter type, fill level and clump quality |
Add more litter above the MAX line |
Correct one variable and test one manual cycle |
Step 1: Confirm the model and preserve the evidence
Before unplugging or moving anything, note the product model, the light color and whether it is steady or flashing. Record what the unit was doing immediately before the problem. A 15- to 30-second video can show sound, chamber position and indicator behavior more accurately than a written description.
Capture:
- model name and serial information;
- order number and purchase channel;
- indicator color and flashing pattern;
- whether the problem began at startup, after a cat visit, after adding litter or after cleaning;
- litter type and approximate level;
- waste-container position;
- a short video from a safe distance;
- any recent spill, move, power interruption or part replacement.
Do not repeatedly restart the unit before recording the original state. Intermittent problems are easier to diagnose when support can see the first condition.
Step 2: Make the area safe
Keep the cat in another room during inspection. If the chamber is in an unusual position, the unit is making an unfamiliar sound or a component appears trapped, stop operation. Unplug before cleaning or servicing as directed by the current PetPivot guide.
Never:
- put a hand into a moving chamber;
- defeat, tape over or cover a sensor;
- force the chamber to rotate;
- operate with the waste container removed unless the manual explicitly instructs it;
- wash the electrical base, adapter or control area;
- use a damaged power cord;
- disassemble the motor or internal electronics.
These actions can make the original fault harder to diagnose and may create a new hazard.
Step 3: Check startup alignment
For AutoScooper 12, the current PetPivot AutoScooper user guide states that the chamber aligns after power-on for about two minutes and instructs the user not to press buttons until the unit reaches Auto Mode.
If the problem started during setup:
- Keep the cat away from the unit.
- Confirm that the unit is upright on a flat, stable indoor surface.
- Confirm that the waste container and required parts are installed according to the guide.
- Restore power only if there is no visible damage or wet electrical area.
- Allow the documented alignment period to finish without additional button presses.
- Observe whether the unit reaches its normal standby state.
Do not apply this sequence to another model unless its current manual gives the same instruction.

Start with reversible checks and the current guide; never force a stuck chamber by hand.
Step 4: Verify power and placement
A loose adapter, switched outlet, power strip or unstable floor can look like a product fault. Check the simplest external conditions first.
- Push the adapter connection in only as the manual shows.
- Test the wall outlet with another small appliance.
- Avoid extension arrangements that create a loose connection or trip path.
- Place the unit on a hard, flat and stable indoor surface.
- Keep the power cord out of the cat's route.
- Keep the plug and hands dry.
If the cord, plug or adapter is hot, wet, chewed, cracked or discolored, stop using it and contact support. Do not repair a mains adapter with tape.
Step 5: Inspect the waste container and liner
For AutoScooper 12, the current guide instructs the owner to fit the liner under the retainer ring, press it down to clear the infrared sensor and slide the waste container into the bottom track until it locks.
A container or liner problem can create an alert or prevent normal operation. With power disconnected where the guide requires:
- empty an overfilled waste container;
- check that the liner is not folded across a visible sensor area;
- confirm the retainer ring is closed;
- remove loose litter from the container track;
- reinstall the container evenly until it reaches the documented seated position;
- do not overstuff the liner or leave material protruding into moving areas.
If a red light remains after the approved inspection, do not assume the bin was the only cause. The current AutoScooper 12 guide says a flashing or steady red light can indicate either a full waste bin or a triggered safety sensor.
Step 6: Check litter type and fill level
Too much litter can add load or enter areas it should not. Too little litter can produce weak clumps or poor separation. An incompatible material can pass through a screen, crumble, smear or interfere with movement.
For AutoScooper 12, current published guidance specifies:
- small-piece clumping mineral or bentonite litter;
- litter between the MIN and MAX lines;
- no long-strip tofu litter;
- no crystal litter;
- use of the Litter Added control after adding litter, as described in the guide.
Those instructions are specific to AutoScooper 12. For AutoScooper 11, use the manual supplied with that model or obtain the current instructions from support. Do not copy a litter rule from one model to the other.
If the problem began after changing litter, return to a confirmed compatible type only after removing the unsuitable material according to the cleaning instructions. Do not mix random litters in an attempt to make the mechanism move.
Step 7: Inspect visible sensor and movement areas
Litter dust, a liner edge or a loose clump can affect a visible sensing or movement area. Use only the access and cleaning method permitted by the current guide.
Safe inspection means:
- power is disconnected when cleaning or servicing;
- the cat is away from the unit;
- only visible, owner-accessible areas are inspected;
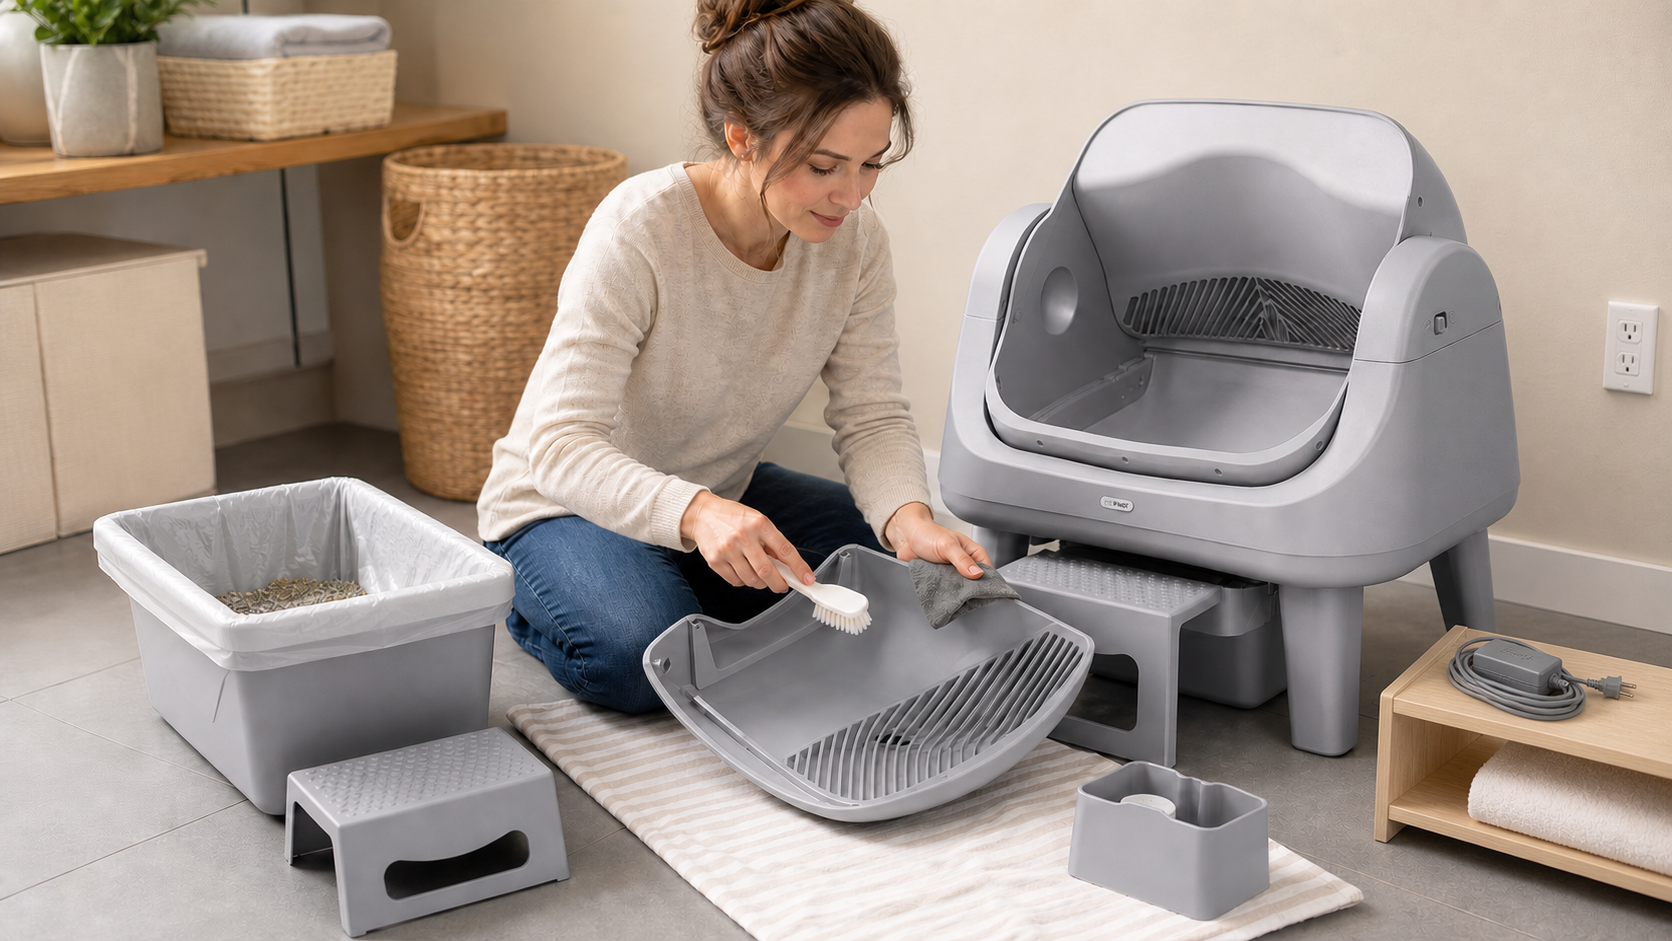
- loose dry litter is removed with a soft brush or dry cloth;
- no sensor is scraped, sprayed, covered or pushed;
- washed removable parts are completely dry before reassembly.
If an obstruction is inside a sealed or electrical area, stop. That is a support issue, not a cue to disassemble the base.
Symptom guide
The AutoScooper has power but will not start a cleaning cycle
Confirm that startup alignment has finished, the unit is in the intended mode and no cat or moving object remains near the sensing area. Check the waste container, liner, litter level and visible sensor areas. Then attempt only the manual cycle described for the model.
If the control does not respond, record the indicator and contact support. Repeatedly pressing buttons can make it unclear which mode is active.
The cycle starts and then pauses
A pause may be a normal response to detected presence or movement. Remove people, pets and moving objects from the immediate area and allow the documented condition to clear. Do not cover the sensor to make the cycle continue.
If the cycle pauses in an empty area, inspect for a liner edge, loose litter or visible obstruction. A recurring unexplained pause should be documented on video.
The chamber appears stuck or misaligned
Do not rotate it by hand or pull against the motor. Power off according to the guide, keep the cat away and check only for a plainly visible loose object in an owner-accessible area. Photograph the chamber position and contact support before further operation.
The light is red
On the current AutoScooper 12 web guide, a flashing or steady red light means the waste bin is full or a safety sensor has been triggered. Inspect the container, liner and visible sensing areas. Because the guide does not publish a complete flashing-code table, do not assign a more specific diagnosis from color alone.
The cycle completes but waste remains
This is often a separation problem rather than a motor problem. Check:
- compatible clumping litter;
- litter between the fill lines;
- enough time for a firm clump to form;
- sticky residue on approved washable parts;
- broken clumps or unusually soft stool;
- the waste opening for visible loose material.
Do not shorten the documented clumping delay or add excessive litter. Persistent soft stool, diarrhea or a new elimination change belongs with a veterinarian, not a machine adjustment.
The unit became noisy
Stop and compare the sound with normal operation. Look for an unstable floor, a loose external part, litter in a visible track or an overfilled waste area. Grinding, repeated impact or a new electrical smell requires support before further use.
A controlled test after basic checks
Only run a test when the unit is correctly assembled, dry, unobstructed and the cat is safely away. Use the model's documented manual-clean control once. Watch from outside the moving area.
Record whether:
- the command is accepted;
- the chamber begins in the expected direction;
- a pause occurs at the same position;
- an indicator changes;
- the waste opening clears;
- the chamber returns to its normal home position.
One controlled test is more useful than many rapid restarts.
When to contact PetPivot support
Contact support when the chamber cannot return to normal alignment, an alert remains after the approved checks, a sensor response is uncertain, the unit has new grinding or impact sounds, the adapter is damaged, liquid reached the electrical base or the problem recurs.
Use the PetPivot FAQ and contact `support@petpivot.com`. Include the model, order number, indicator state, short video, litter type and the checks already completed. Do not ship or return a used litter box before receiving the current return instructions.
|
|
|


Official PetPivot product images. Confirm the current product page and model guide before publication.

Include model-specific evidence and stop using a unit that appears physically damaged or unsafe.
Prevent repeat interruptions
- Keep litter within the documented fill range.
- Use only a confirmed compatible litter.
- Empty the waste container before it overfills.
- Keep the liner below visible sensing areas.
- Clean approved parts on schedule and dry them completely.
- Keep the unit level and the service area clear.
- Recheck assembly after every deep clean.
- Save the current manual and support contact.
For model-specific operation, return to the PetPivot AutoScooper user guide. For replacement consumables and approved parts, review PetPivot accessories.
Frequently Asked Questions
Why will my AutoScooper not cycle after I emptied the drawer?
The drawer may be empty while the unit still detects a seating, liner, litter-level or presence condition. Check only owner-accessible items in a safe order.
- Keep the cat away and confirm the unit has completed startup alignment.
- Reseat the empty drawer and fit the liner exactly as the current model guide shows.
- Check that litter is compatible, level and within the documented fill range.
- Remove people, pets and moving objects from the sensing area, then try only the approved manual cycle.
Why is the red light still on when the waste drawer is not full?
On the current AutoScooper 12 web guide, a red light can also indicate a triggered safety sensor. A poorly seated drawer, liner crossing a sensing area or nearby movement may therefore matter even when capacity is available.
What should I do if litter is stuck to the chamber or screen?
Power off as the guide instructs and remove only loose material that is plainly visible and owner-accessible.
- Do not rotate the chamber by hand.
- Do not insert tools into protected openings.
- Do not apply liquid to the electrical base or protected sensor areas.
- Photograph repeated sticking and contact support if normal dry cleaning does not resolve it.
Should I keep pressing reset or force a stuck chamber?
No. Repeated commands can hide the sequence that caused the fault, and forcing the chamber can damage the mechanism. Stop after the documented checks and preserve the indicator pattern for support.
What information should I send PetPivot support?
Send enough evidence for the issue to be reproduced without repeating unsafe tests.
- Exact model, order number and serial information if available.
- Indicator color and whether it is steady, flashing or accompanied by sound.
- Litter type, fill level and recent setup or cleaning changes.
- A short video showing the position of the chamber, drawer and indicator.
- The safe checks already completed and what happened after each one.
Internal Link Map
|
Anchor text |
Target URL |
Placement |
|
https://petpivot.com/collections/auto-scooper |
Contextual product discovery or final CTA |
|
|
https://petpivot.com/products/litter-box |
Model-specific product reference |
|
|
https://petpivot.com/products/autoscooper-12-lite-cat-litter-box |
Model-specific product reference |
|
|
https://petpivot.com/pages/user-guide |
Setup, operation, cleaning and safety instructions |
|
|
https://petpivot.com/pages/faq |
Support and ownership questions |
Sources and Evidence Notes
- PetPivot AutoScooper User Guide - Current AutoScooper 12 setup, litter, transition, maintenance, indicators and operating limits.
- PetPivot AutoScooper 11 product page - Official product page and original product image.
- PetPivot AutoScooper 12 Lite product page - Official product page and original product image.
You may also like


AutoScooper Waste Bags


Jason|AutoScooper 11 Cat Litter Box
Further reading
How Often Should You Clean an Automatic Litter Box?
How to Transition Your Cat to an Automatic Litter Box Without Stress
Cat Won't Use an Automatic Litter Box? Use This Recovery Plan