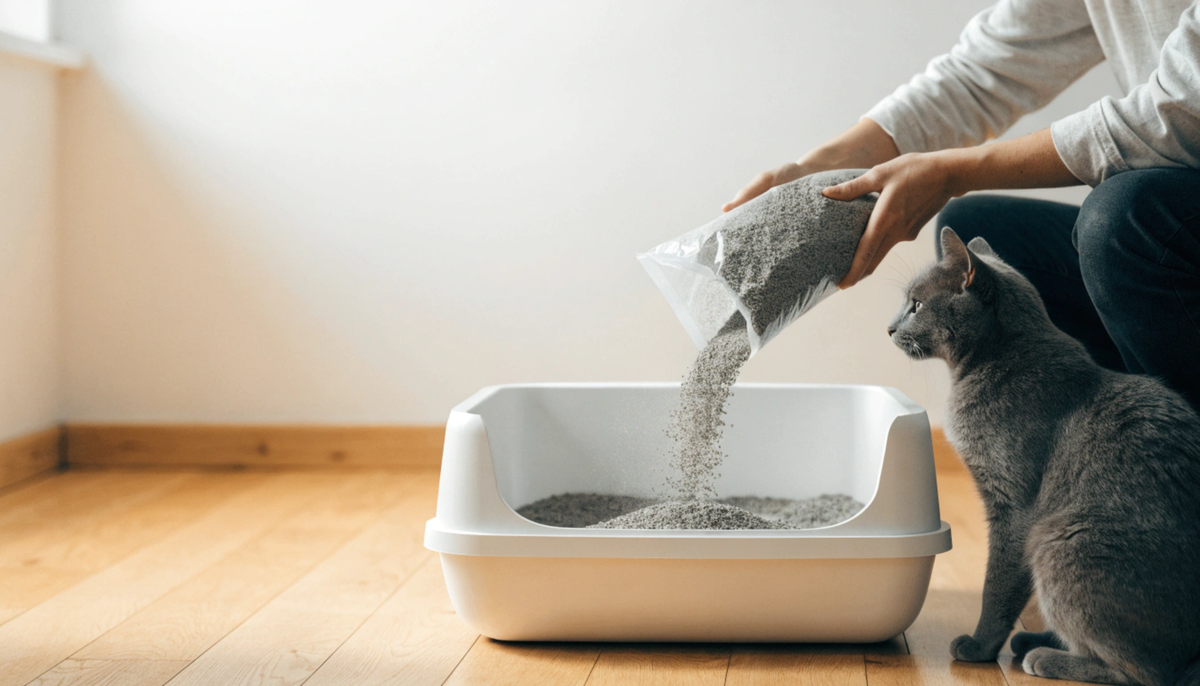

How to Keep the Litter Box From Smelling

About the Author
Quick answer: Control litter-box odor by removing waste promptly, maintaining the correct litter depth, emptying the waste container before it overfills, cleaning residue from approved surfaces, drying parts completely and placing the box in a quiet area with reasonable airflow. An automatic box can shorten the time clumps stay exposed, but it cannot make the setup odor-free. Start by identifying where the smell is coming from. Odor from the litter bed calls for a different fix than odor from a waste drawer, old plastic, a floor accident or a sudden change in urine or stool. Masking every smell with fragrance can make the box less attractive to the cat and can delay finding the real source. Odor source What you may notice First action Longer-term fix Fresh waste in litter bed Smell appears after use Remove or process waste Improve scooping or cycle consistency Broken urine clumps Damp particles remain Remove residue and check litter Improve clump strength and fill level Waste container Smell when drawer is closed or opened Empty, inspect liner and clean Shorten service interval Chamber or pan residue Smell returns after emptying Clean approved surfaces Schedule periodic deep cleaning Floor or wall accident Odor remains away from box Blot and clean the material correctly Address house-soiling cause Sudden urine or stool change New, unusually strong or persistent odor Observe the cat and contact a veterinarian Treat the underlying issue if present Trace odor to its source before adding fragrance or masking products. 1. Remove waste before odor has time to spread In a traditional box, scoop urine clumps and stool at least daily and more often when the cat demands a cleaner surface. In an automatic box, confirm that the cycle actually separated the waste. A machine can run while leaving broken clumps or residue behind. Routine inspection should include: the litter bed after a normal cycle; the waste opening and container; damp litter stuck to the bottom or wall; small clumps that escaped separation; stool consistency that prevents clean removal. Automation is most useful when it makes waste removal more consistent. It is not useful when the owner stops looking at the litter bed. 2. Use a litter that forms clean, stable clumps Clump quality affects odor twice. A firm clump contains moisture and can be removed cleanly. A weak clump breaks apart and leaves urine-soaked particles mixed with reusable litter. For an automatic box, use only a litter allowed by the current model guide. Check clumping behavior, particle size and the fill line. A litter advertised for odor control can still perform poorly if the mechanism cannot separate it. Avoid changing several variables at once. If you test a new litter, keep the box location and cleaning schedule stable and watch the first several uses. A sudden litter change can also affect whether the cat uses the box. 3. Maintain the correct litter depth Too little litter allows urine to reach the bottom or sides before a clump forms. Too much can interfere with sifting, increase litter waste or enter movement areas. For a manual pan, use the depth the cat accepts and that supports clean clumping. For an automatic unit, follow its MIN and MAX lines rather than a universal inch measurement. After topping up, use the model's documented leveling or calibration step. Check the depth more often in a multi-cat home. High traffic can reduce usable litter faster than an owner expects. 4. Service the waste area before it is full A waste drawer or bin contains material that continues to produce odor. A lid, liner or enclosed compartment can reduce exposure, but it does not stop decomposition or replace cleaning. Empty sooner when: several cats share the unit; the room is warm or humid; the liner no longer closes cleanly; odor appears before the usual service day; loose litter or residue collects under the liner; the bin reaches its fill indicator. Do not compress an overfilled liner inside the machine. Remove it according to the guide, close it securely and clean any owner-accessible residue before installing a new liner. 5. Clean the container, chamber and litter bed on different schedules Waste removal and deep cleaning are not the same task. A realistic schedule has layers: Routine: inspect litter level, residue, waste status and unusual operation. As needed: empty the waste container before it overfills. Periodic: wash approved removable waste components and dry them completely. Deep clean: empty litter and clean the chamber or pan according to the model guide. The current PetPivot AutoScooper user guide gives AutoScooper 12 a model-specific schedule: empty the waste container about every five days, with seven days as a stated maximum subject to actual use; wash the container every 15 days; and clean the chamber and container monthly. Do not automatically apply those intervals to another model. Never wash an electrical base or reinstall wet components. Moisture trapped inside a waste area can create a different odor problem and may damage the equipment. Odor control combines timely waste removal, surface care, compatible litter and attention to sudden changes. 6. Use gentle, approved cleaning methods The goal is to remove organic residue, not perfume the box. Strong residual scents can make a litter area less attractive to some cats. Cornell advises against ammonia- or vinegar-containing products on cat-soiled household items because the odors can resemble urine or be irritating. For the litter box itself: unplug before cleaning or servicing; follow the current manufacturer instructions; use only approved cleaners and tools; avoid abrasive pads that create odor-holding scratches; rinse approved washable parts thoroughly; air-dry them completely in the orientation the guide specifies; keep liquids away from motors, sensors, plugs and controls. For urine on carpet, upholstery or flooring, use a product and method suitable for that material. The detailed cleanup belongs in a surface-specific cat-urine guide. 7. Improve placement and airflow Place the box where the cat can reach it comfortably and where normal room airflow can disperse the brief odor released during use or emptying. Do not hide a box in a sealed closet simply to move the smell out of sight. A good location is: accessible at all times; away from food and water; not beside a loud appliance; not in a dead end another pet can guard; on a surface that can be cleaned; large enough to empty and wash the unit; ventilated without a strong draft directly on the box. Airflow supports odor control, but it cannot compensate for old waste or residue. 8. Check the room around the box Sometimes the box is clean and the surrounding area is not. Inspect the mat, baseboard, wall, floor seam and underside of the unit. Tracking can carry damp particles outside the litter area. A previous urine accident can continue to smell even after the cat has returned to the box. Use a washable mat that does not trap liquid underneath. Move the unit only as its guide instructs and inspect the floor during periodic cleaning. In a multi-cat home, confirm which cat is using which area before assuming the odor comes from the automatic unit. 9. Treat a sudden odor change as information Diet, hydration, medication, diarrhea, constipation, urinary changes and illness can affect the odor or amount of waste. Smell alone cannot diagnose a condition, but a sudden strong change deserves attention when it appears with: straining or repeated trips; little or no urine; blood; diarrhea or very hard stool; crying or pain; vomiting, lethargy or appetite change; new urination or defecation outside the box. Contact a veterinarian promptly for these changes. Do not try to solve a health warning by adding fragrance or increasing the cleaning cycle. Why an automatic litter box may still smell An automatic box usually smells for one of five practical reasons: The clump did not form firmly enough. The cycle left residue in the litter bed or chamber. The waste container is too full or not seated correctly. The liner or seal area is dirty. The cleaning schedule has focused on emptying but not washing. Check in that order. Avoid unsupported promises that a particular drawer is airtight or that odor is eliminated by a fixed percentage. Where PetPivot fits PetPivot AutoScooper models separate clumped waste into a lower collection area and use direct controls without a required app. That can reduce routine scooping and shorten waste exposure when the unit is set up, operated and maintained correctly. Review AutoScooper 11 product details, AutoScooper 12 Lite product details and the current AutoScooper user guide. Do not assume that the same litter or maintenance interval applies to both models. AutoScooper 11 AutoScooper 12 Lite Official PetPivot product images. Refer to the current product page and model guide for specifications and use instructions. A simple odor-control routine Every day or routine check Look for unprocessed waste or broken clumps. Confirm the litter level and waste status. Notice sudden urine, stool or behavior changes. When the waste area is nearing full Remove and close the liner. Inspect for residue or a misplaced liner edge. Install the new liner exactly as directed. On the model's periodic schedule Wash approved removable parts. Clean the chamber or pan. Dry every part completely. Reassemble and run one supervised test cycle while the cat is away. For supplies and replacement parts, visit PetPivot AutoScooper accessories. Frequently Asked Questions Why does the room smell right after the box cycles? A cycle removes bulk waste but may expose or redistribute odor that was already present. Check the source before adding fragrance. A clump may have broken and left damp litter behind. The drawer liner, rim or seal may hold residue. Waste may have reached the floor or a hidden edge during service. The litter may be saturated even though the bed still looks full. Does adding more litter fix odor? Only when the litter level is genuinely low and the added litter is compatible. Topping up cannot restore saturated litter, and filling above the model's range can interfere with separation or spill into moving areas. Can a plastic litter box hold odor after cleaning? Yes. Scratches, seams and aged plastic can retain residue that a quick wipe misses. After approved washing and complete drying, inspect replaceable parts when odor returns immediately from the same surface. Should I put an air purifier beside the litter box? An air purifier may reduce airborne dust and some room odor, but it does not replace waste removal or surface cleaning. Keep its cord and airflow from disturbing the cat or the machine, and follow the purifier's placement instructions. When can stronger litter-box odor signal a health problem? Contact a veterinarian when the odor change is sudden or arrives with different urine volume, stool consistency, straining, blood, pain, appetite change or new house soiling. Clean the environment, but do not use fragrance to hide a biological change. Internal Link Map Anchor text Target URL Placement browse PetPivot automatic litter boxes https://petpivot.com/collections/auto-scooper Contextual product discovery or final CTA AutoScooper 11 product details https://petpivot.com/products/litter-box Model-specific product reference AutoScooper 12 Lite product details https://petpivot.com/products/autoscooper-12-lite-cat-litter-box Model-specific product reference PetPivot AutoScooper user guide https://petpivot.com/pages/user-guide Setup, operation, cleaning and safety instructions PetPivot FAQ https://petpivot.com/pages/faq Support and ownership questions Sources and Evidence Notes PetPivot AutoScooper User Guide - Current AutoScooper 12 setup, litter, transition, maintenance, indicators and operating limits. PetPivot AutoScooper 11 product page - Official product page and original product image. PetPivot AutoScooper 12 Lite product page - Official product page and original product image. Additional Authority Sources Cornell Feline Health Center: House Soiling — medical, cleaning and litter-box-environment guidance. Ohio State Indoor Pet Initiative: Litter Boxes — cat-centered cleaning, box-size and
Quick answer: Control litter-box odor by removing waste promptly, maintaining the correct litter depth, emptying the waste container before it overfills, cleaning residue from approved surfaces, drying parts completely and placing the box in a quiet area with reasonable airflow. An automatic box can shorten the time clumps stay exposed, but it cannot make the setup odor-free.
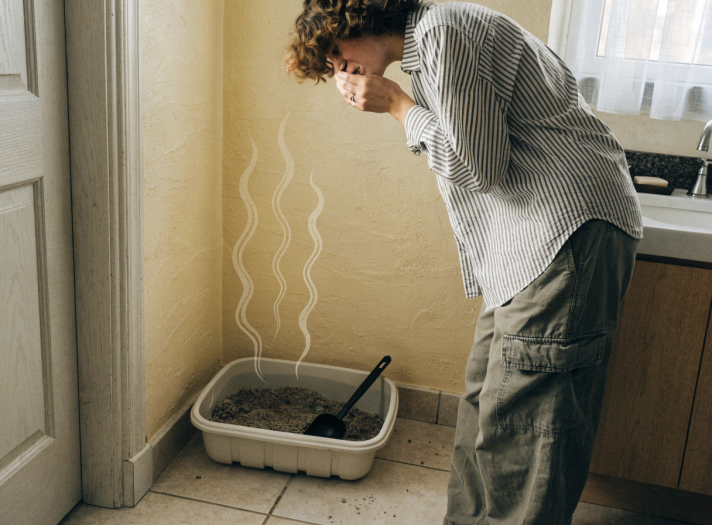
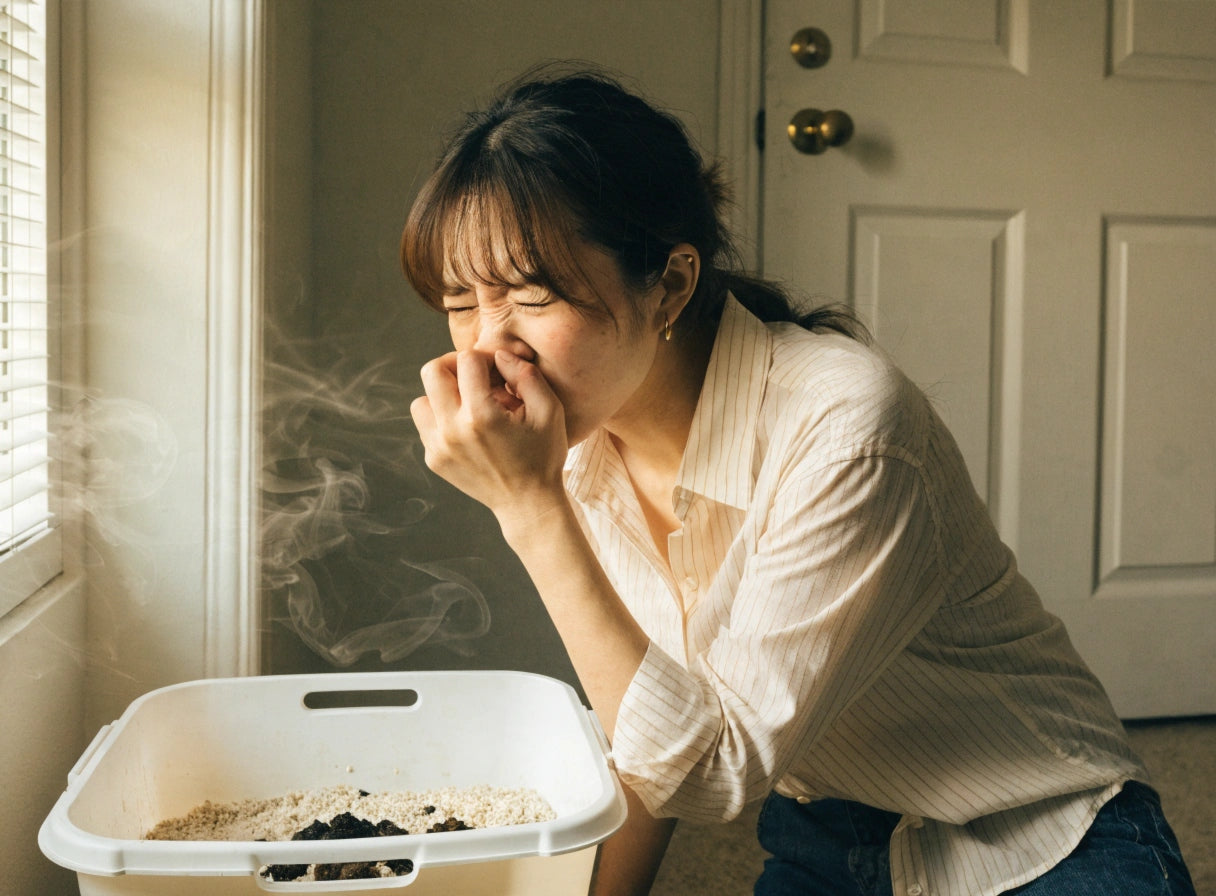
Start by identifying where the smell is coming from. Odor from the litter bed calls for a different fix than odor from a waste drawer, old plastic, a floor accident or a sudden change in urine or stool. Masking every smell with fragrance can make the box less attractive to the cat and can delay finding the real source.
|
Odor source |
What you may notice |
First action |
Longer-term fix |
|
Fresh waste in litter bed |
Smell appears after use |
Remove or process waste |
Improve scooping or cycle consistency |
|
Broken urine clumps |
Damp particles remain |
Remove residue and check litter |
Improve clump strength and fill level |
|
Waste container |
Smell when drawer is closed or opened |
Empty, inspect liner and clean |
Shorten service interval |
|
Chamber or pan residue |
Smell returns after emptying |
Clean approved surfaces |
Schedule periodic deep cleaning |
|
Floor or wall accident |
Odor remains away from box |
Blot and clean the material correctly |
Address house-soiling cause |
|
Sudden urine or stool change |
New, unusually strong or persistent odor |
Observe the cat and contact a veterinarian |
Treat the underlying issue if present |

Trace odor to its source before adding fragrance or masking products.
1. Remove waste before odor has time to spread
In a traditional box, scoop urine clumps and stool at least daily and more often when the cat demands a cleaner surface. In an automatic box, confirm that the cycle actually separated the waste. A machine can run while leaving broken clumps or residue behind.
Routine inspection should include:
- the litter bed after a normal cycle;
- the waste opening and container;
- damp litter stuck to the bottom or wall;
- small clumps that escaped separation;
- stool consistency that prevents clean removal.
Automation is most useful when it makes waste removal more consistent. It is not useful when the owner stops looking at the litter bed.
2. Use a litter that forms clean, stable clumps
Clump quality affects odor twice. A firm clump contains moisture and can be removed cleanly. A weak clump breaks apart and leaves urine-soaked particles mixed with reusable litter.
For an automatic box, use only a litter allowed by the current model guide. Check clumping behavior, particle size and the fill line. A litter advertised for odor control can still perform poorly if the mechanism cannot separate it.
Avoid changing several variables at once. If you test a new litter, keep the box location and cleaning schedule stable and watch the first several uses. A sudden litter change can also affect whether the cat uses the box.
3. Maintain the correct litter depth
Too little litter allows urine to reach the bottom or sides before a clump forms. Too much can interfere with sifting, increase litter waste or enter movement areas.
For a manual pan, use the depth the cat accepts and that supports clean clumping. For an automatic unit, follow its MIN and MAX lines rather than a universal inch measurement. After topping up, use the model's documented leveling or calibration step.
Check the depth more often in a multi-cat home. High traffic can reduce usable litter faster than an owner expects.
4. Service the waste area before it is full
A waste drawer or bin contains material that continues to produce odor. A lid, liner or enclosed compartment can reduce exposure, but it does not stop decomposition or replace cleaning.
Empty sooner when:
- several cats share the unit;
- the room is warm or humid;
- the liner no longer closes cleanly;
- odor appears before the usual service day;
- loose litter or residue collects under the liner;
- the bin reaches its fill indicator.
Do not compress an overfilled liner inside the machine. Remove it according to the guide, close it securely and clean any owner-accessible residue before installing a new liner.
5. Clean the container, chamber and litter bed on different schedules
Waste removal and deep cleaning are not the same task. A realistic schedule has layers:
- Routine: inspect litter level, residue, waste status and unusual operation.
- As needed: empty the waste container before it overfills.
- Periodic: wash approved removable waste components and dry them completely.
- Deep clean: empty litter and clean the chamber or pan according to the model guide.
The current PetPivot AutoScooper user guide gives AutoScooper 12 a model-specific schedule: empty the waste container about every five days, with seven days as a stated maximum subject to actual use; wash the container every 15 days; and clean the chamber and container monthly. Do not automatically apply those intervals to another model.
Never wash an electrical base or reinstall wet components. Moisture trapped inside a waste area can create a different odor problem and may damage the equipment.

Odor control combines timely waste removal, surface care, compatible litter and attention to sudden changes.
6. Use gentle, approved cleaning methods
The goal is to remove organic residue, not perfume the box. Strong residual scents can make a litter area less attractive to some cats. Cornell advises against ammonia- or vinegar-containing products on cat-soiled household items because the odors can resemble urine or be irritating.
For the litter box itself:
- unplug before cleaning or servicing;
- follow the current manufacturer instructions;
- use only approved cleaners and tools;
- avoid abrasive pads that create odor-holding scratches;
- rinse approved washable parts thoroughly;
- air-dry them completely in the orientation the guide specifies;
- keep liquids away from motors, sensors, plugs and controls.
For urine on carpet, upholstery or flooring, use a product and method suitable for that material. The detailed cleanup belongs in a surface-specific cat-urine guide.
7. Improve placement and airflow
Place the box where the cat can reach it comfortably and where normal room airflow can disperse the brief odor released during use or emptying. Do not hide a box in a sealed closet simply to move the smell out of sight.
A good location is:
- accessible at all times;
- away from food and water;
- not beside a loud appliance;
- not in a dead end another pet can guard;
- on a surface that can be cleaned;
- large enough to empty and wash the unit;
- ventilated without a strong draft directly on the box.
Airflow supports odor control, but it cannot compensate for old waste or residue.
8. Check the room around the box
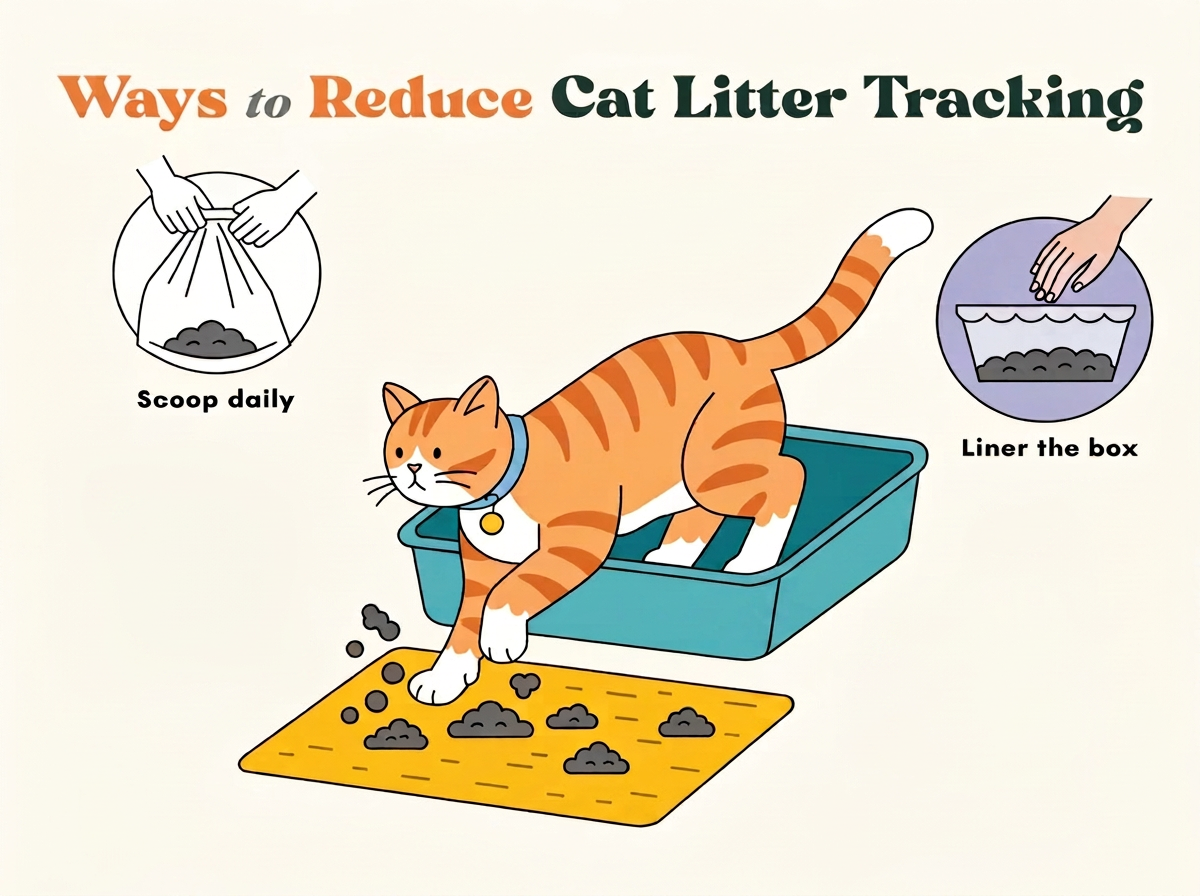
Sometimes the box is clean and the surrounding area is not. Inspect the mat, baseboard, wall, floor seam and underside of the unit. Tracking can carry damp particles outside the litter area. A previous urine accident can continue to smell even after the cat has returned to the box.
Use a washable mat that does not trap liquid underneath. Move the unit only as its guide instructs and inspect the floor during periodic cleaning. In a multi-cat home, confirm which cat is using which area before assuming the odor comes from the automatic unit.
9. Treat a sudden odor change as information
Diet, hydration, medication, diarrhea, constipation, urinary changes and illness can affect the odor or amount of waste. Smell alone cannot diagnose a condition, but a sudden strong change deserves attention when it appears with:
- straining or repeated trips;
- little or no urine;
- blood;
- diarrhea or very hard stool;
- crying or pain;
- vomiting, lethargy or appetite change;
- new urination or defecation outside the box.
Contact a veterinarian promptly for these changes. Do not try to solve a health warning by adding fragrance or increasing the cleaning cycle.
Why an automatic litter box may still smell
An automatic box usually smells for one of five practical reasons:
- The clump did not form firmly enough.
- The cycle left residue in the litter bed or chamber.
- The waste container is too full or not seated correctly.
- The liner or seal area is dirty.
- The cleaning schedule has focused on emptying but not washing.
Check in that order. Avoid unsupported promises that a particular drawer is airtight or that odor is eliminated by a fixed percentage.
Where PetPivot fits
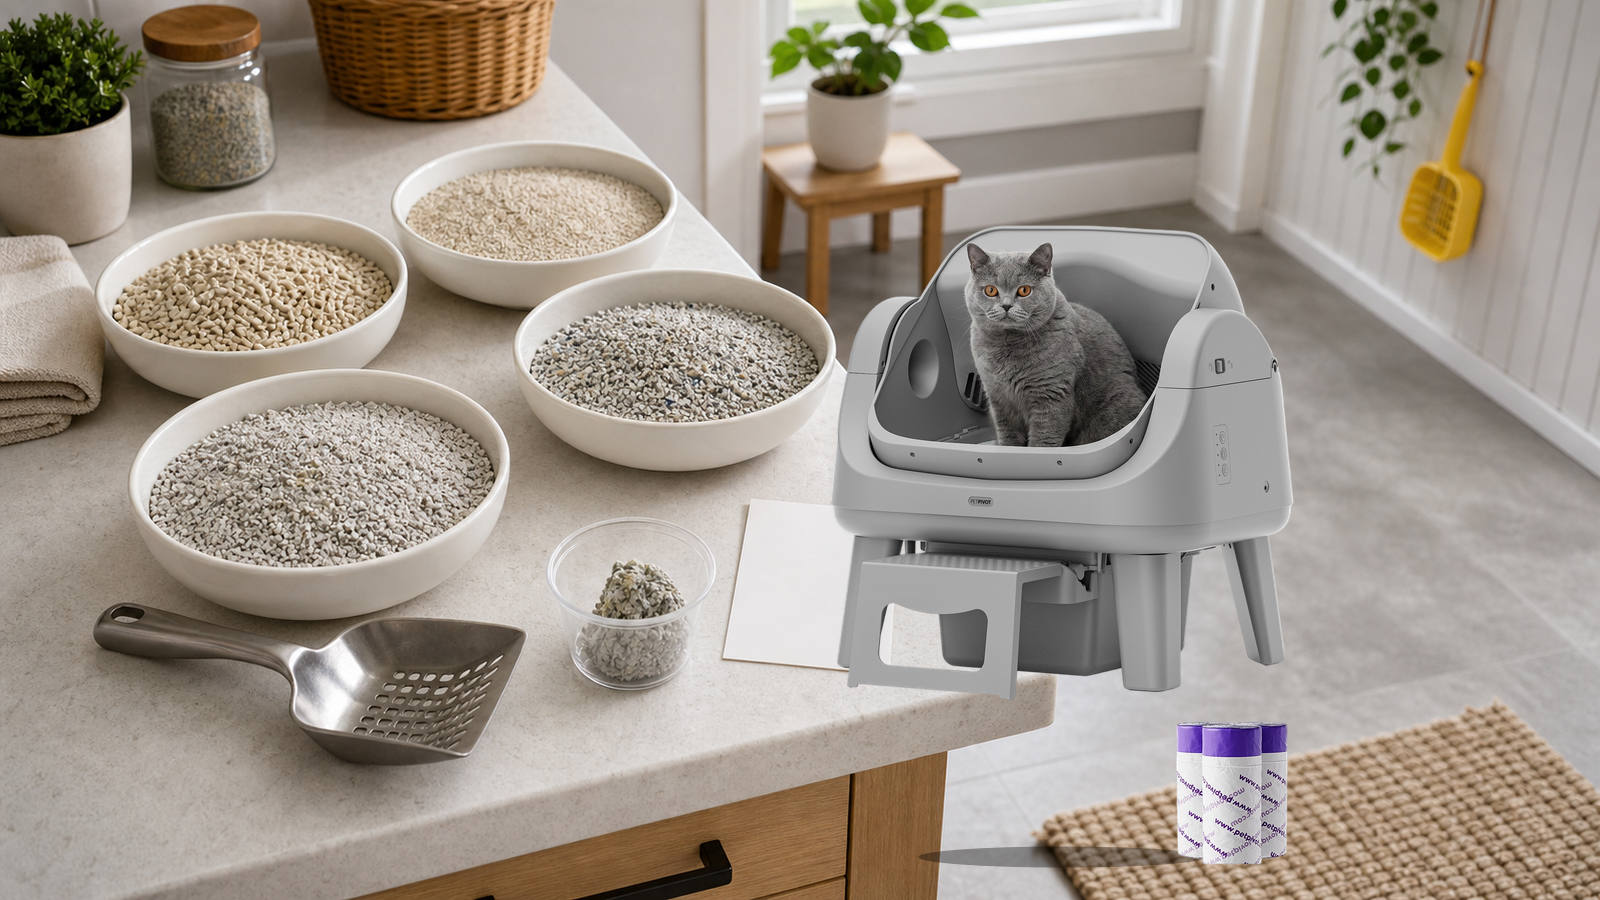
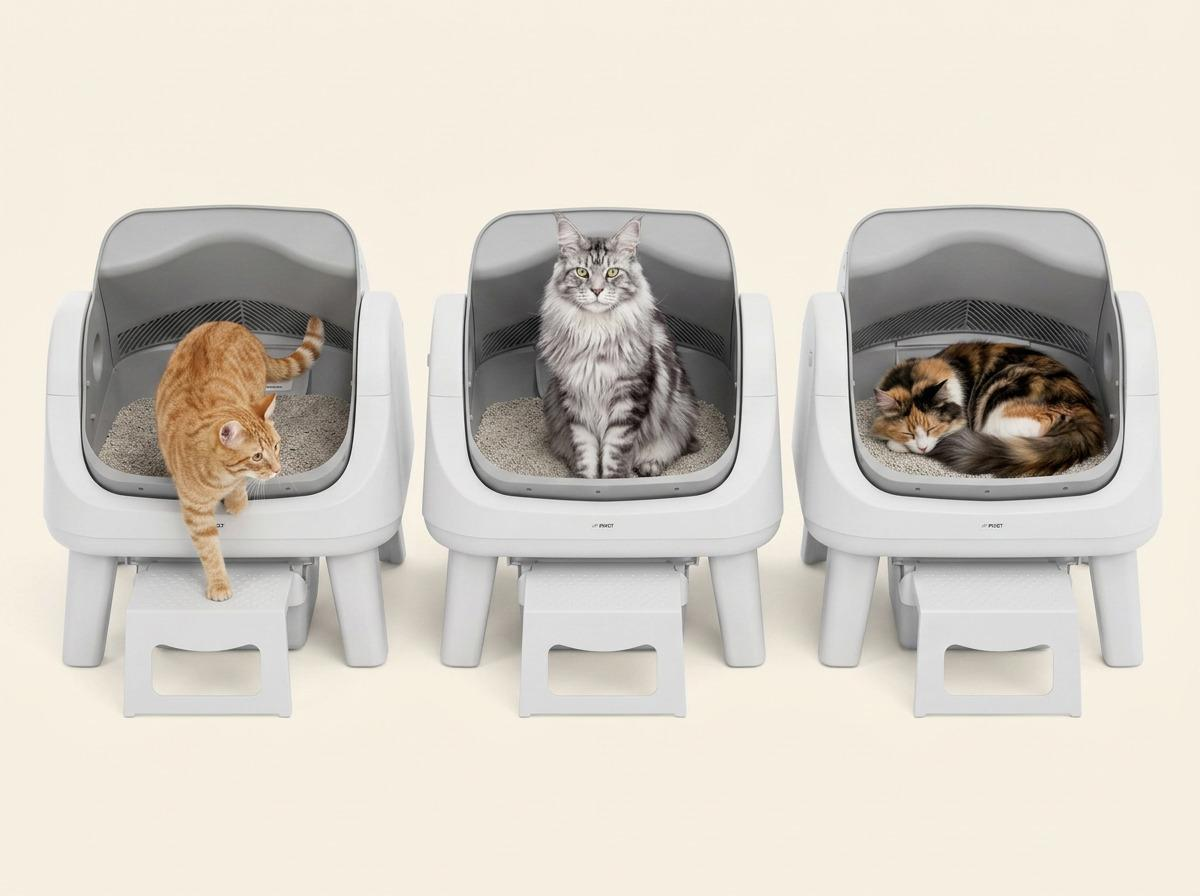
PetPivot AutoScooper models separate clumped waste into a lower collection area and use direct controls without a required app. That can reduce routine scooping and shorten waste exposure when the unit is set up, operated and maintained correctly.
Review AutoScooper 11 product details, AutoScooper 12 Lite product details and the current AutoScooper user guide. Do not assume that the same litter or maintenance interval applies to both models.
|
|
|


Official PetPivot product images. Refer to the current product page and model guide for specifications and use instructions.
A simple odor-control routine
Every day or routine check
- Look for unprocessed waste or broken clumps.
- Confirm the litter level and waste status.
- Notice sudden urine, stool or behavior changes.
When the waste area is nearing full
- Remove and close the liner.
- Inspect for residue or a misplaced liner edge.
- Install the new liner exactly as directed.
On the model's periodic schedule
- Wash approved removable parts.
- Clean the chamber or pan.
- Dry every part completely.
- Reassemble and run one supervised test cycle while the cat is away.
For supplies and replacement parts, visit PetPivot AutoScooper accessories.
Frequently Asked Questions
Why does the room smell right after the box cycles?
A cycle removes bulk waste but may expose or redistribute odor that was already present. Check the source before adding fragrance.
- A clump may have broken and left damp litter behind.
- The drawer liner, rim or seal may hold residue.
- Waste may have reached the floor or a hidden edge during service.
- The litter may be saturated even though the bed still looks full.
Does adding more litter fix odor?
Only when the litter level is genuinely low and the added litter is compatible. Topping up cannot restore saturated litter, and filling above the model's range can interfere with separation or spill into moving areas.
Can a plastic litter box hold odor after cleaning?
Yes. Scratches, seams and aged plastic can retain residue that a quick wipe misses. After approved washing and complete drying, inspect replaceable parts when odor returns immediately from the same surface.
Should I put an air purifier beside the litter box?
An air purifier may reduce airborne dust and some room odor, but it does not replace waste removal or surface cleaning. Keep its cord and airflow from disturbing the cat or the machine, and follow the purifier's placement instructions.
When can stronger litter-box odor signal a health problem?
Contact a veterinarian when the odor change is sudden or arrives with different urine volume, stool consistency, straining, blood, pain, appetite change or new house soiling. Clean the environment, but do not use fragrance to hide a biological change.
Internal Link Map
|
Anchor text |
Target URL |
Placement |
|
https://petpivot.com/collections/auto-scooper |
Contextual product discovery or final CTA |
|
|
https://petpivot.com/products/litter-box |
Model-specific product reference |
|
|
https://petpivot.com/products/autoscooper-12-lite-cat-litter-box |
Model-specific product reference |
|
|
https://petpivot.com/pages/user-guide |
Setup, operation, cleaning and safety instructions |
|
|
https://petpivot.com/pages/faq |
Support and ownership questions |
Sources and Evidence Notes
- PetPivot AutoScooper User Guide - Current AutoScooper 12 setup, litter, transition, maintenance, indicators and operating limits.
- PetPivot AutoScooper 11 product page - Official product page and original product image.
- PetPivot AutoScooper 12 Lite product page - Official product page and original product image.
Additional Authority Sources
- Cornell Feline Health Center: House Soiling — medical, cleaning and litter-box-environment guidance.
- Ohio State Indoor Pet Initiative: Litter Boxes — cat-centered cleaning, box-size and
You may also like

AutoScooper 12 Lite Cat Litter Box

AutoScooper 12 Lite Cat Litter Box-Gray

AutoScooper 12 Litter Base Bed – 2 Pack

AutoScooper 12 Waste Bags – 60 Count


Further reading

8 Best Cat Litters for Odor Control in 2026
Automatic Litter Box for Multiple Cats: Size and Capacity Guide
Automatic Litter Box Odor Control Test: What to Measure Before You Trust Reviews